
Following-up on yesterday’s post about our Owncast session for the Open Media Ecosystem series, I wanted to quickly highlight that we now have a 1-click installer for Owncast in Reclaim Cloud. I tried it out yesterday, and it is yet another slick installer from Taylor Jadin, he is en fuego!

First things first, what is Owncast? It’s free and open source live streaming software that integrates cleanly with production tools like Open Broadcaster Software to stream video to the web. [NB: Reclaim Edtech will host a three session flex course on OBS in the second half of January.] Owncast frames itself as an open source alternative to tools like Twitch, and with more social integrations (including the fediverse) it may be a nice fit for announcing streams across your social spaces. Keep in mind it’s first and foremost a streaming tool, no recording video, no production suite, or anything like that—live streaming and live chat is all. Much of its strength lies in its laser focus on streaming and a simple, elegant interface.
In terms of the installation on Reclaim Cloud, it is really quite simple, as a 1-click installer should be. You search for Owncast in the Marketplace:
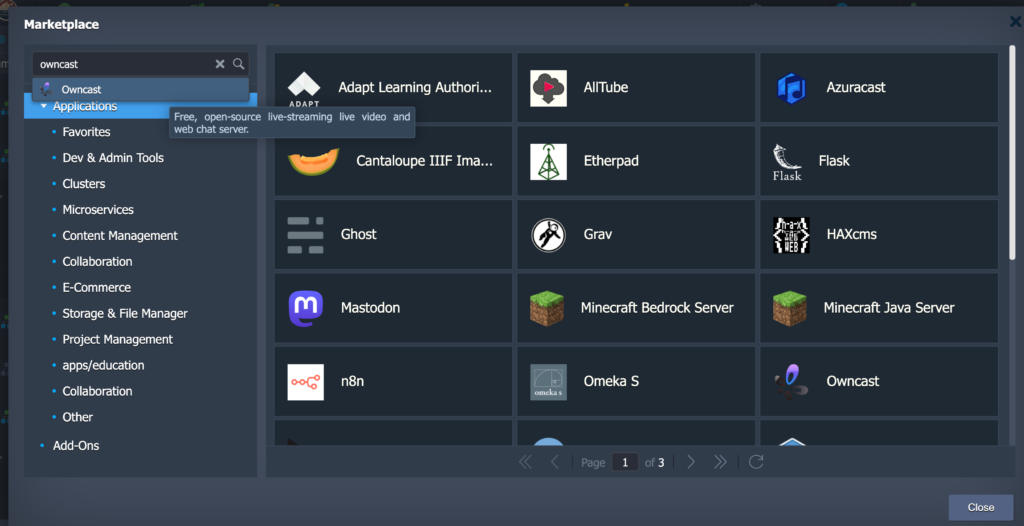
Search for Owncast in the Reclaim Cloud Marketplace
After that you select to install Owncast and you will see a dialog box asking for the Environment name, display name, and region for installation:
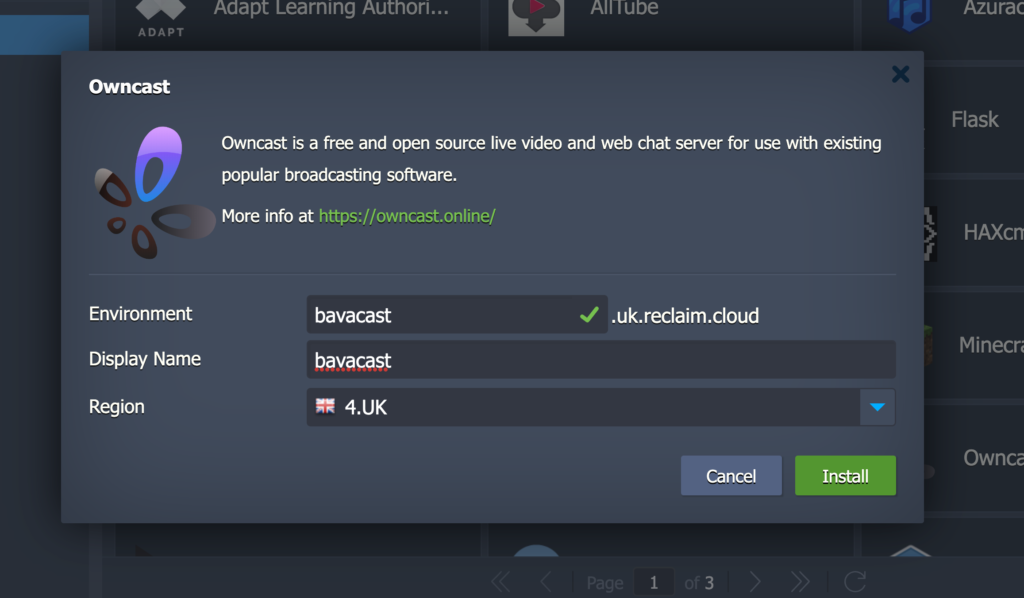
Owncast installer dialog box
Once you fill this out and click “Install” the app will start installing.
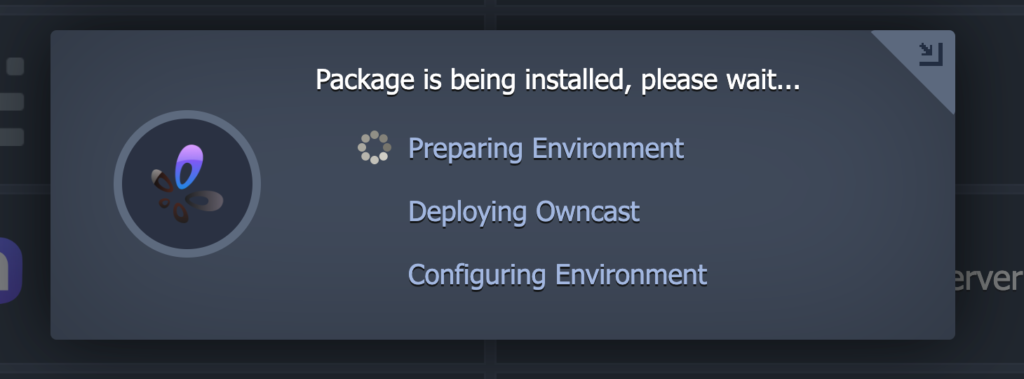
The Package is being installed please wait dialog box
After about a minute Owncast will be installed and you will get an email with the environment IP address for pointing an A record to if you want a custom domain like cast.bava.tv. The email will also have the default username and password for Owncast, which is admin and abc123 respectively.
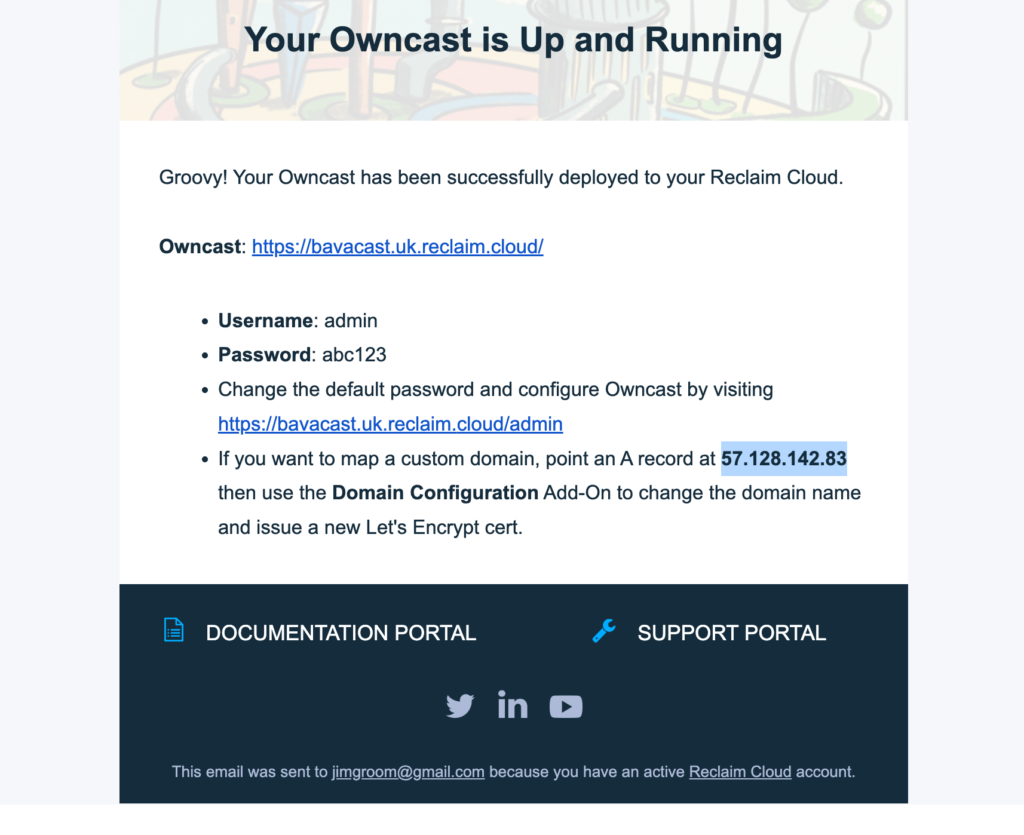
Owncast email you receive after installation
Needless to say you should change your password once you logic, and it just so happens it is the same as your secret stream key, which I find convenient. Also, you will notice the email says that if you what a custom domain domain and A record to the listed IP address, what’s more, there is an Add-on in the environment that allows you to add the custom domain and once you do it will automatically issue an SSL certificate, which is very slick!
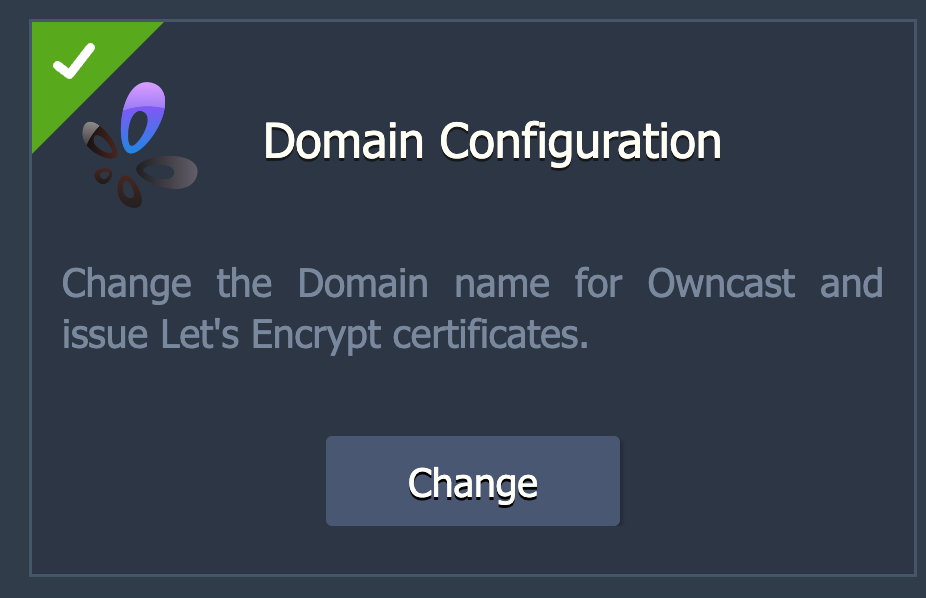
Owncast domain configuration Add-on
And the next step is super clear, enter the domain name and click change:
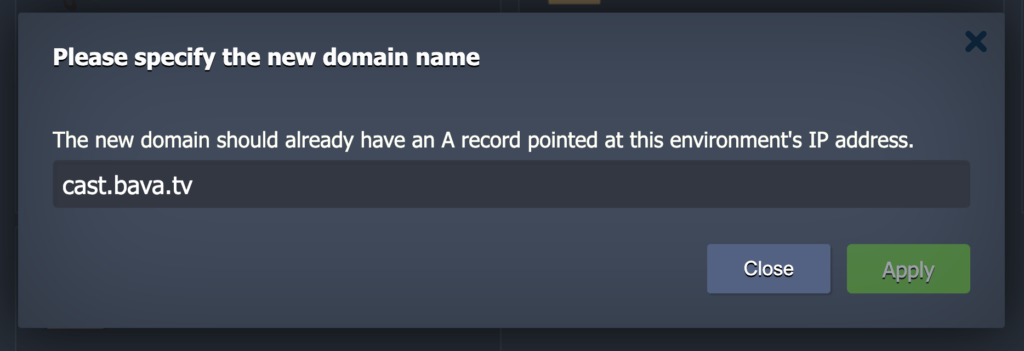
Owncast Domain configuration Add-on for changing the domain
The other piece which is quite nice is an Add-on for updating the environment to the latest version, which saves folks a lot of futzing in Docker, which can be a bear if its new to you:
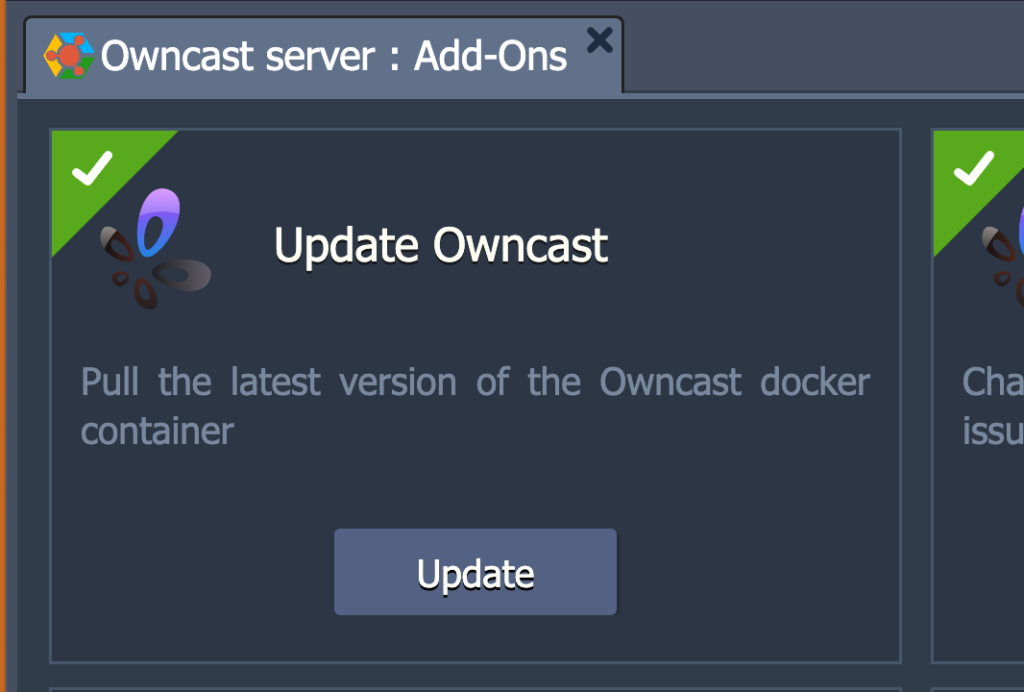
Update Owncast Add-on
And with that you have the entire installation, and it was so fast for me I almost thought I did something wrong 🙂
In terms of managing Owncast, that is quite simple, you login with admin and abc123 at yourowncastinstall.com/admin URL and the dashboard will have the RTMP and Stream key front and center.
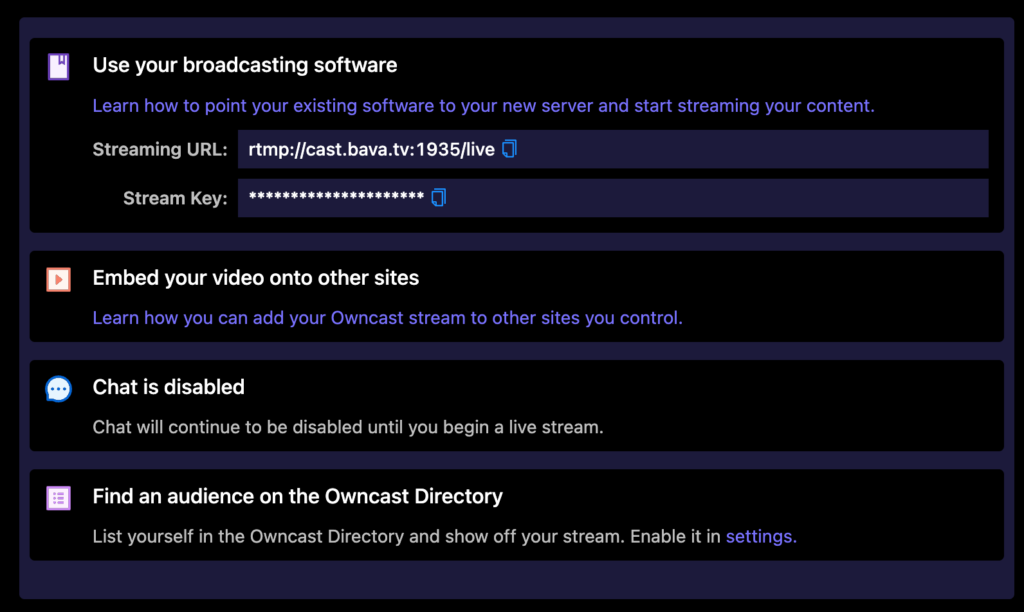
Owncast dashboard with the RTMP and Stream key front and center
The stream key is also your password for logging in, so I recommend changing that immediately at Configuration–>Server Setup:
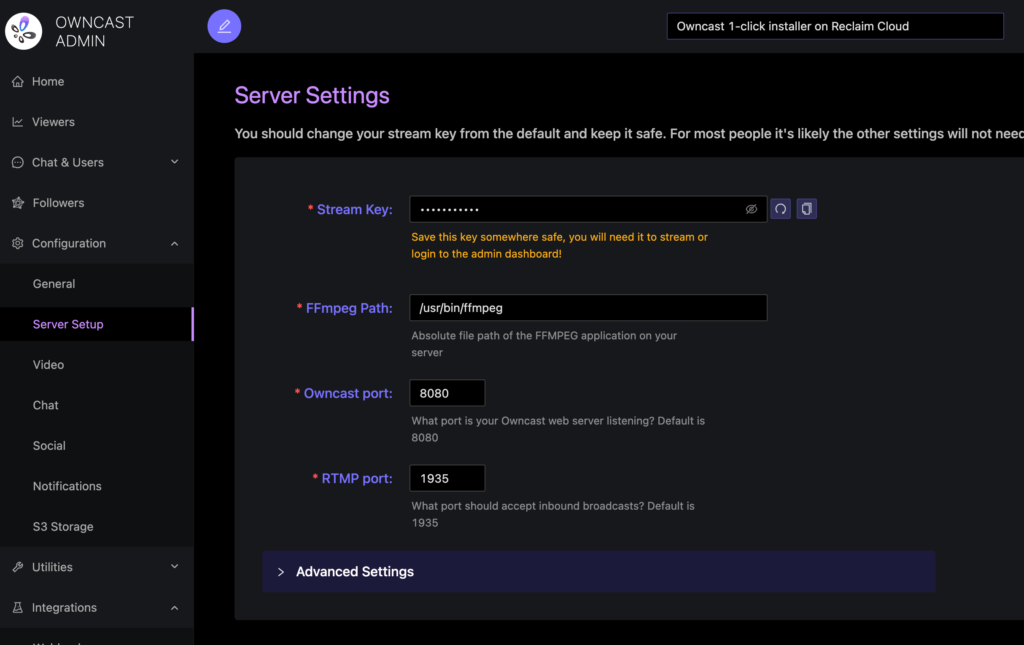
Change your stream key/password in the Configuration–>Server Setup window
After that plug your streaming URL and stream key into your OBS software stream settings and you are ready to stream live to the web. There are other features like web hooks for integrating with social sites, live chat that just works, and streaming from S3 buckets, so get in there and play around.
What’s cool about this installer is now we have working 1-click installers for every application we are featuring in the Open Media Ecosystem series: Azuracast, Jitsi, Owncast, and PeerTube. That is pretty awesome, and I think I heard/saw something about a 1-click installer for Mastodon as well, WHAT?!
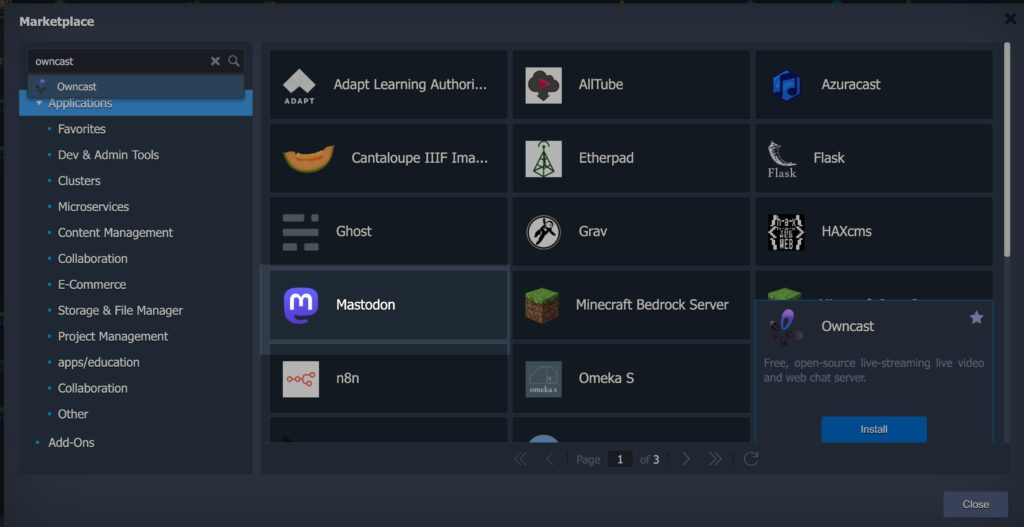
I spy with my little eye a 1-click Mastodon installer in Reclaim Cloud

Pingback: Installing Owncast on Reclaim Cloud | bavatuesdays
Thank you for the step by step. How much does reclaim cloud cost? and are there free services where I can just try it? this is for a church and we would only be live streaming 6-10 times a month
Hi Norman,
Sure, you can go to https://reclaim.cloud/private-signup/ and use reclaim4life to get a trail account. You would only pay for an environment when it is being used, you can turn it on and off as needed and only pay for the IP address and storage, so streaming through Reclaim Cloud using Owncast would be pretty cheap. Give it a shot and let me know if you have any questions.