Below is a visual tour of my stripped Scramble cabinet. This is the first cabinet I have taken down to the bones, and I will be cutting the sides down and replacing and seaming them to get rid of the water damage. I also ordered a stencil set and when I get back from the US in late May I will be re-painting and adding the original cabinet art design:

So to that end I took the leap and removed everything from the cabinet. I had already taken out and disassembled the monitor in preparation for a cap kit, you can see the damage on that here, so this will be a visual record of everything else I took out—if for nothing else to remember to put it all back:
First I took off the very evocative bezel, which may be one of the most beautiful retro scifi designs from any arcade game of the era.
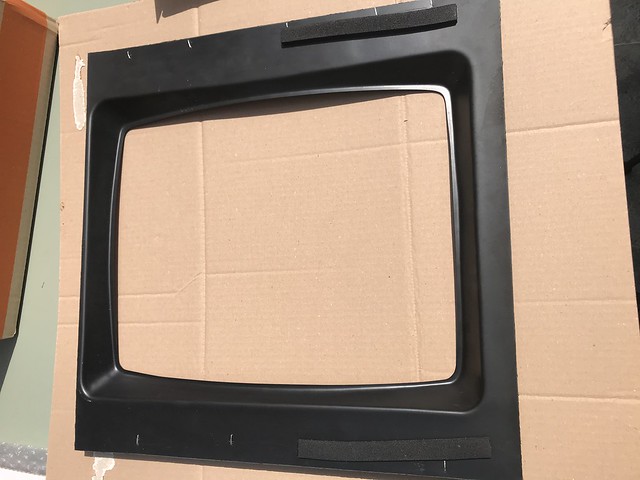
Then the monitor shroud:
After that the I moved up to the marquee (as you might have guessed, I was avoiding the hard stuff):
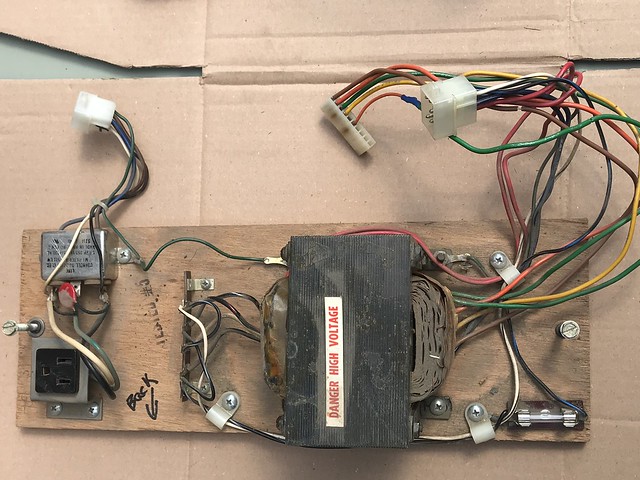
Once I got my confidence up I took out the power supply at the bottom of the cabinet:
Scramble also has an additional power PCB board that sits at the bottom of the cabinet alongside the power supply, so that came out as well:
This freed me up to remove the circuit board and ROMs (PCB) from the side of the cabinet:
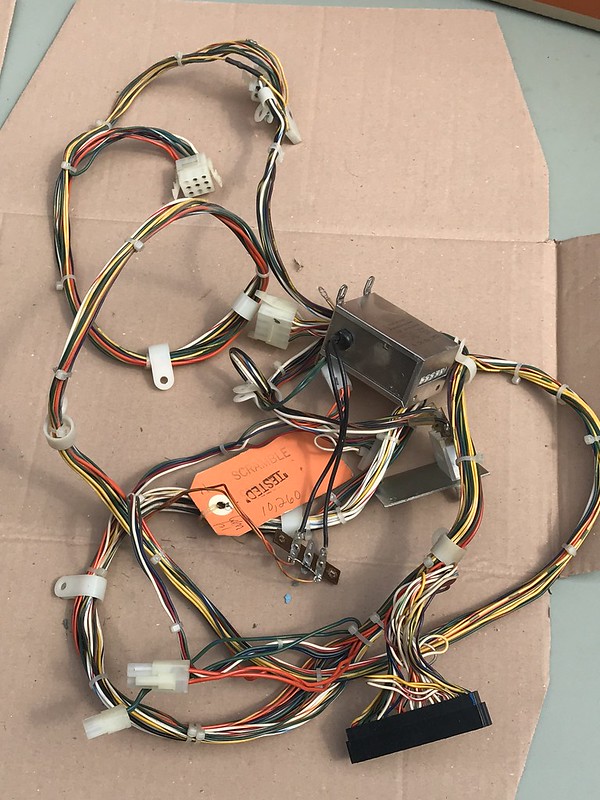
And then I was getting into entirely new territory removing the wiring harness that goes from the PCB to the coin door:
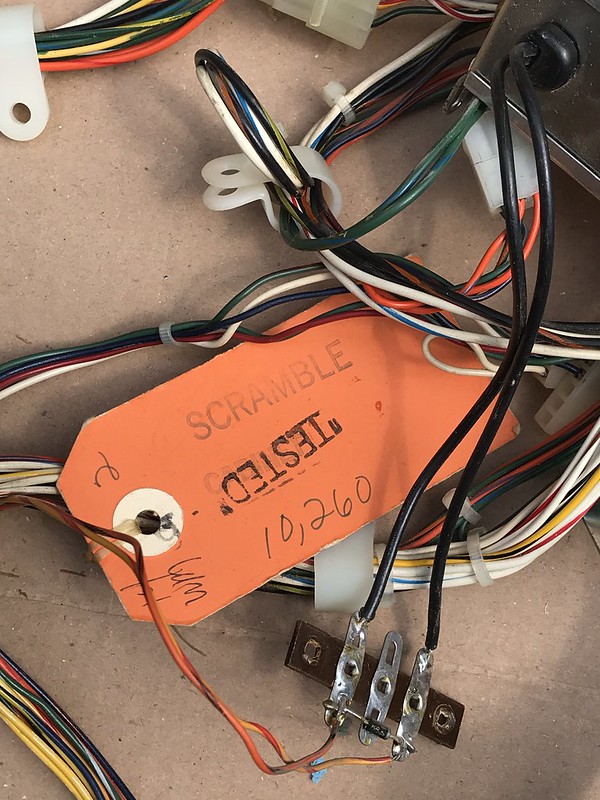
And yes, it was tested:
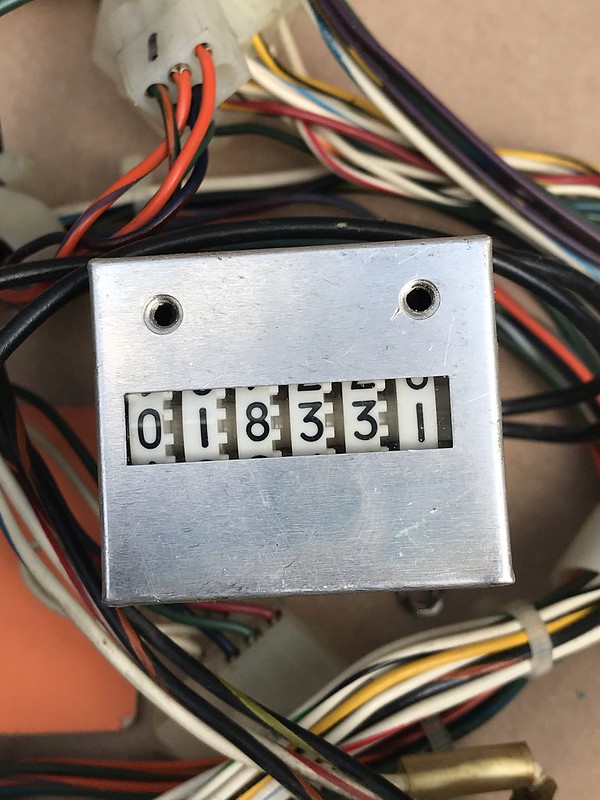
And it has been played over 18,331 times we know of!
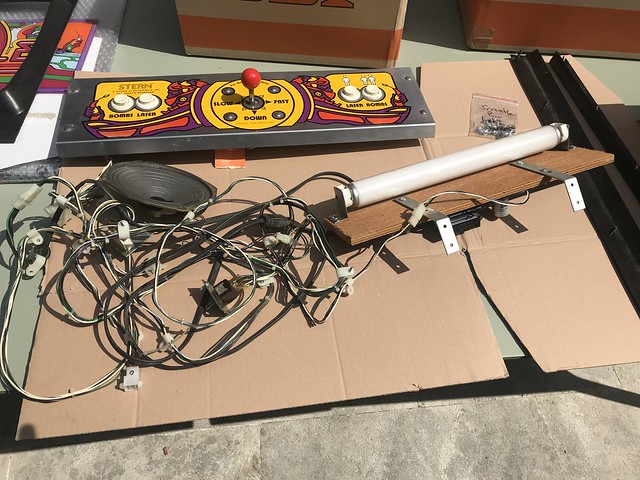
This led me to the other side of the cabinet, and pushed me to remove the control panel, another beautiful element of what has to be my favorite cabinet of all time:
And then I returned to the back of the cabinet again to take out the wiring harness that connects to the power switch, interlock switch on the door, the marquee light and the speaker. So a lot going on with this one, and it does look like a bit of a rat’s nest presently:
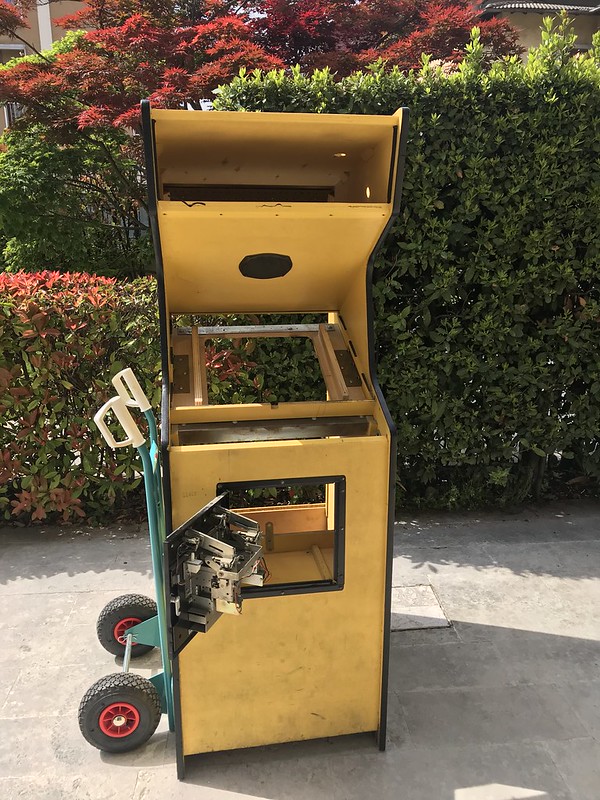
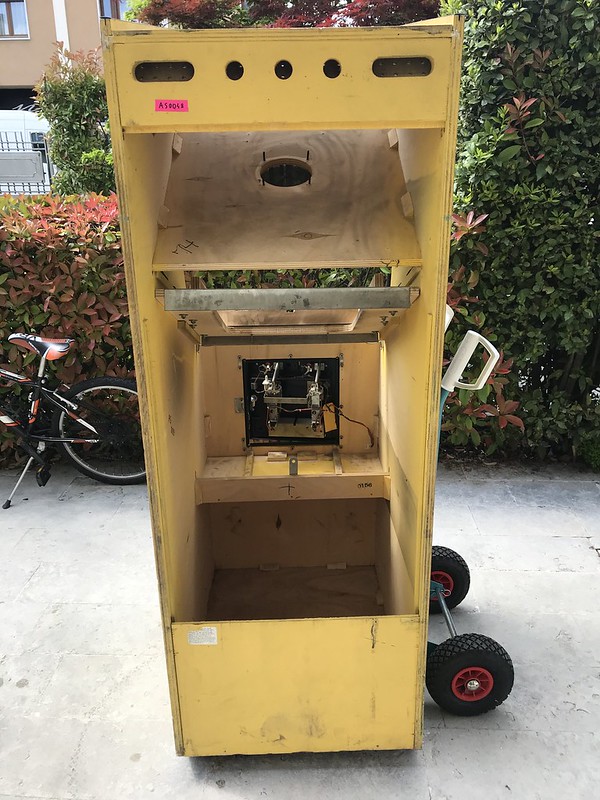
And with that I took out all the pieces, zip locked the various bolts and screws, and now have an entirely empty Scramble cabinet that will soon be like new!
Here’s a full frontal!
And that’s a nice backside….
Oh yeah, there is also the coin box, but that is pretty basic and just sits on the shelf in front of the coin door, even I could but that back together 🙂
Very excited to move this project along, and the things I have to attend to are the following:
- Get the cap kit done and test the chassis
- Get the PCB looked at and make sure there are no issues
- refinish the bottom of the cabinet and cut out water damage
And with that it will be near on perfect, and it will then be my favorite cabinet of all time (although Pac-man is still my favorite game 🙂 ).








Pingback: Scramble Project Update: Reassembly | bavatuesdays