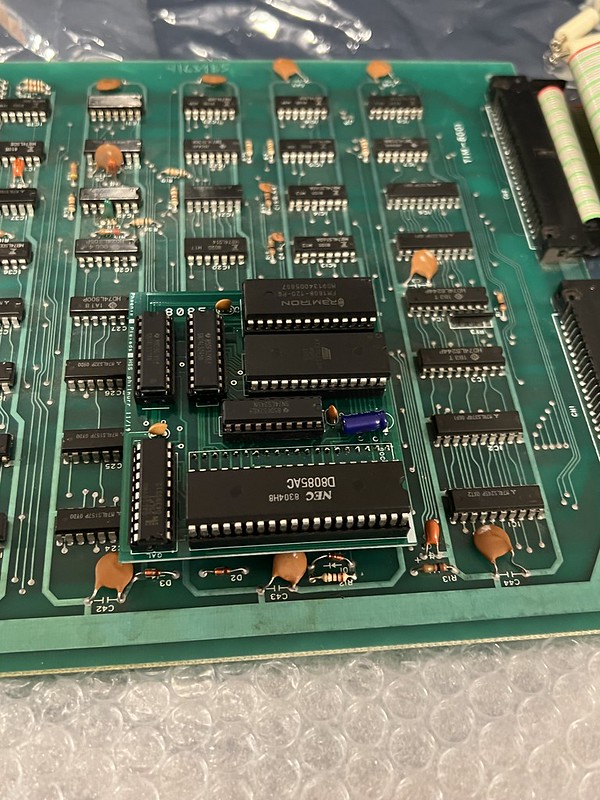
A replacement CPU for the one I cracked on the Phoenix game board arrived on Monday. I was thrilled to take another “crack” at getting the high score save kit working on Phoenix so I could have both free play and high scores saved on one of my all-time favorite games. The chip fit into the daughter board socket perfectly, which I then plugged into the PCB seemingly without issue.
Seemingly…when I plugged the board back in and tried it I was getting garbage from the board like the following:
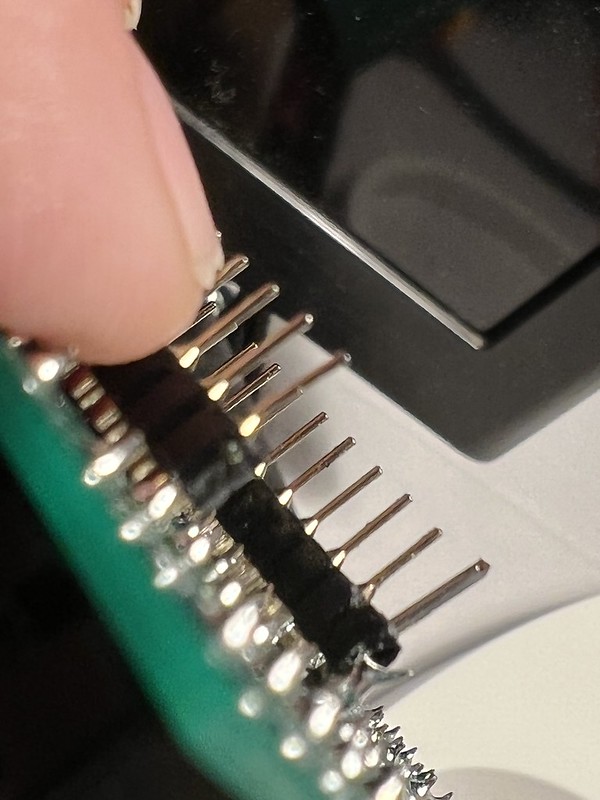
It was the same error I was getting when I tried the board with the broken chip previously, which made me think it was linked to an issue with the soldering of the socket (see this post for all the gory details). I was pretty depressed given I assumed a pad around one of the pins was burned out and it was causing this issue. But when I removed the daughter board and inspected the pins I realized I had broken a leg on the daughter board of the high score save kit when plugging it in:
I broke one of the legs (lower left in the image above) on the daughter board, which was a new twist to an ongoing nightmare project. As a test I removed the CPU from the daughter board and plugged it directly into the game board and plugged it back into the machine and the game worked! Whew, that was a relief, it meant my soldering was not the problem, and seems like the garbage on the screen was a result of the broken pin on the daughter board. But how do I fix that?
I was stumped, but I saw a video were someone used wire to replace broken chip legs, but I needed something a bit more solid than wire. So I found an old pin from the Coventry DMLL Expo and cut a piece off and soldered it directly to the board.
This meant removing the remaining broken piece and then opening up the black plastic a bit so the pin could be soldered in cleanly and still use the remaining part of the black plastic for stability:
Admittedly this was a pretty ugly hack, but it was all I could think to do with the tools at hand. But the best part was that it worked!
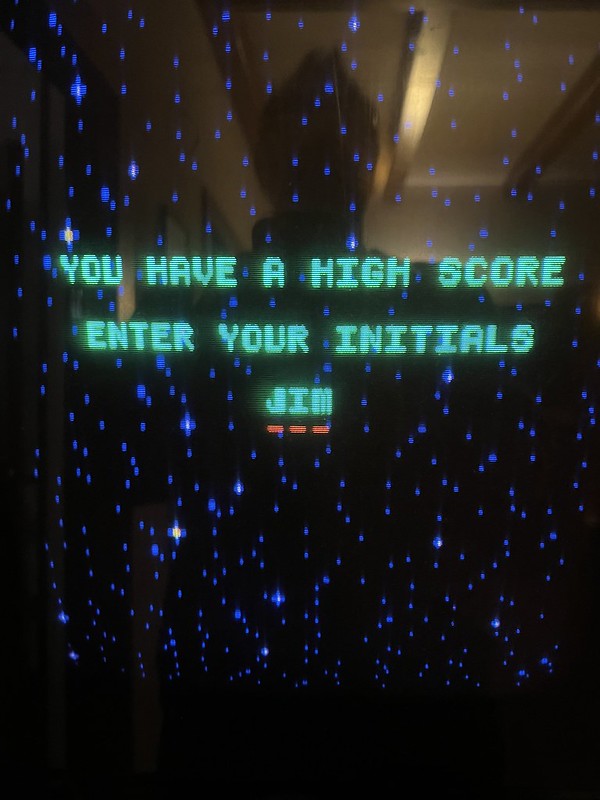
After replacing the game board and turning it on (while pressing left and fire simultaneously) I got the long hoped for menu screen, which was no small victory for this arcade hack-hobbyist … REDEMPTION!!!
I could now save high scores, and even add my initials/name for all to see.
The high score kit actually modifies the main screen to include the top 5 high scores. So, now my Phoenix game has free play and saved high scores. I can also backup and restore those scores at any time, not to mention the ability to turn off the 204K point bug, but why would I do that?
This was without question the most satisfying arcade project yet because it was quite challenging and I had to find a non-standard fix to an issue of my own making. I’m still very much a novice/hack, but this gave me the confidence I needed to take on the Gyruss multi-game kit which will require quite a bit of soldering and modding to get working.


Pingback: bavaweekly 12-14-2021 | bavatuesdays
is this kit available for purchase? If so I could use 2 of them!
Thanks!!
I spoke with the person I bought it from, and they are no longer selling anyof these kits. I think he said he would share the source code if anyone else wanted to take a shot at it, but I am a bit ignorant there, i am going to bring this board to someone who knows more soon, and let me see what might be possible.