
I’m on a bit of a bavacade blog roll to document some of the work done on a few cabinets, namely Condor, Bagman, and finally—for now—Donkey Kong Junior.

Funny enough I thought Donkey Kong Junior was the least beat up of the three initially, it had some gouges at the corners, a broken lip where the T-molding fits, and the bottom pedestal was crumbling a bit—but overall the cabinet looked solid.
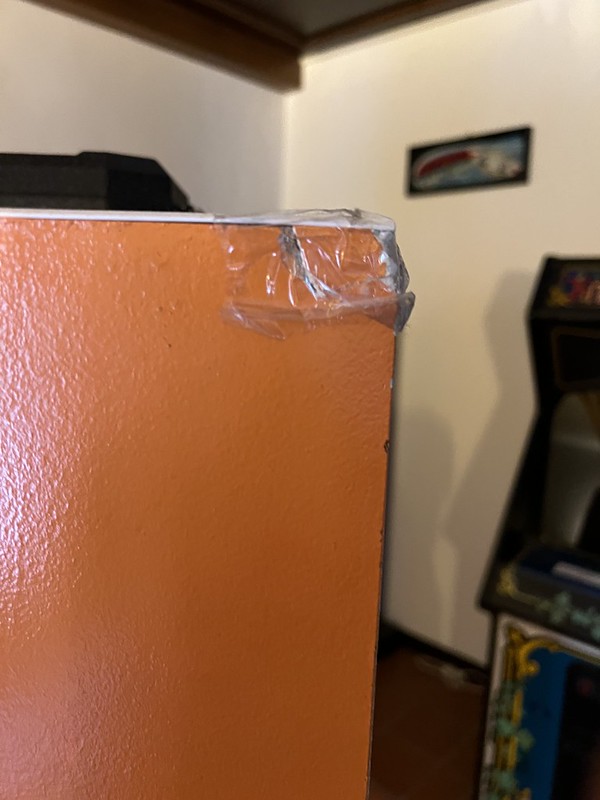
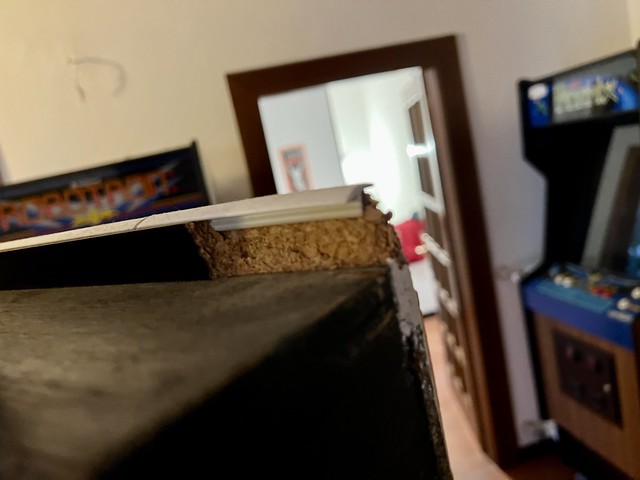
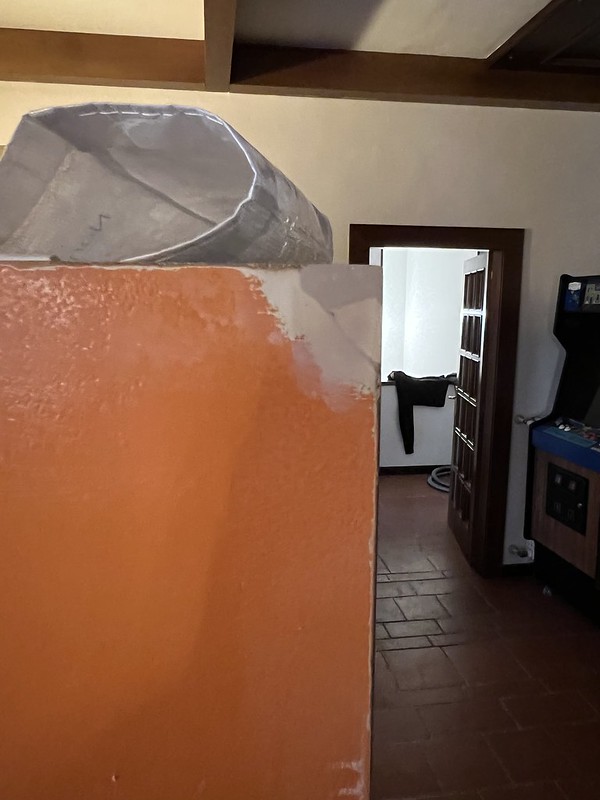
But in the following image you get a sense of not only some issues with the rounded corner but also the black pedestal crumbling:
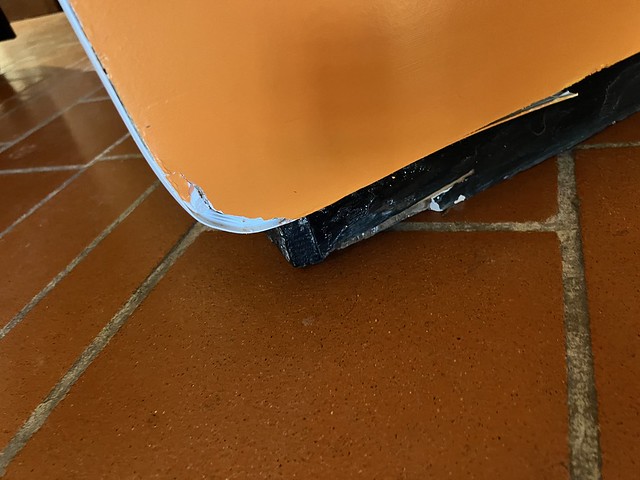
Turns out the entire base was extensively water damaged and needed to be replaced. The sides are made of 5/8″ particle board rather than plywood, which made me think it might have been replaced, but according to this forum thread on KLOV that was the building material for cabinets made in the US*, as opposed to the plywood cabinets being from Japan. The things you learn on the internet.

Anyway, I went to work dismantling Donkey Kong Junior, and given this is the fourth game I have stripped down to its bones, I’m getting quicker and more efficient. But, as always, I took ALL the photos just to be sure, as the album on Flickr above confirms.
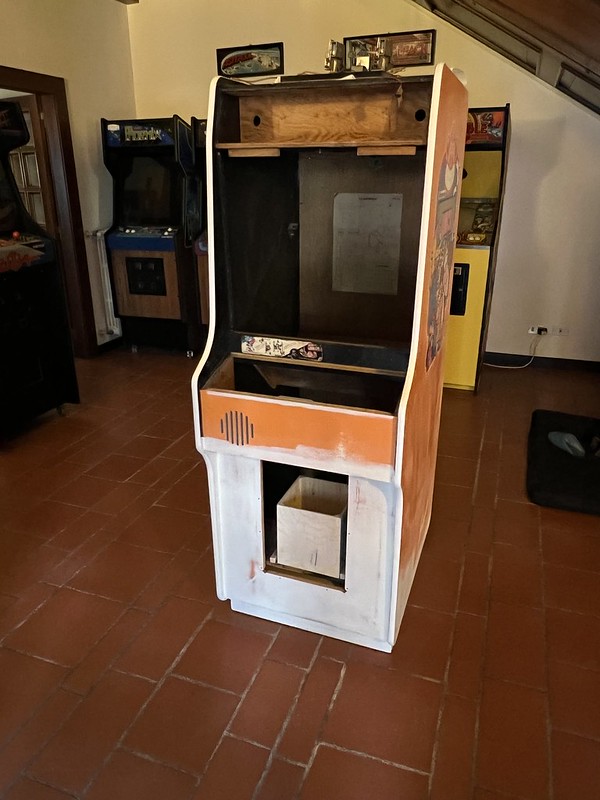
After taking it apart Alberto picked it up and got to work on replacing the pedestal and fixing any gouges. I also asked him to add wheels like he had for Bagman given I loved how they functioned. After a couple of weeks he finished up and reported it was a bit of a beast to restore, but he is awesome and it looked pretty awesome.
In the image below you can see part of the front panel beneath the coin door was cut out and replaced. It is noticeable from the bottom corners of the front panel that angle to the bottom corners of the space where the coin door goes. A sign of the beast Alberto was struggling with.
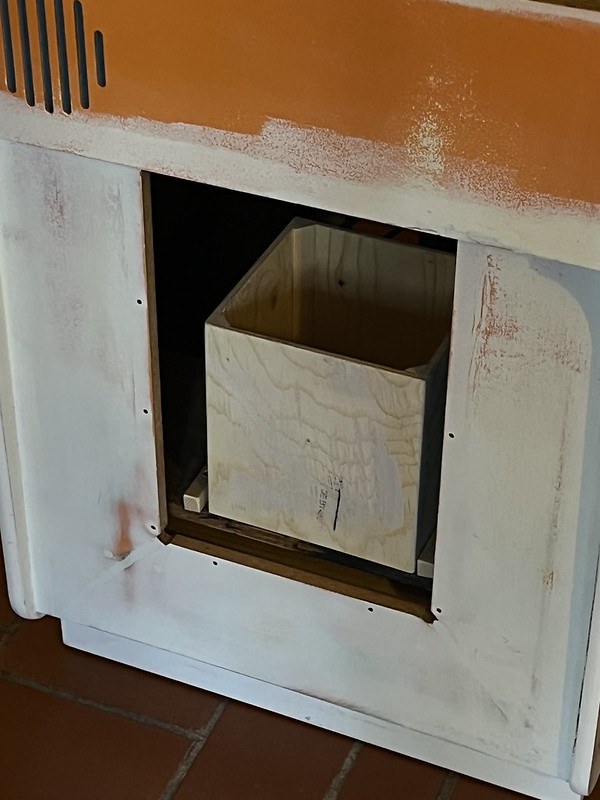
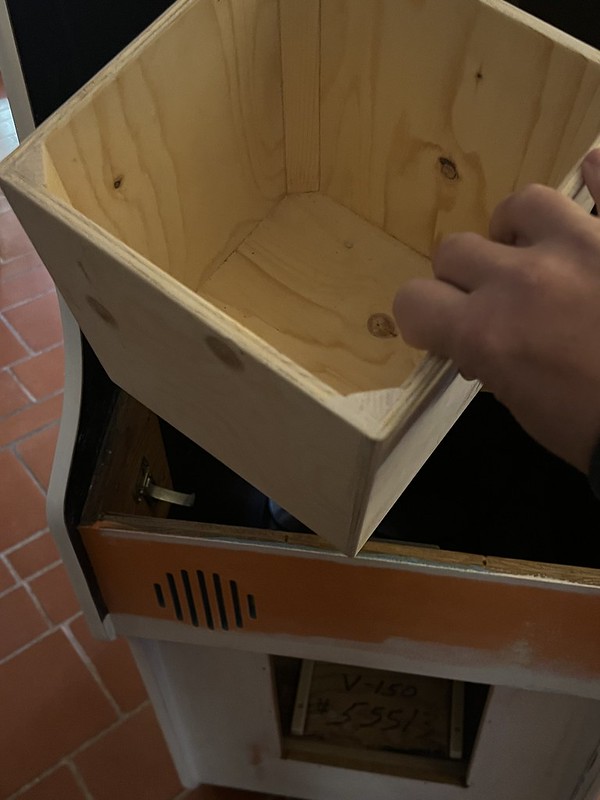
Alberto even made me a custom coin barrel given the original was missing, which is freaking awesome:
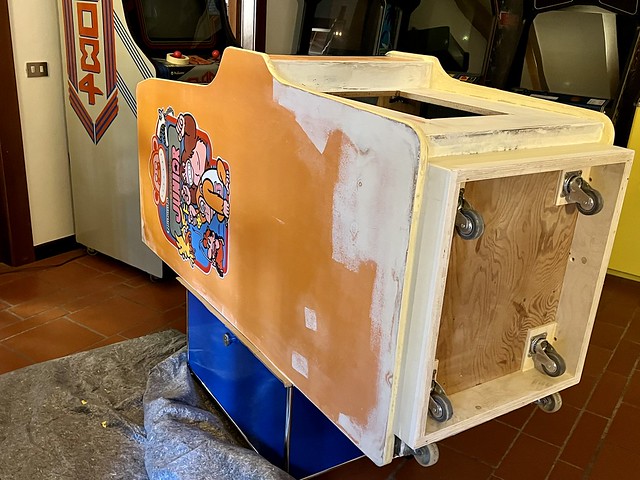
In the image below you can see the bottom sides have been repaired, and that it was, again, more extensive than either of us imagined:

You can get a sense of the clean up on the back, upper corners as well as the reinforcement of the T-molding groove from the following images:


And once I got the cabinet on its back in preparation for being painted, you have a good look at the new pedestal built with 2″ x 4″s as well as those awesome hidden wheels that Alberto installed:
I documented the paint job pretty well on twitter, because that is always fun:
Second coat on the cabinet made a big difference, so thinking three will seal it pic.twitter.com/KhPNt75zmP
— Jim Groom (@jimgroom) May 8, 2022
It ultimately took four coats to get rid of any signs of the work. What’s more, after finishing coat number four I realized I got matte rather than glossy paint, which is what I technically should have used to be truly faithful. So being OCD, I tried a transparent gloss spray paint but that looked uneven, so I just added a fifth coat of the matte and called it a day.
Some final glossy transparent spray paint sealer, and the orange for the Donkey Kong Jr cabinet is done. The on to black trim… pic.twitter.com/W3vHoDUDJf
— Jim Groom (@jimgroom) May 10, 2022
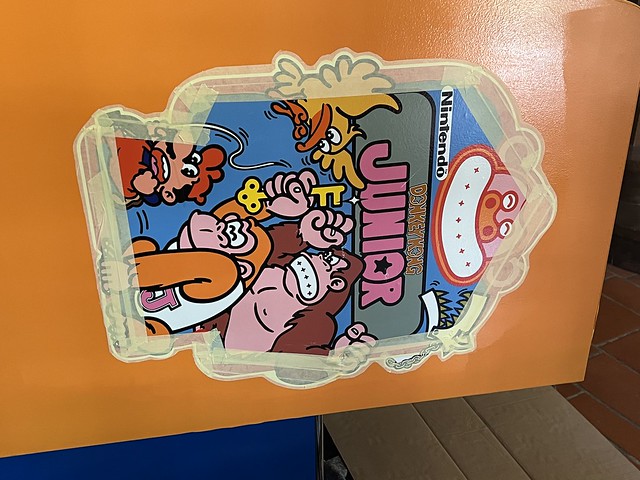
Previous to adding to the brown paper covering on the side art shown above, I applied masking tape and cut around the side art with an Exacto knife:
After the orange on both sides were done, I turned to the black trim and that came out pretty well. But it did bleed through the masking tape barrier in a few areas so I needed to do some clean-up. If I were to do it over, I would have started with the black trim and then done the orange, given black hides more than orange.
Finished up black trim on Donkey Kong Jr cabinet this morning, which means it’s now time to put it back together. pic.twitter.com/kodJMSPaTX
— Jim Groom (@jimgroom) May 12, 2022
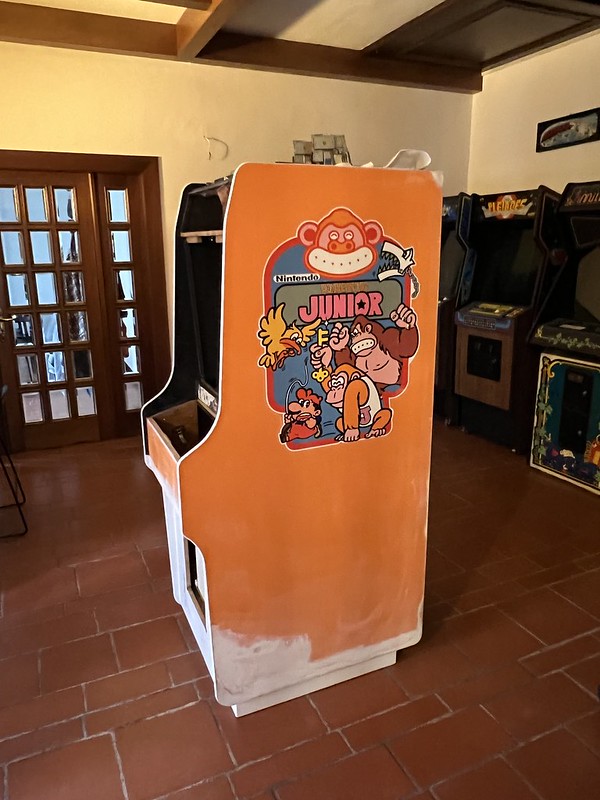
The end result was pretty awesome!
Fired up with how this one turned out. It’s like it just rolled out of the factory in 1982! pic.twitter.com/3ZMYMitglD
— Jim Groom (@jimgroom) May 12, 2022
The trick now was to put it back together, and that took a couple of hours and I did consult my teardown album quite a few times. But despite my nerves, it turned on without an issue. Look mom, no smoke!
All back together, but promised I would wait until after lunch to try turning it on as to not kill that festive Friday feeling if shit goes south pic.twitter.com/SAvZ3vu33S
— Jim Groom (@jimgroom) May 13, 2022
Dear reader, it worked! pic.twitter.com/ev63xmNaJV
— Jim Groom (@jimgroom) May 13, 2022
The happy ending here is that a local store owner had expressed interest in having Donkey Kong Junior on display in his store. I told him I was working on a restoration, and Saturday morning Miles and I delivered the goods, and this gorgeous Donkey Kong Junior is now on site and can be played at the hip clothing store 5 Tasche here in Trento.
Miles and I released Donkey Kong Jr out in the wilds of #Trento at the hip clothing store 5 Tasche pic.twitter.com/0syXowIKUC
— Jim Groom (@jimgroom) May 14, 2022
I have to note that along with the Scramble restoration, this was a really rewarding project given how beautiful this cabinet turned out. Perhaps not as next-level as Scramble given that required stenciling the side art, but the orange and black combination of Donkey Kong Junior is really magical. Also, this wraps up all the cabinet work to be done with the existing collection in Italy at the moment, which clears the deck for the incoming 15 14 games that will need a fair amount of TLC.
___________________________________
*These cabinets were made specifically in Redmond, Washington.

Pingback: bavacade To-Do List, Part 1 | bavatuesdays