
Omeka continues to be a huge draw for a variety of students, faculty, and librarians using Reclaim Hosting. And the good folks at the Roy Rosenzweig Center for History and New Media have been champions of our service from the beginning, and that has made a huge difference for us. One of the issues that has come up regularly is storage for Omeka sites, which by design usually have large archives of documents, images, etc. We tend to keep our storage space for our Student and Faculty plans fairly low (2 GBs and 10 Gbs respectively) because we are trying to keep costs low, and the sales line of “unlimited” storage space for shared hosting is impractical for us. We recently introduced an Organization plan that has 100 GBs for just these instances because the need is there. That said, if you have a lot of resources you might be better off with a service like Amazon’s S3—the backup redundancy is insane and you can’t beat the price.
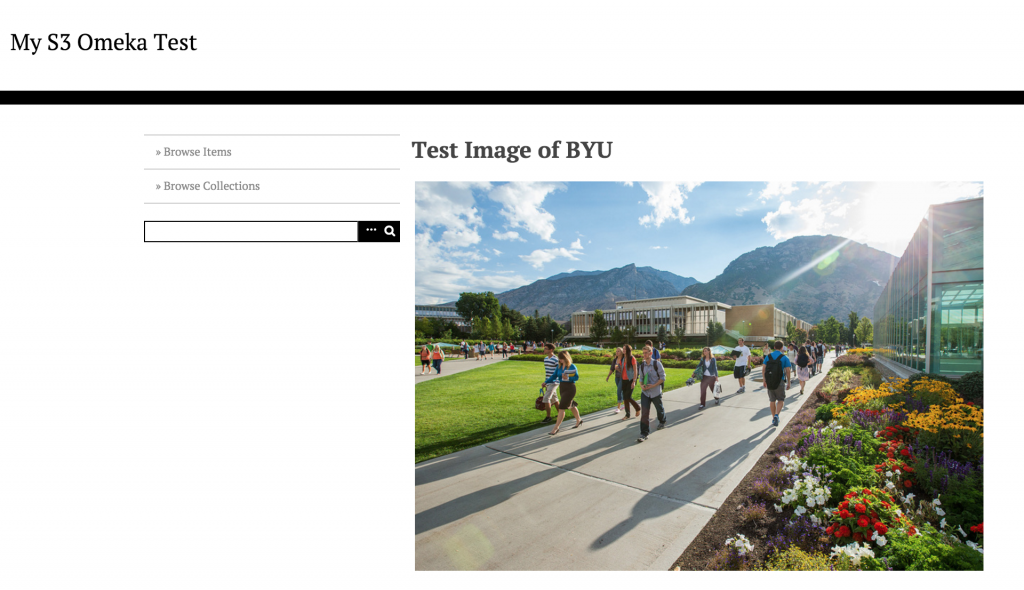
Over 8 months ago Tim Owens figured out Omeka has the option for pushing all uploaded files to S3 built into their code. It’s just a matter of setting up an Amazon S3 bucket with the right permissions and adding the credentials to your Omeka’s config.ini file to get it running. I was intrigued by the process, but Tim had taken care of it so I knew it was theoretically possible—but never tried it. Yesterday, however, I had the opportunity to help a Reclaimer get this up and running for their Omeka install. With some help from Tim on a couple of details I missed, I got it figured out. The rest of this post will be a step-by-step for setting up S3 storage with a self-hosted Omeka site.
First and foremost you need an Amazon S3 account. S3 is cloud storage, and it is remarkably affordable if you have a large collection of files. That said, if you are Reclaiming from the corporate giants of the web, well, then…. 🙂 Once you have abandoned your principles and signed up for an account—it’s easy, right?—you will need to do two things in AWS.
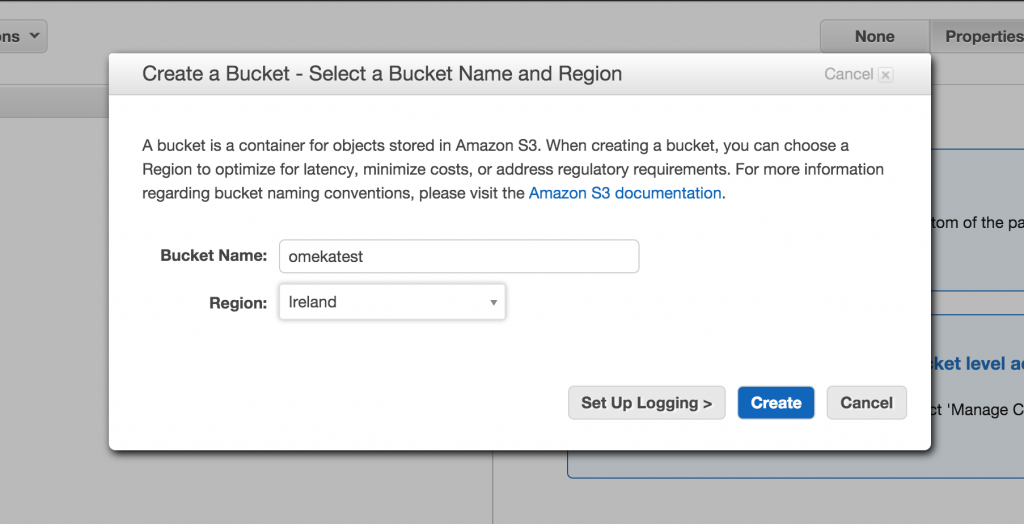
First, you need to create a S3 bucket for your site where all the file will be uploaded. Heads up, when choosing a region outside of the U.S. (for example, Ireland is chosen in the example below) you need to define the endpoint URL in the config.ini file for Omeka. If your files are stored on Amazon servers within the US, this will not be a concern. More on that below.
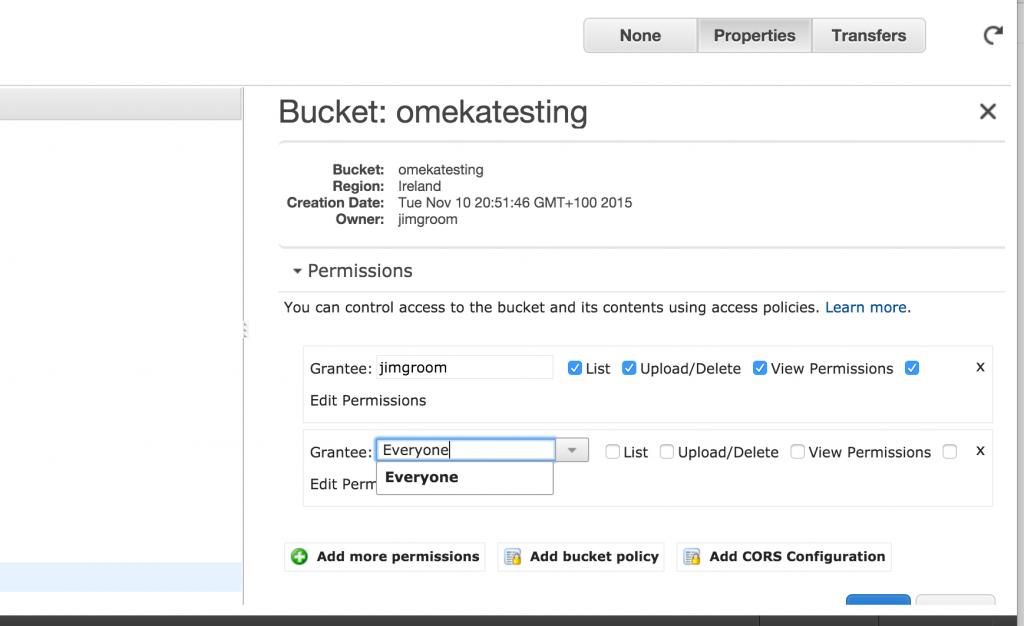
Once you have created your bucket you need to attach the proper bucket policy. You need to click on the “Add Bucket Policy” link at the bottom of the Properties tab for the bucket your created.
The policy you probably want is read-only access for anonymous users, but there are others to choose from. In order to get the right policy (which is a snippet of code) you can go to this page here and copy the relevant code into the Bucket Policy Editor. Make sure you change the bit of code that reads examplebucket to be your bucket. in my case it would be omekatest.
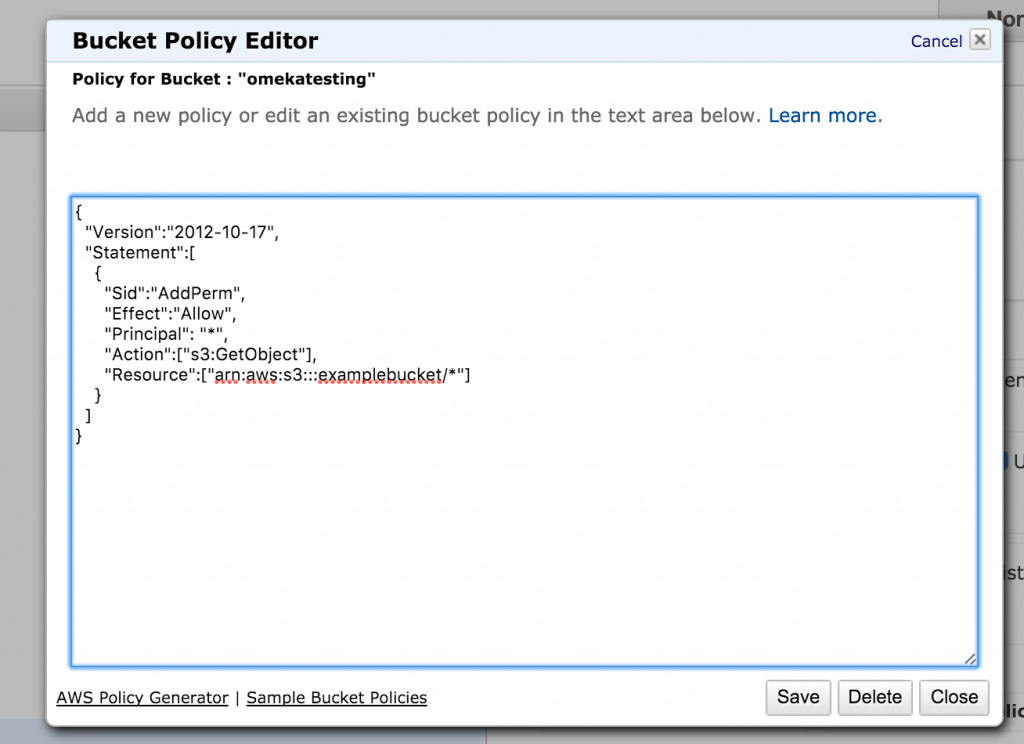
Once you have added that Bucket Policy the S3 bucket should be all set.
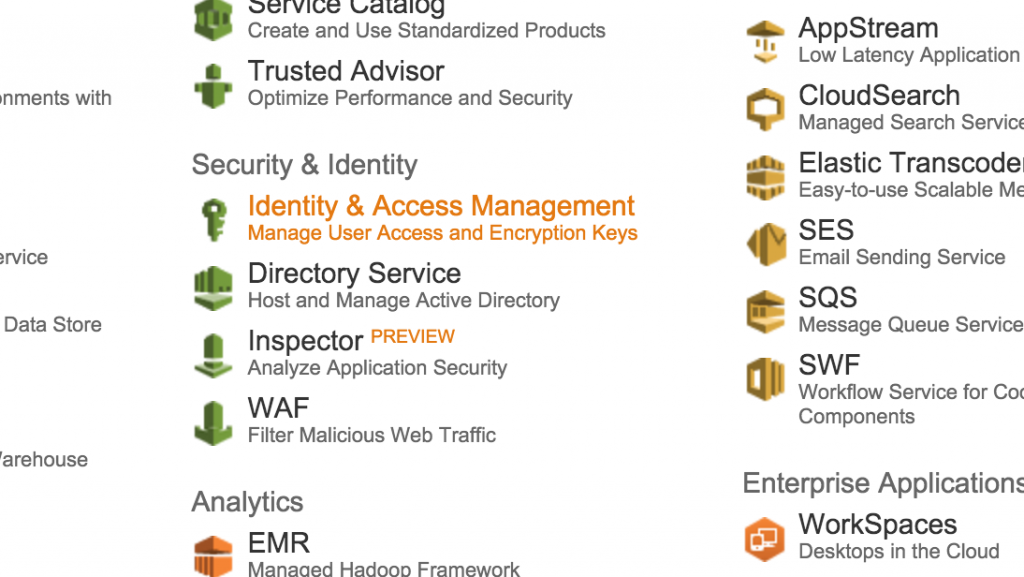
Now you need to create a user for Omeka S3 integration and grant them the proper permissions policy. You do this in the Identity & Access Management area of the Amazon AWS dashbaord, also called IAM.
From the IAM area you can create a new user, once you do you will have an Access Key ID and Secret Access Key similar to those shown below.
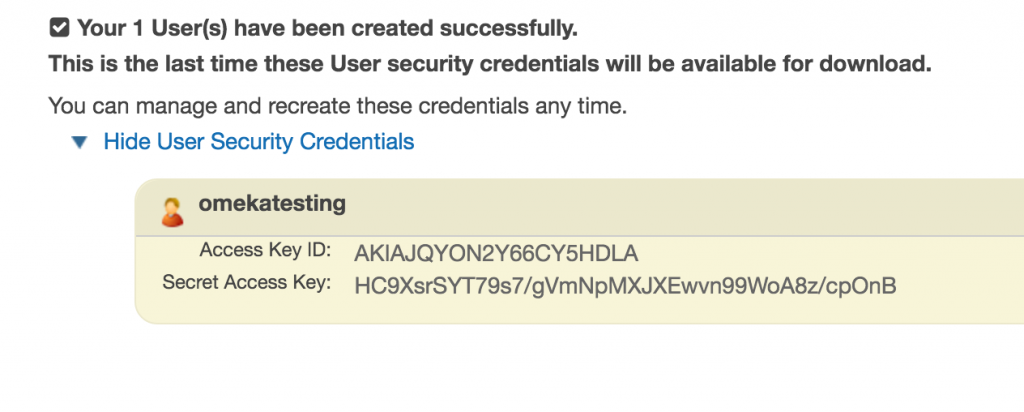 Once you have the necessary keys be sure to copy and paste these somewhere, you will need them for the Omeka config.ini.
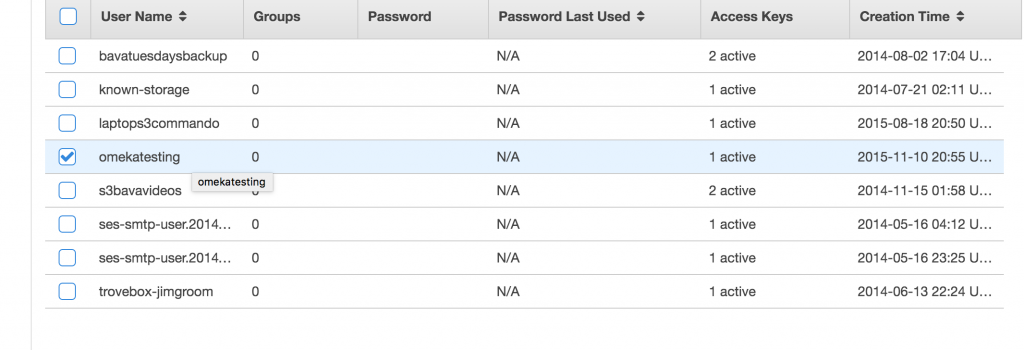
You have one last step, you need to select your appropriate user for the Omeka S3 integration.
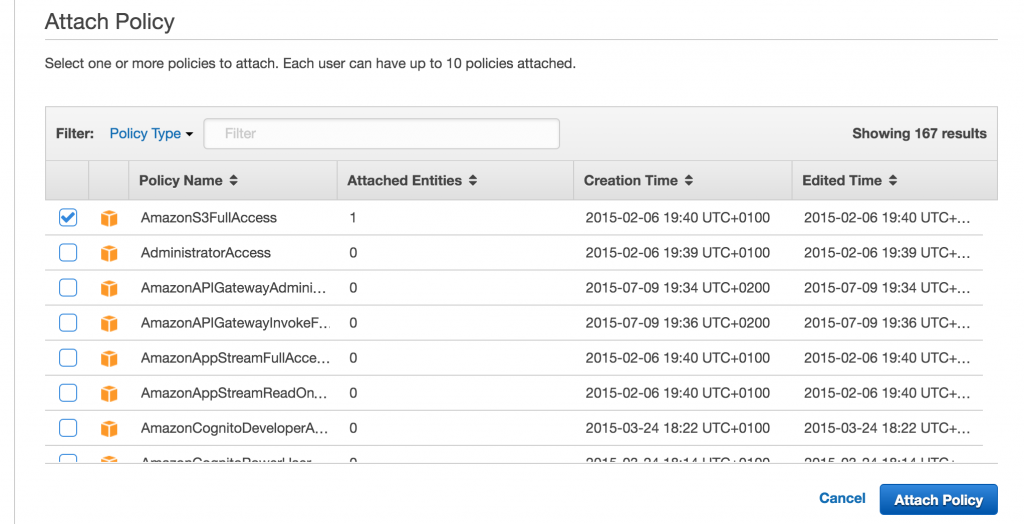
You will then need to go to the Permissions tab and attach a policy for that user.
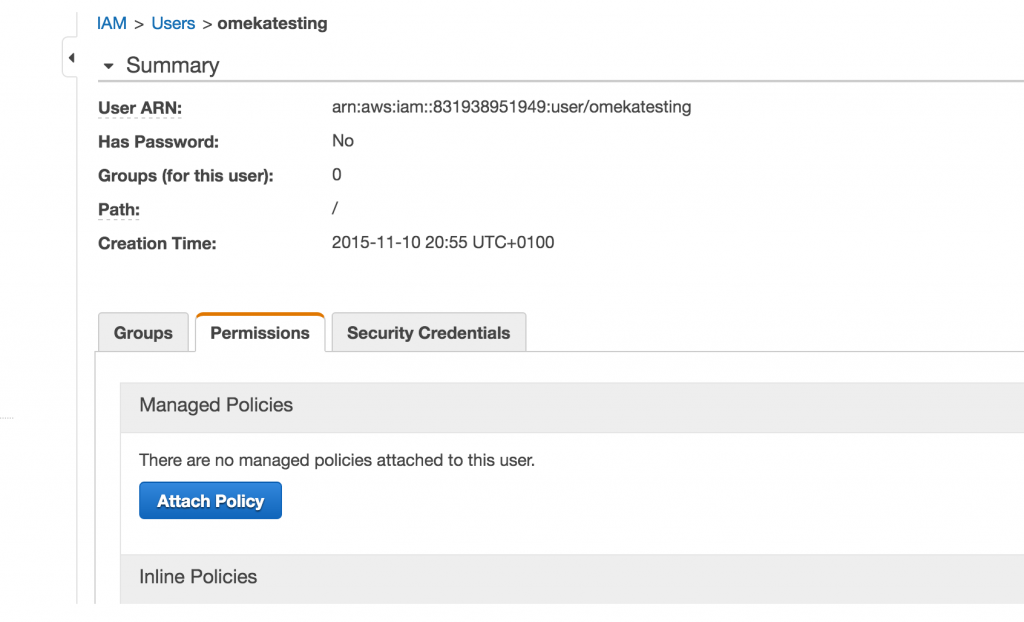
The policy you need to attach is the AmazonS3FullAccess policy.
 Once you do this, you are done in Amazon. You have got your bucket set up with the correct permissions, and you have the user created that will be used to authenticate into that bucket from Omeka. To finish the setup you need to go into your Omeka install and navigate to config.ini file (applications/config/config.ini)—File Manager may be the easiest way to get there in CPanel. Once there, you need to edit the file and uncomment the following section (which means removing the “;” in front of the code).
; The accessKeyId, secretAccessKey, and bucket options are all required.
; If the expiration option is set, files will be uploaded with "private"
; access, and Omeka will generate URLs that are only valid for a limited
; time. If the expiration option is missing or left commented out,
; uploaded files will always be publicly readable.
;
storage.adapter = "Omeka_Storage_Adapter_ZendS3"
storage.adapterOptions.accessKeyId = AKIAJQYON2Y66CY5HDLA
storage.adapterOptions.secretAccessKey = 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
storage.adapterOptions.bucket = omekatesting
; storage.adapterOptions.expiration = 10 ; URL expiration time (in minutes)
storage.adapterOptions.endpoint = https://s3-eu-west-1.amazonaws.com; Custom S3 endpoint (optional)
You’ll notice the AWS user Access Key and Secret key have been added, as has the bucket name. The other bit is the endpoint, which is only mandatory if you are storing files on a server outside the U.S. If so, you will need a URL like https://s3-eu-west-1.amazonaws.com as a defined endpoint so the Bucket will work. You can also set an expiration time in minutes if you need it, if not it can remain commented out.
Once you save the config.ini files with your accesskey, secret, bucketname, and endpoint (if needed) you should be all set. When you upload a file to Omeka now, it will be sent directly to this S3 bucket.
Additionally, if you already have images setup on Omeka, but would like to start using the S3 integration. You would need to copy all of your uploaded files (and the existing file structure) to that S3 Bucket. This is probably most easily done via FTP. Once you setup the config.ini file to point to S3, all existing file uploads on your site will break, so be sure to move everything ahead of time before you make S3 the default space for uploading files through Omeka.

This is great stuff Jim – only just started playing with Omeka a few months ago, but really enjoy working with it. I have it running a fan-site for CBC hometaper archives at http://audio.networkeffects.ca/
Many thanks for this great post. You said: ‘You would need to copy all of your uploaded files (and the existing file structure) to that S3 Bucket. This is probably most easily done via FTP’. I know how to do ftp upload to an EC2 virtual server, but need to upload thousands of files to my S3 bucket, no Ec2 involved at all. Any idea on how to do it trough ftp or similar?
Jeronimo,
You should be able to use an FTP client like Cyberduck to upload many files directly to S3. Here is a pretty good tutorial taking you through that setup for Cyberduck with a Mac, which may not be your deal: https://www.getreservoir.com/support/articles/amazon-s3-file-hosting-using-cyberduck-on-mac
The important point there are the credentials you need to sign-in:
Got it! Thanks for your quick and effective reply.
Hi there. I really appreciate this very clear write-up you’ve provided for setting up S3 for Omeka. I followed these instructions but am having a problem with Omeka accessing the files on S3. For some reason, the file paths are being converted using %2F instead of /, which is resulting in a lot of broken links. I tried reloading the logo file for the site to see if it was something that happened in my transfer or in the permissions. The new file uploaded to the S3 bucket, but the link is still broken because the %2F persists instead of /. I’m not having any luck troubleshooting, or finding anyone else who has had a similar problem. Can you help?
I think I may have figured out the issue. I added the endpoint. I’m on a US server, and even though you said it wouldn’t be necessary I tried it and it seemed to work.
Thanks again for this excellent resource!
Sorry for the delay, I have been traveling, but awesome to see you figured it out and shared it back here.
Pingback: MinIO and Object Storage in the Reclaim Cloud | bavatuesdays