
Now that I got my epic “Return to Reclaim Arcade” post out of the way, I can get back to some kind of normal blog rhythm. The long ones are harder and harder to write cause I am getting on in blog years. Alas, I can’t go on, I’ll go on…

The Scramble project has been nothing short of therapy for me these last few weeks. When I was back in Fredericksburg I attended to a few details around this project so that I could be done with it once I returned to Italy. This included having the Arcade Buffett do a cap kit on the Wells Gardner K4600 chassis that was the inspiration to strip the whole thing and totally redo the cabinet.
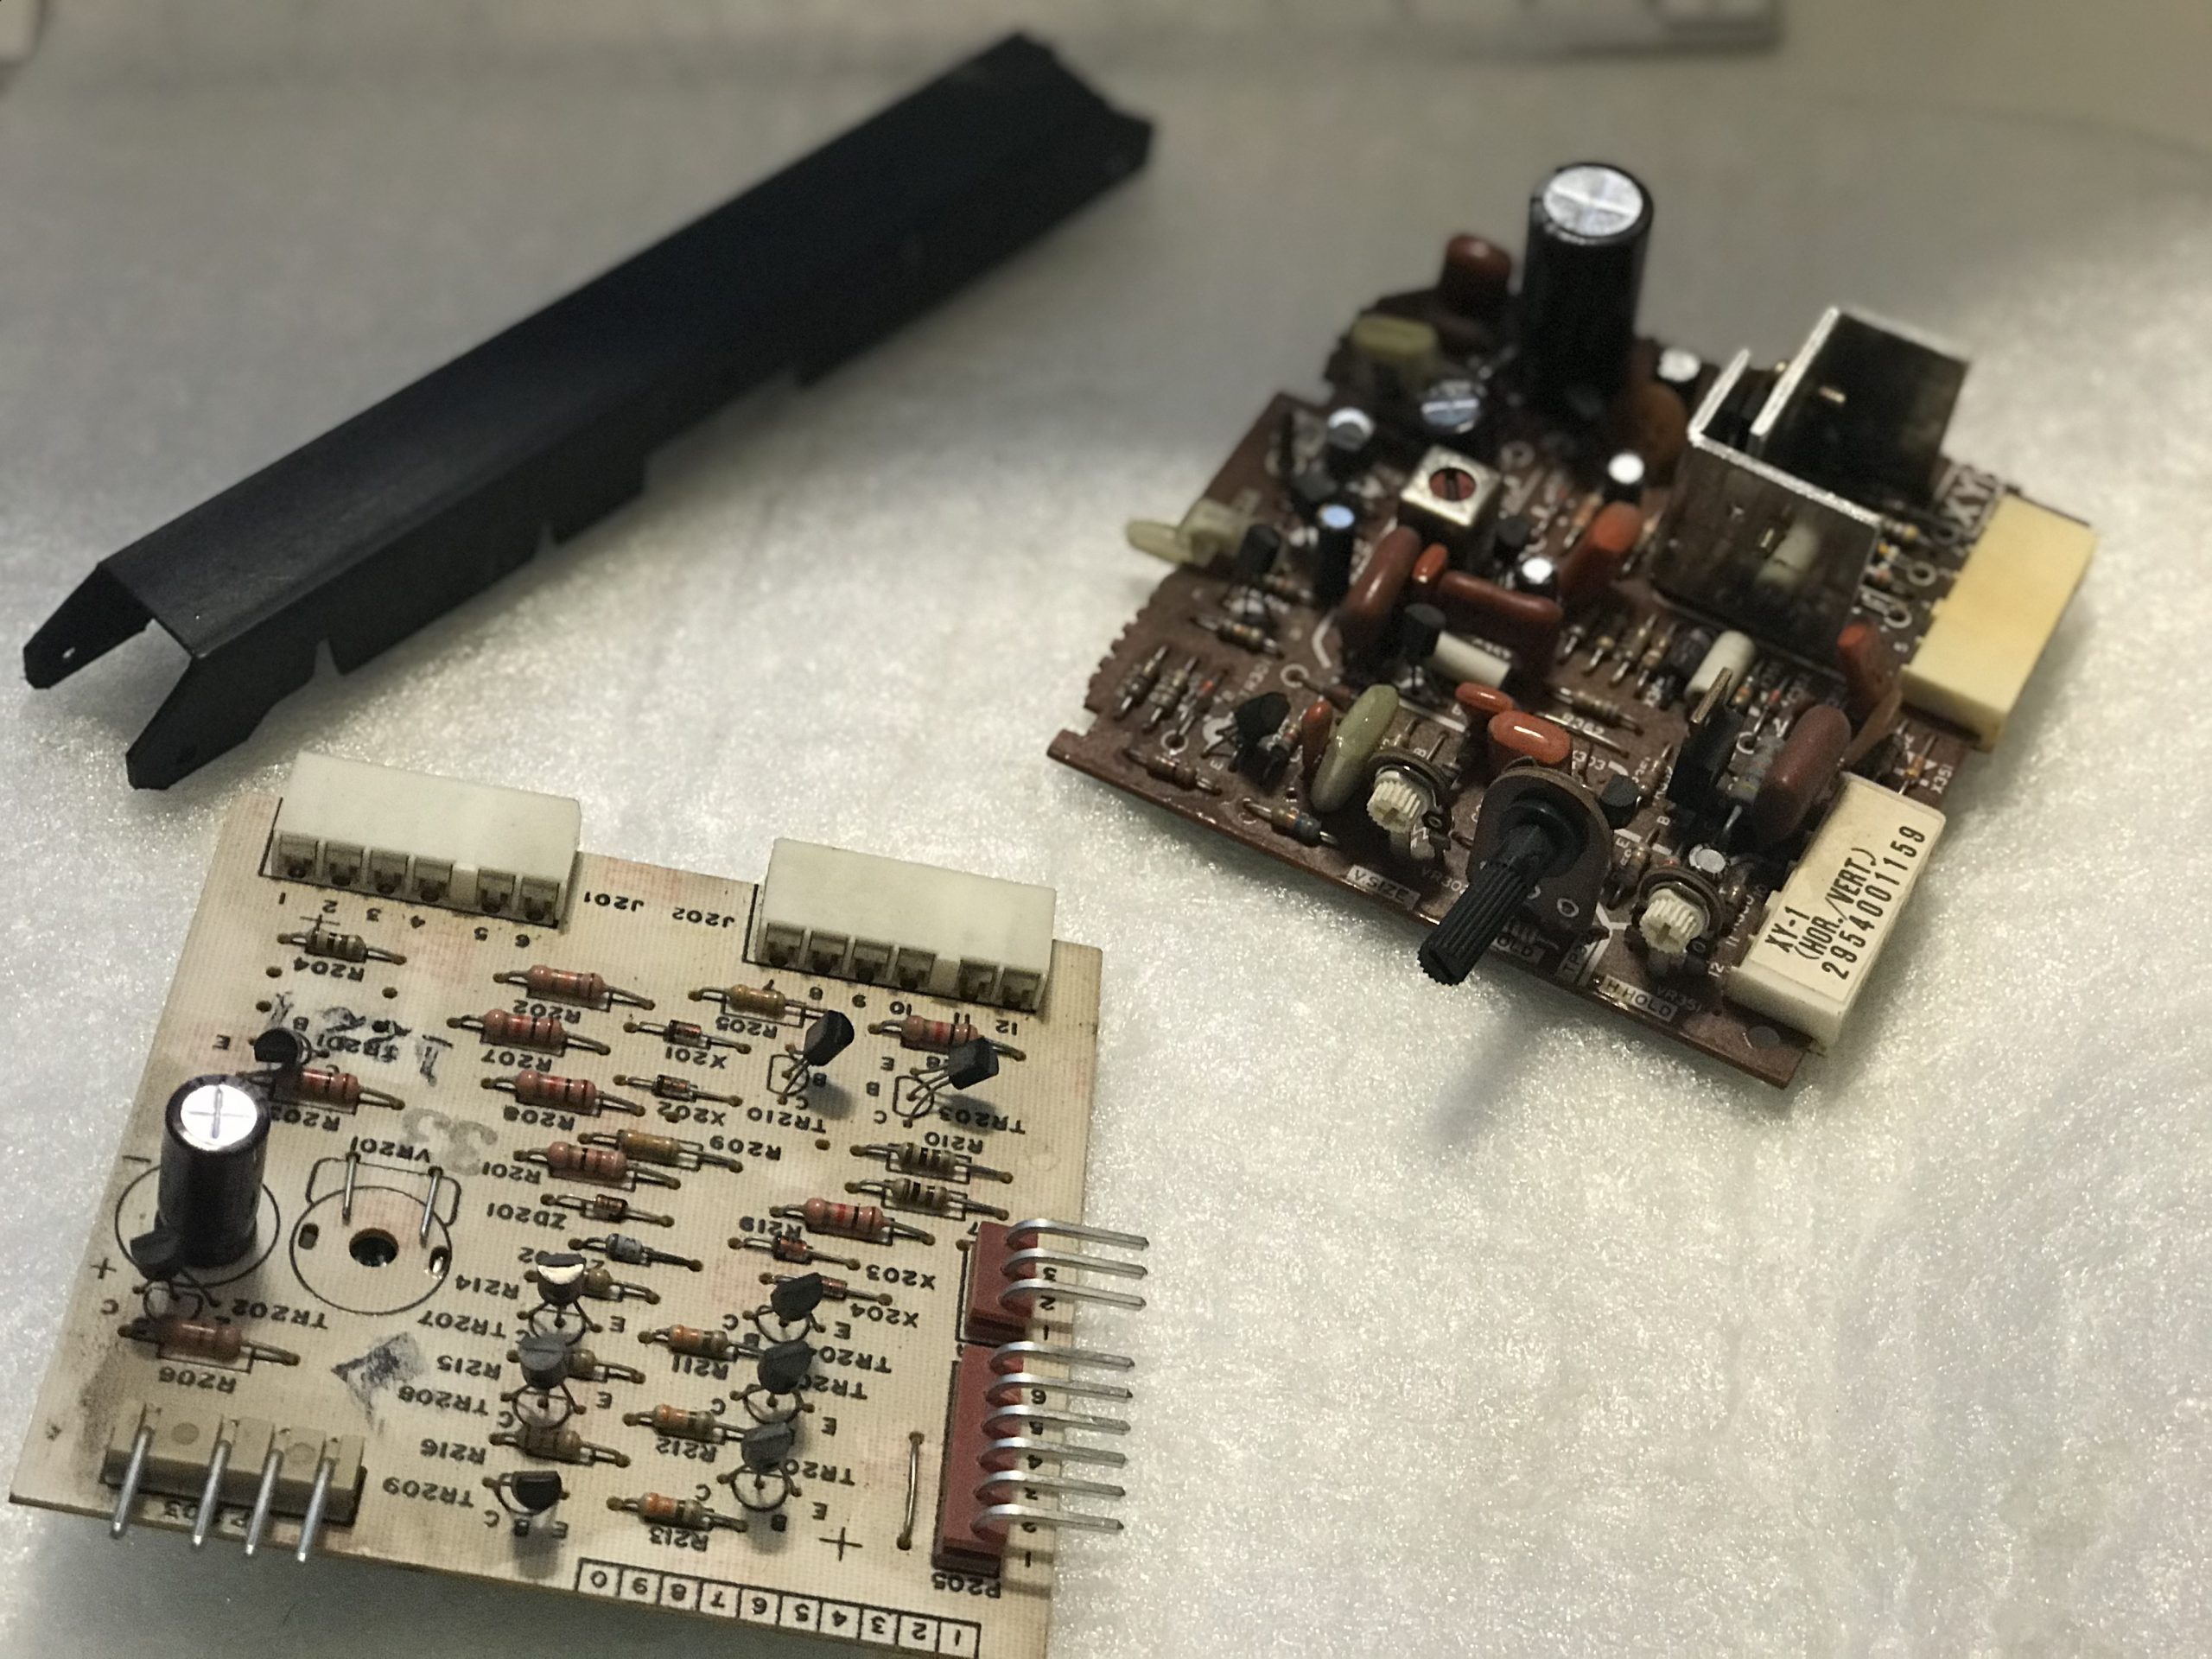
Video and synch boards for Wells Gardner K4600
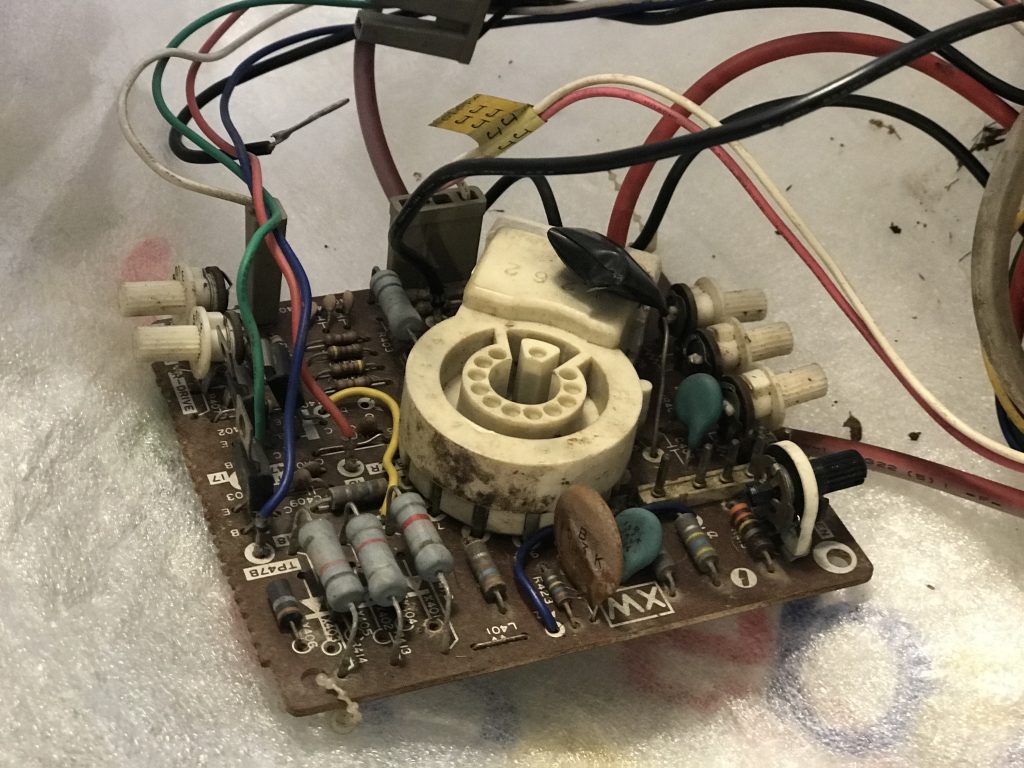
Wells Gardner K4600 Neck Board

Anode and Flyback for Wells Gardner K4600
The other bit was getting an extra PCB for the cabinet, which I bought before I even had this cabinet last year. I also had a high score save (HSS) kit added to it, so now I have two working Scramble PCBs, although the one I brought back has the HSS kit.
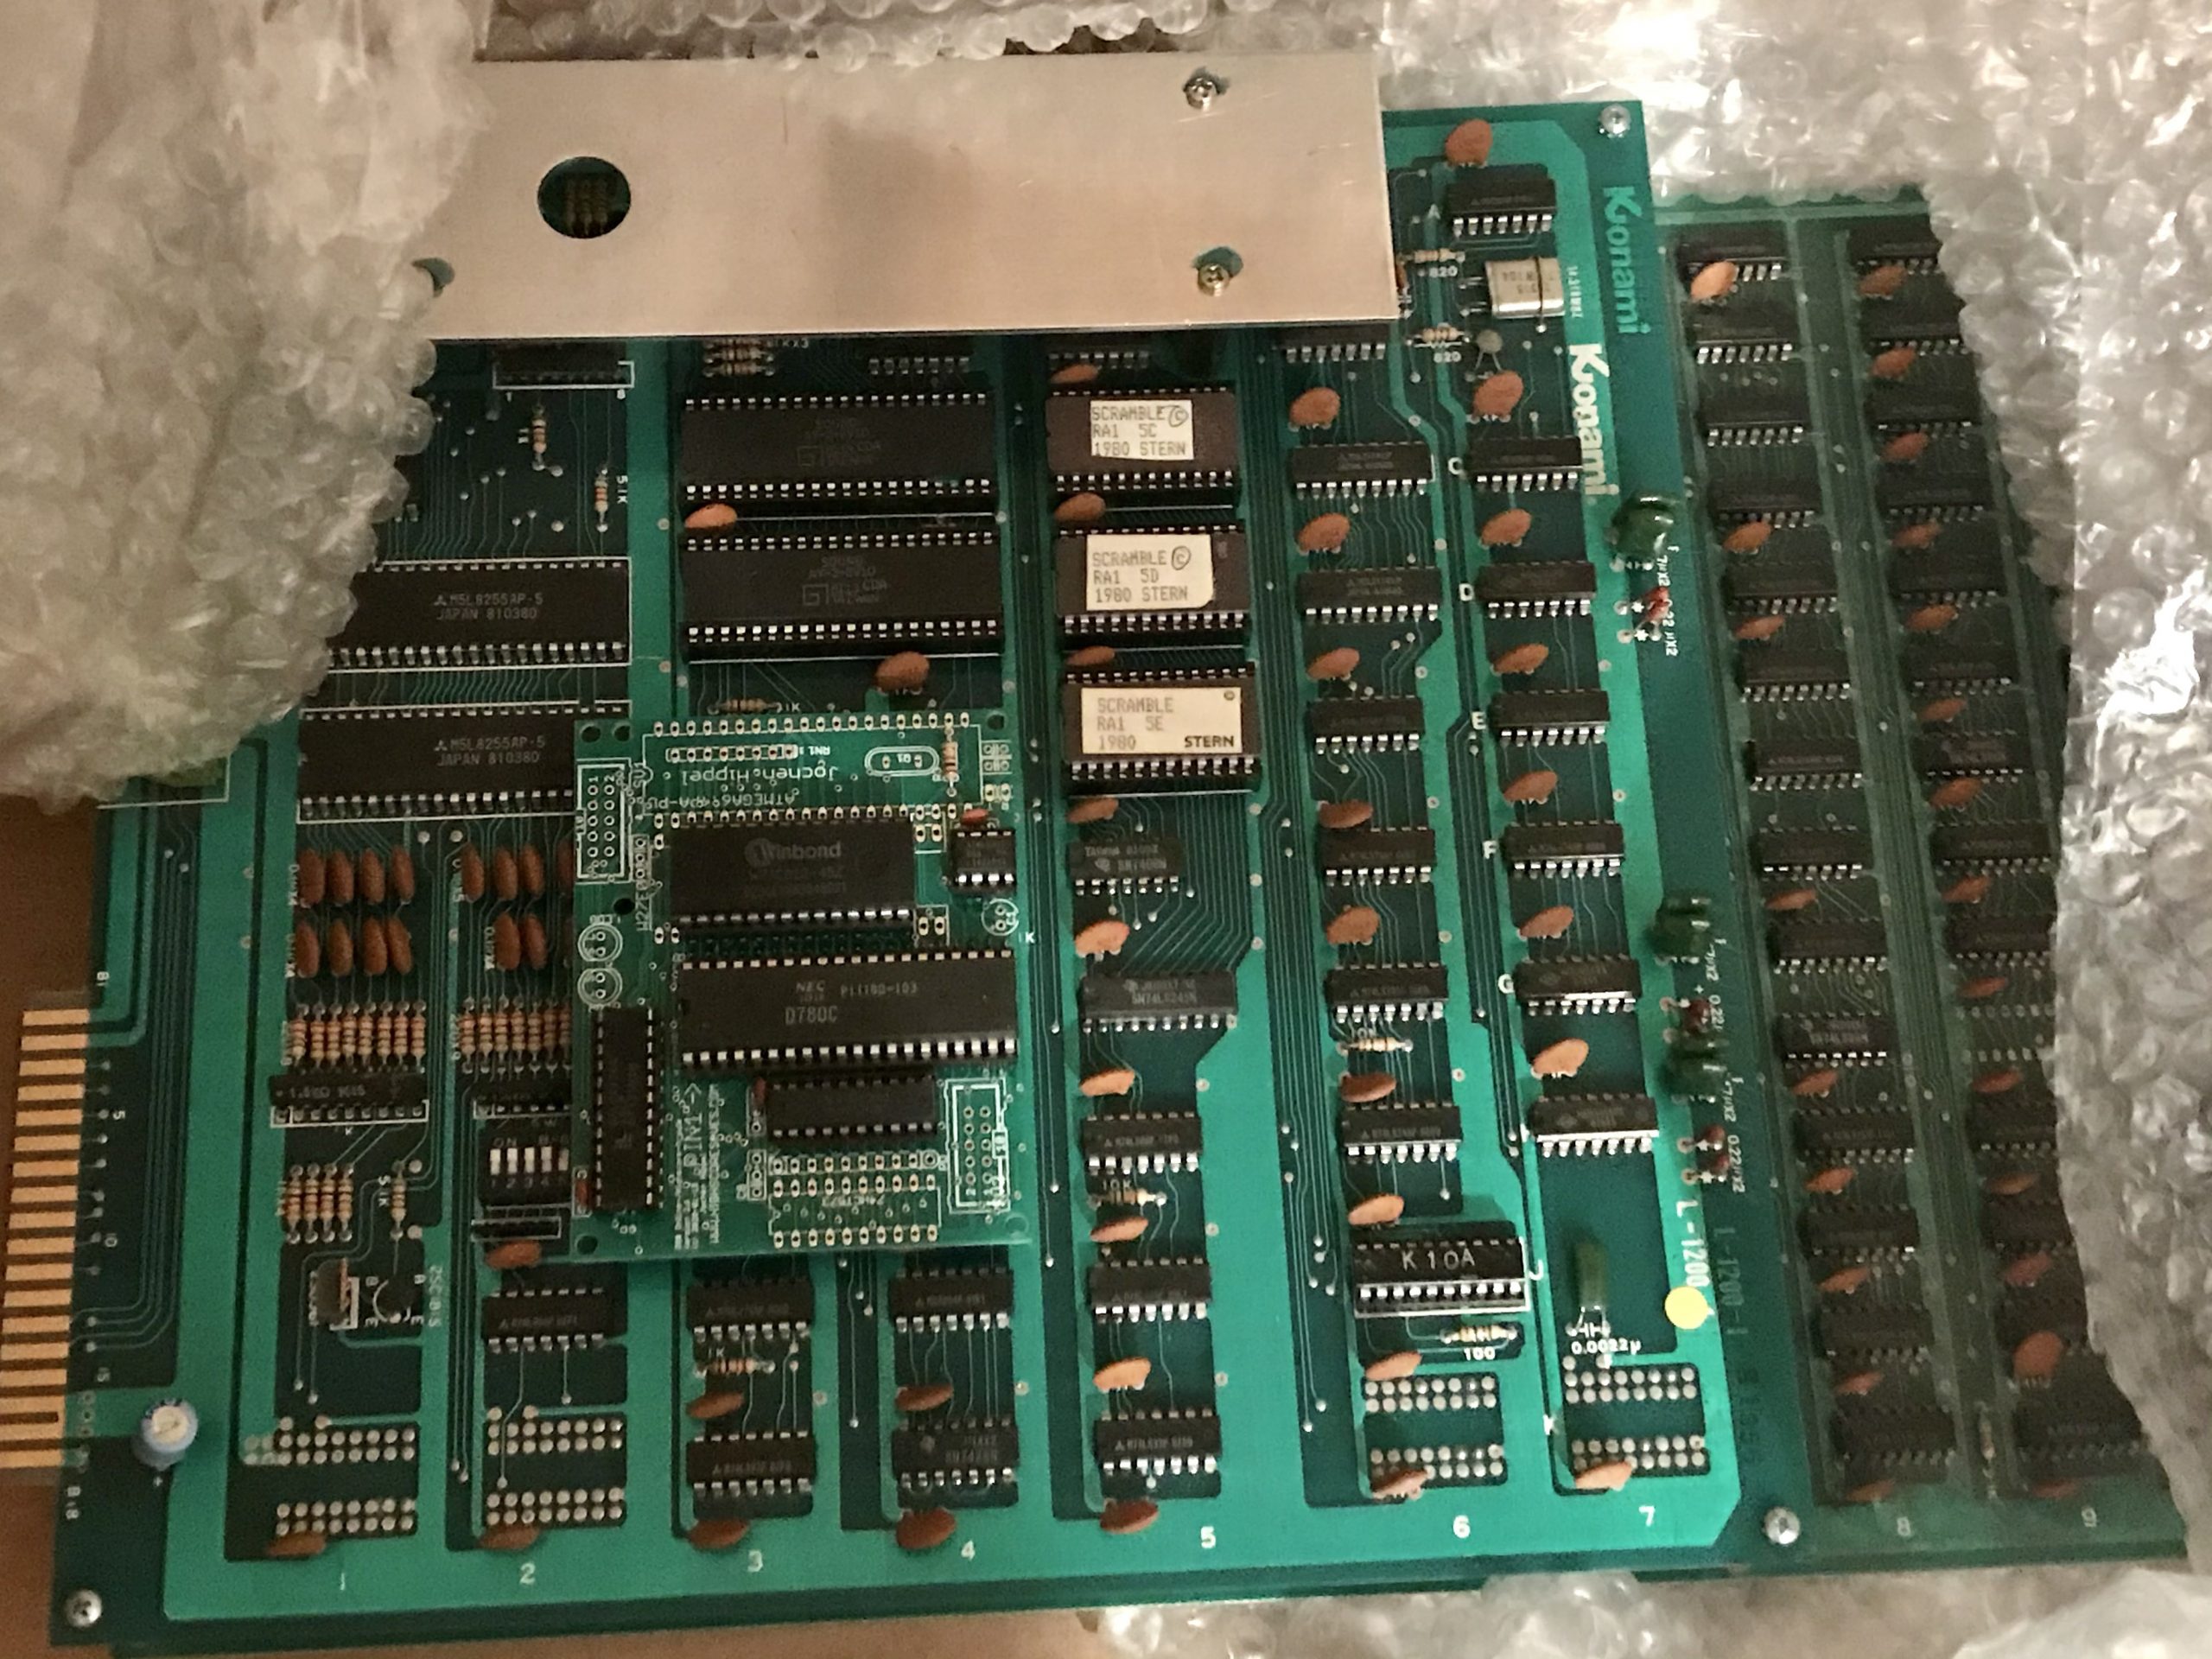
Scramble PCB with High Score Save Kit
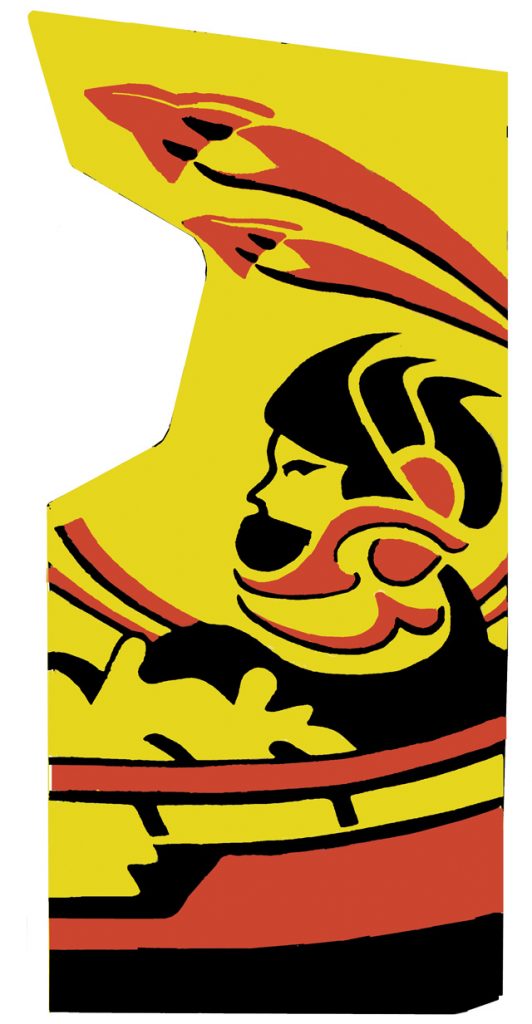
Finally, I picked up a side art stencil set from This Old Game so that once I got back to Italy I could start re-painting the cabinet and then replacing the generic STERN side art with the original Scramble astronaut side art.
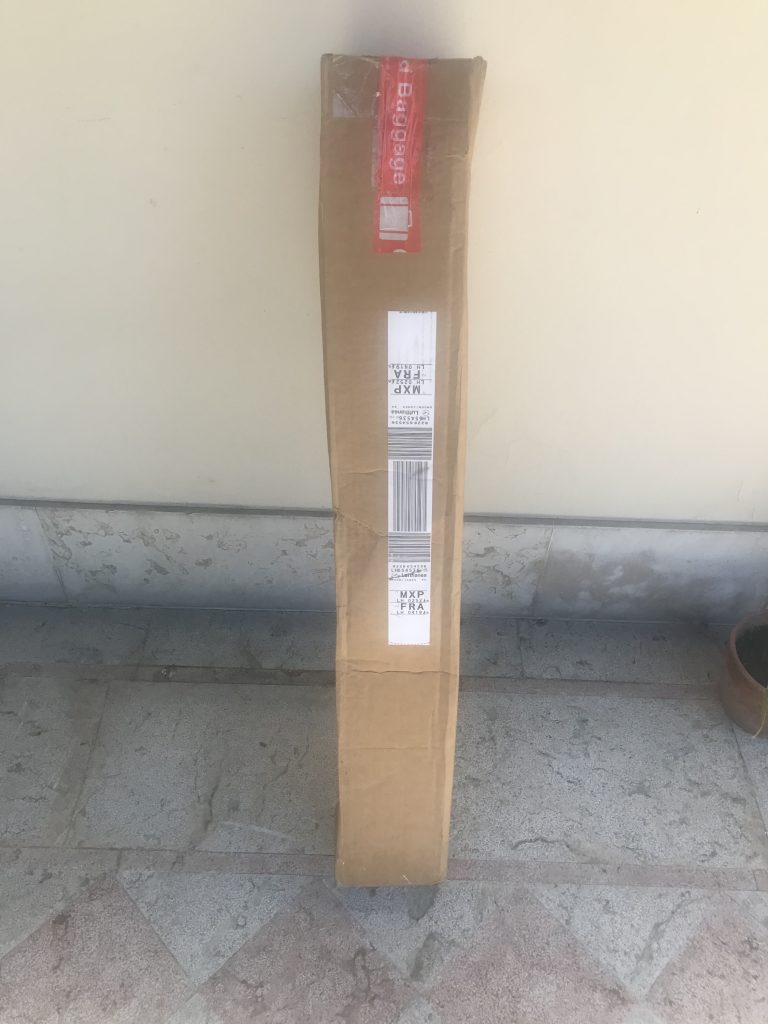
Scramble Stencil Art From IAD to MXP!
Here is what it should look like:
I also picked up an extra power supply and wiring harness for Scramble given I was going overboard, but I left that in Virginia for now given I was already bringing back way too much stuff.
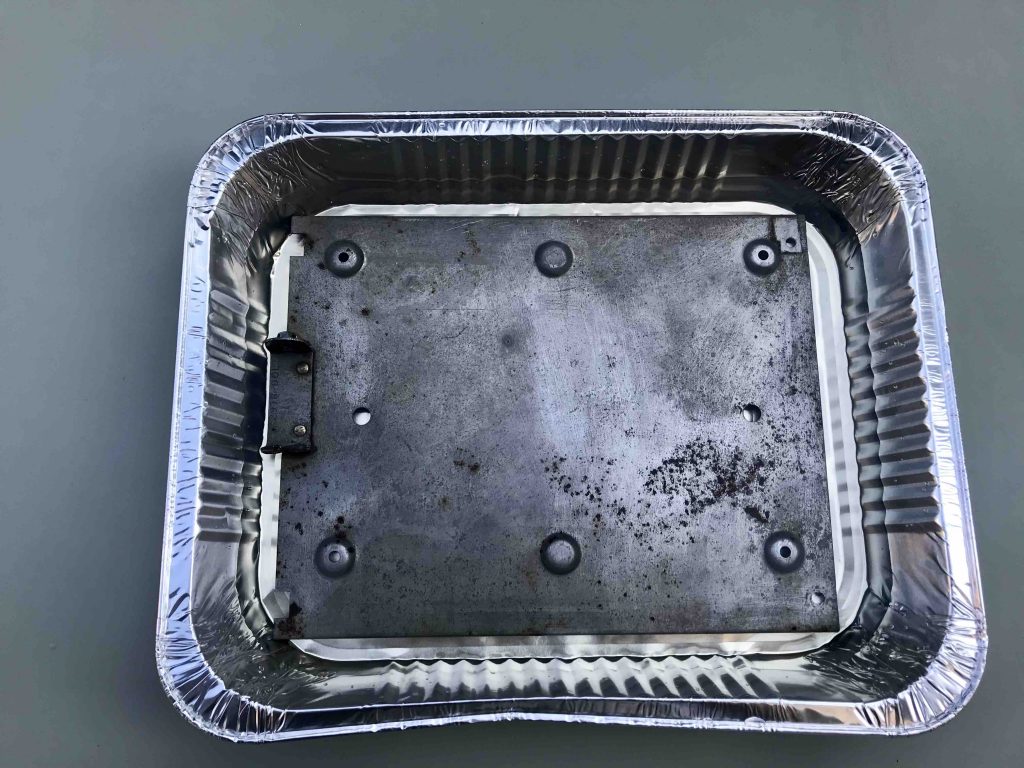
Wells Gardner K4600 mounting plate soaking in white vinegar
After returning to Italy and unpacking everything—had a scare I lost the stencil at Malpensa Airport—I was thrilled to see nothing broke. But soon after that I realized I didn’t have the metal mounting plate for the chassis that attaches it to the monitor—bummer. It’s a simple piece, but without it I would not be able to get the monitor working correctly. So, I reached out to Arcade Buffett who had an old one hanging around and sent it to Italy, which was awesome. Thanks Buffett! I’m currently soaking it in white vinegar and gonna scrub it before painting it in preparation to remount the chassis on the monitor harness.
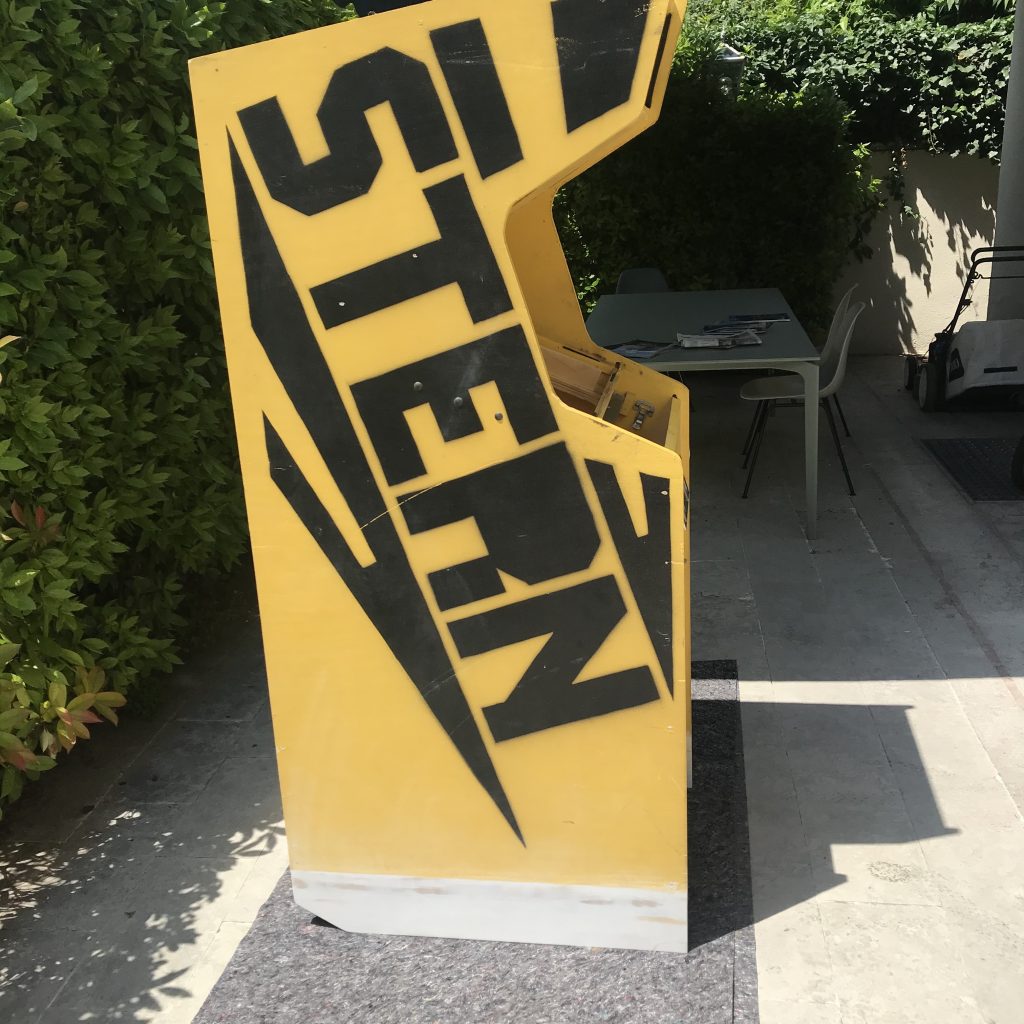
STERN side art
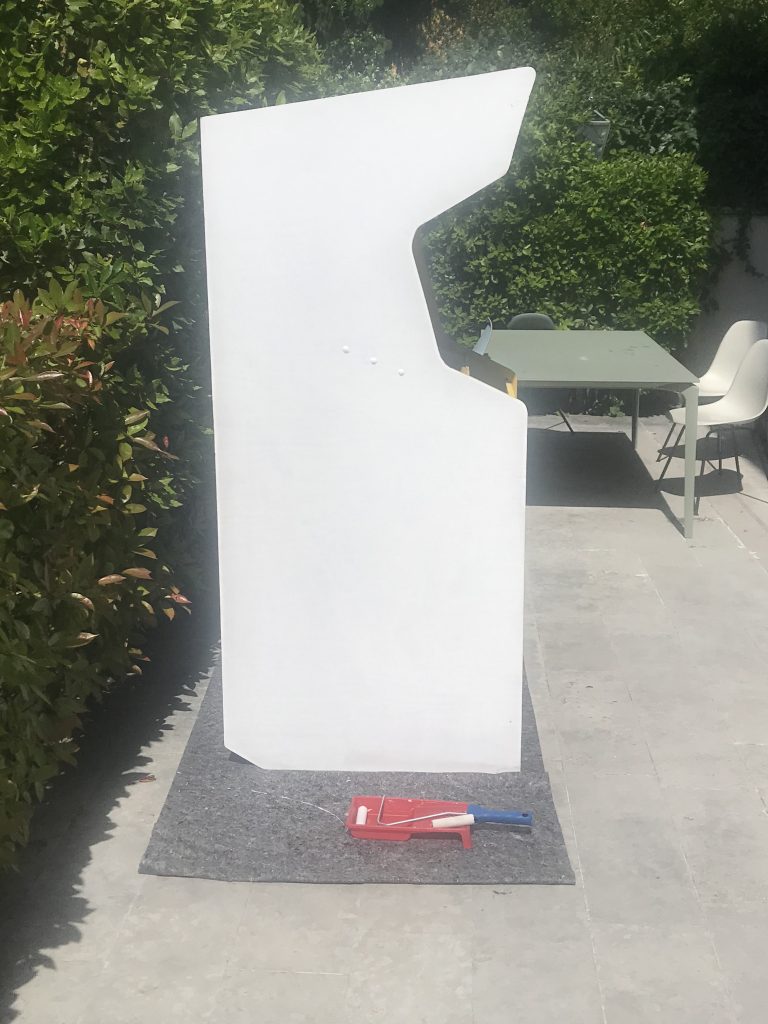
Second coat of primer all but erases STERN
Speaking of painting, I finally stripped every last piece of the cabinet, which included the coin door and speaker grill, and started priming the sides to make sure there were no relics of the original STERN side art given yellow shows everything. I then took the back door to a local paint store and got the color matched. I decided to roll rather than spray in order to keep things neat.
Morning project before the Reclaim day starts, first coat looking mighty yellow pic.twitter.com/vbru1qTIGx
— Jim Groom (@jimgroom) June 8, 2021
After the second coat of yellow the cabinet really started to look amazing.
Second coat finished. Thinking there may even be a third, despite it being total overkill pic.twitter.com/wcfztA7uSh
— Jim Groom (@jimgroom) June 9, 2021
I went overboard (it’s a theme with me) and did a third on the sides and front. I also calked any joint gaps in the cabinet so the overall effect is pretty damn tight.
Took care of a few hard to reach areas, some calking of gaps, and a third coat on sides and front. No real discernible difference, but I feel better pic.twitter.com/XGz9QCBbCv
— Jim Groom (@jimgroom) June 10, 2021
I am pretty thrilled with how it is looking so far, and I am about to start the stenciling this morning, which should take me a few days. But if all goes well I could have the game back together and playable in a week or so which is pretty damn exciting!

Pingback: Scramble Project Update: Stencil Art | bavatuesdays
Pingback: Scramble Project Update: Reassembly | bavatuesdays