
“Sometime you eat the b’ar, and wal (well), sometimes he eats you.”
–The Stranger in The Big Lebowski

Centuri Phoenix game board
It was that kind of weekend. I was finally decompressing from travel and birthdays and trying to get back into a rhythm. I decided to try tackling some of the high score save/multi-game kits for the bavacade I had gotten this past month. I started with what I thought would be the simplest by adding yet another mod chip to Phoenix in order to not only add freeplay (I already added a mod for that), but also save high hi-scores for both bug and non-bug games (which was an awesome feature). The full list of features can be found on this KLOV forum post, but I’ll capture a few here for posterity:
- number of lives
- bonus score
- coin settings
- freeplay or not
- sound in attract mode
- enable or disable 204K point bug
- attract maintained in freeplay mode
- sound in attract mode (selectable on/off) – this works apart from the background noise in the mothership attract stage where the CPU just can’t manage it
- high scores saved to FRAM (no batteries)
- 5 position high score table (there’s plenty more NVRAM, just no space on the screen)
- enter your initials (3 letters only, “old-school”)
- Separate high score lists for bug and non-bug high scores
So, the bug mode referred to in this list is the 204,000 point bug that my son Miles got twice in a row while we were playing each other and crushed all my fatherhood dreams of owning my kids at 80s video games. That said, I still love it, but I posted about this feature/bug already on the bava so I will spare you anymore thoughts here. Saving high scores is a lot of fun, and given Phoenix is a personal favorite I reached out to user philmurr on KLOV and got a custom Phoenix mod-chip that does all the above and more!
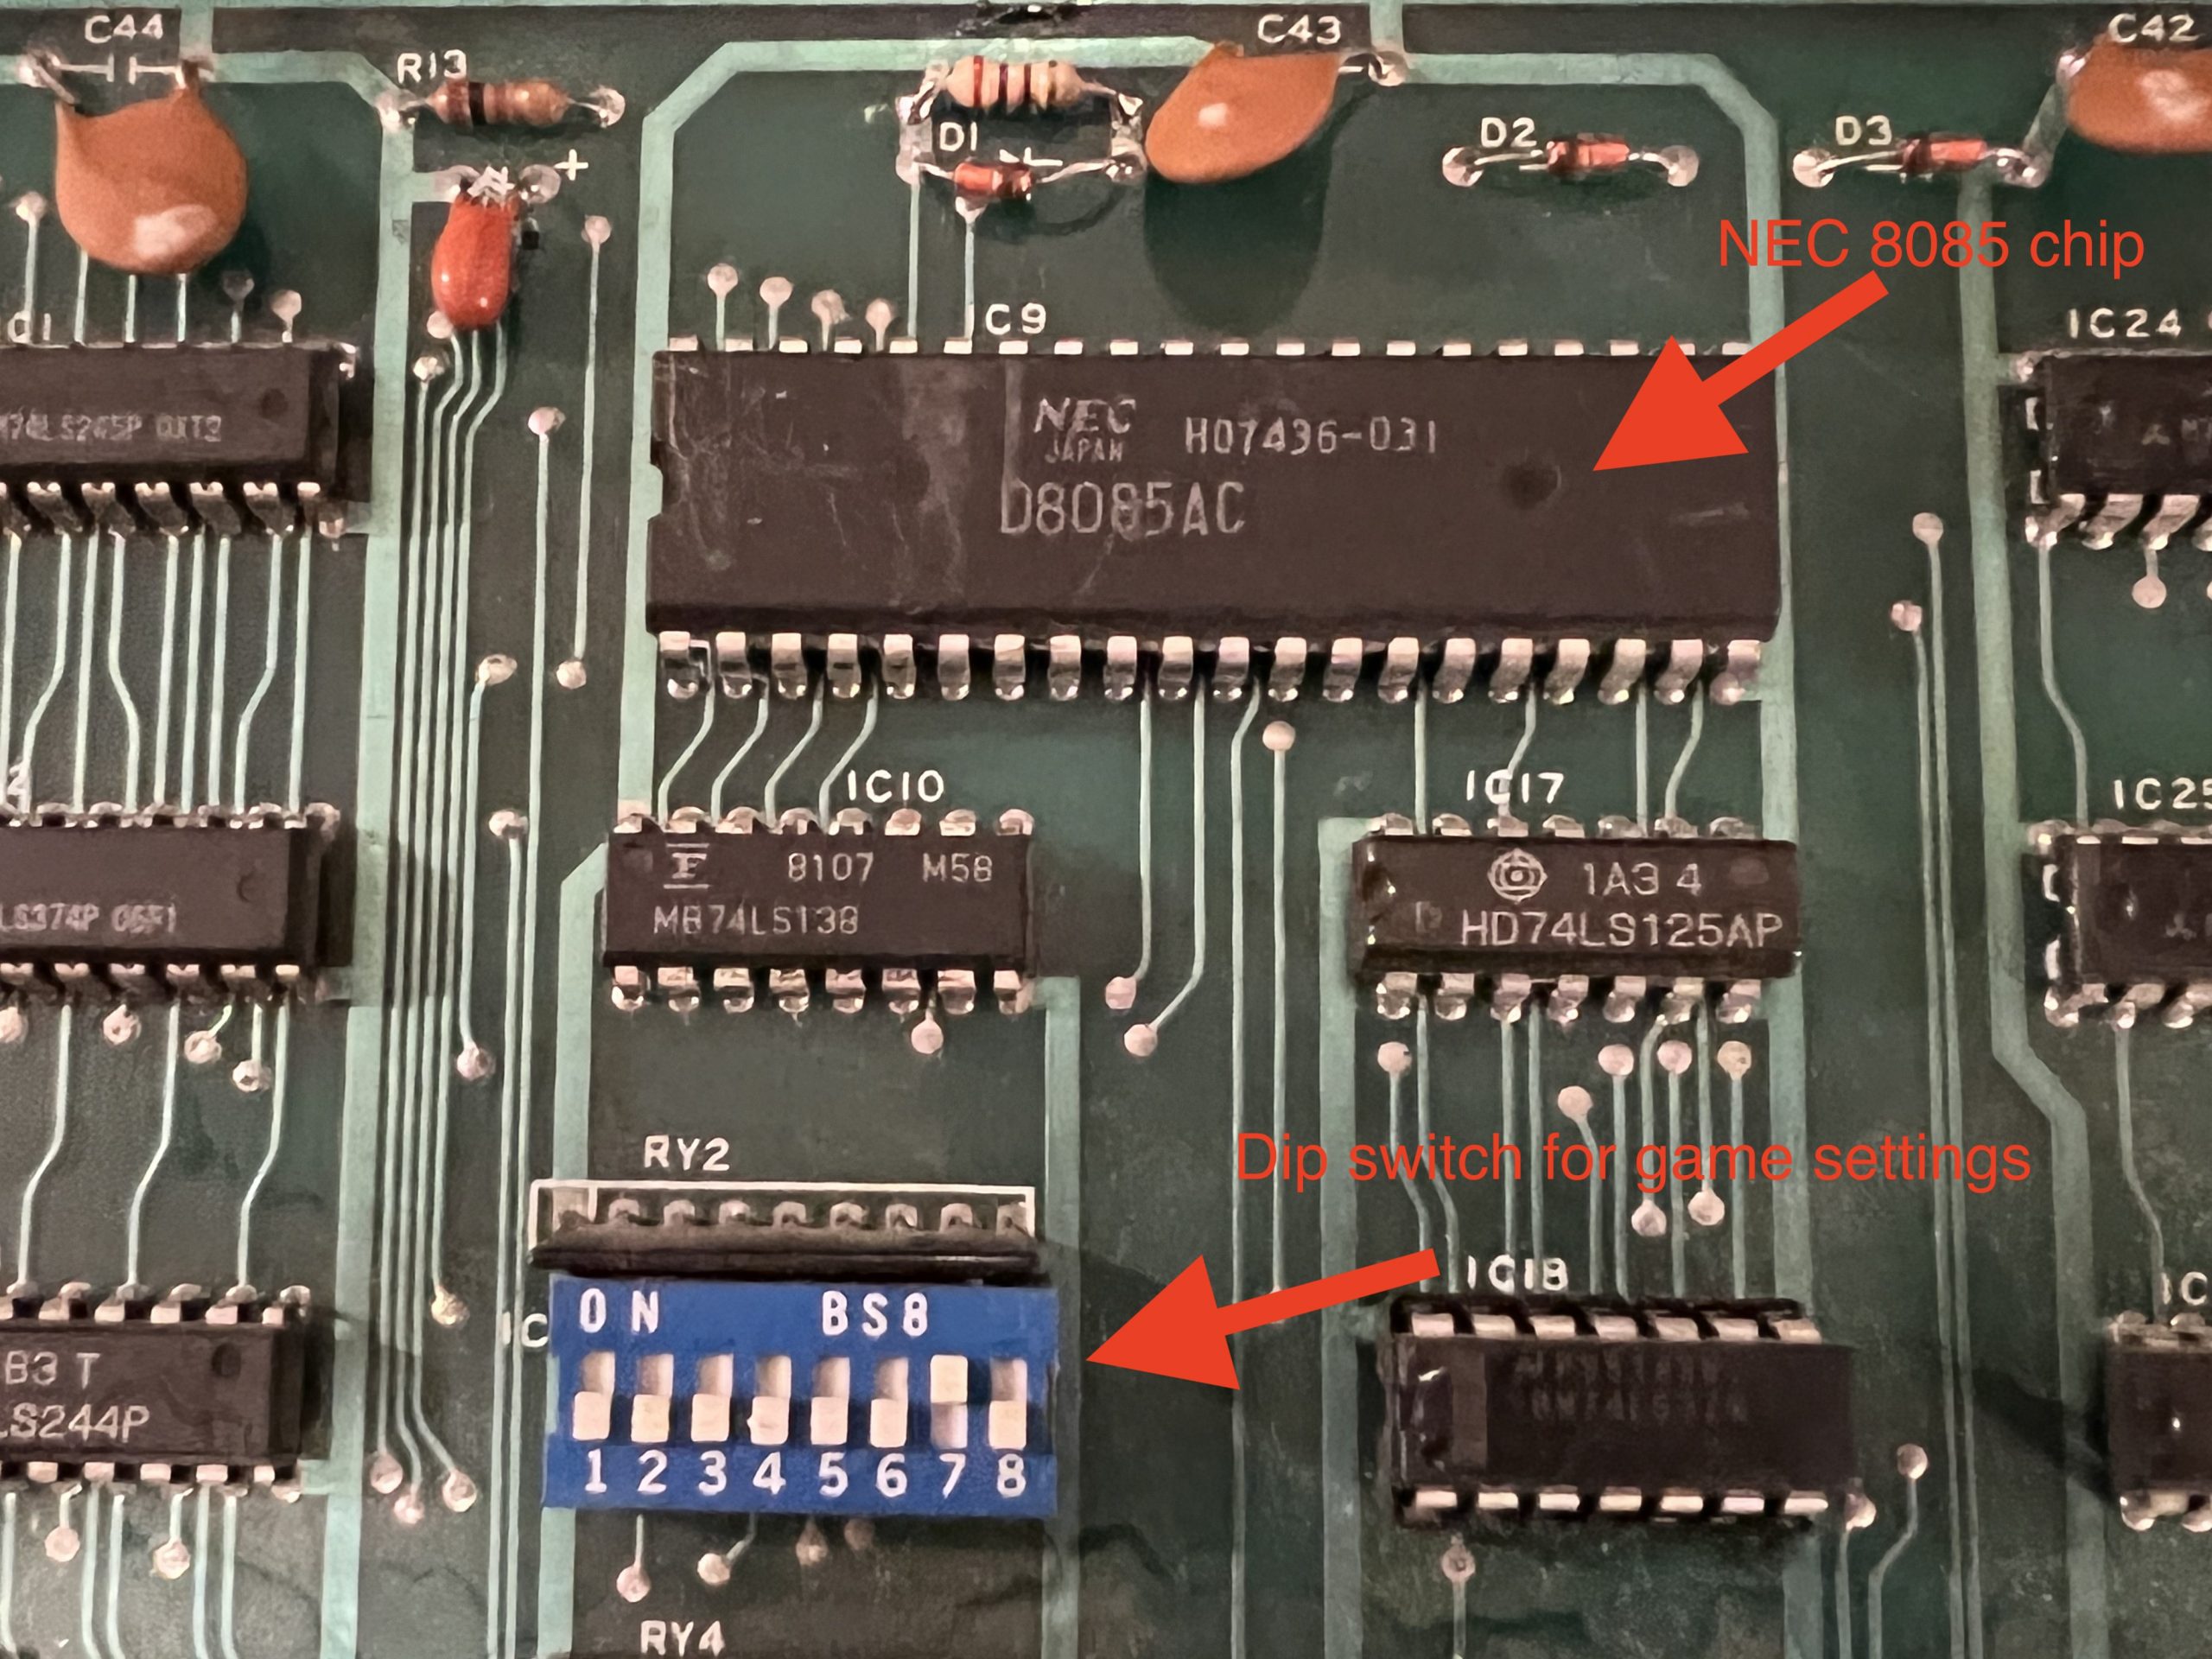
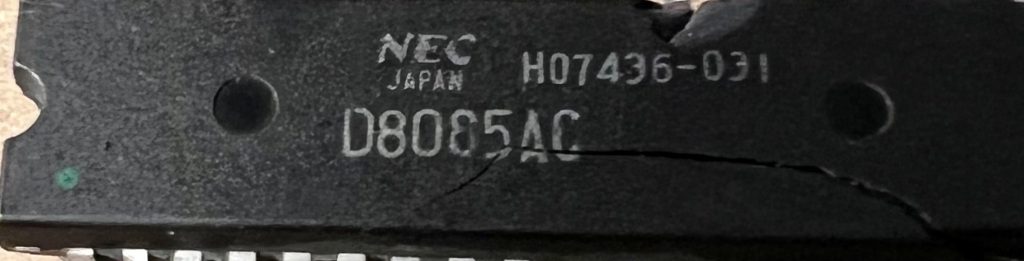
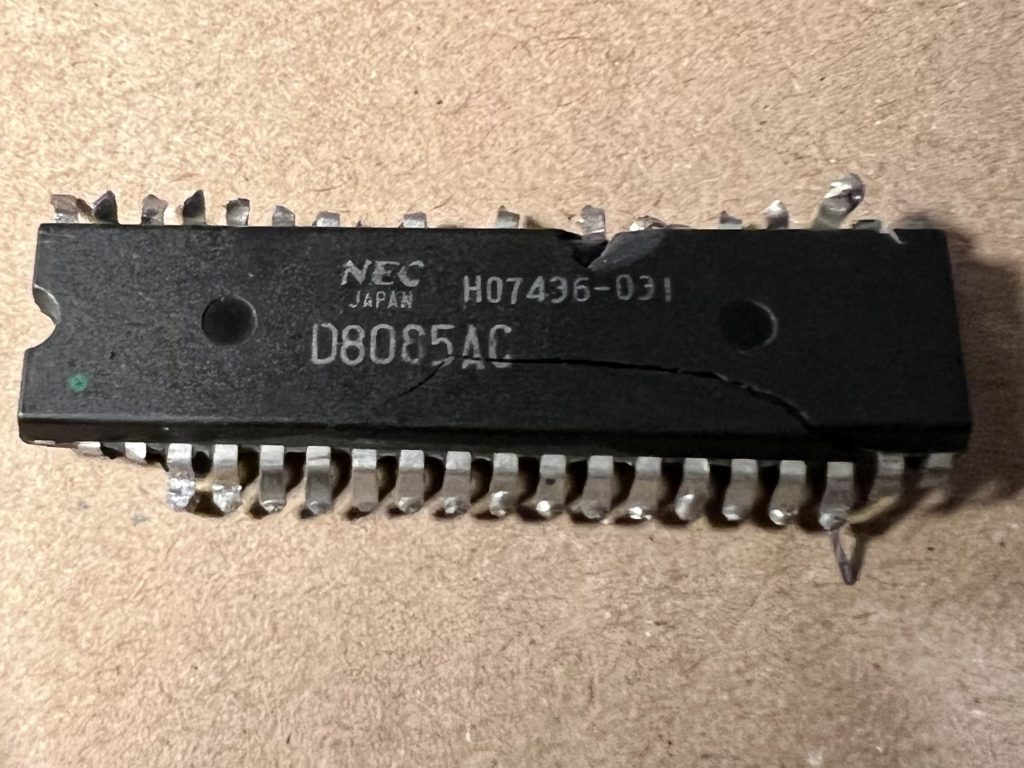
NEC 8085 processor and dip switch
The mod is pretty straightforward, you need to replace the 40-pin NEC 8085 8-bit processor with the daughter card that has the 8085 processor as well as several other chips to handle the modifications, and essentially allow you to choose the game settings from the screen rather than using the dip switch on the board.
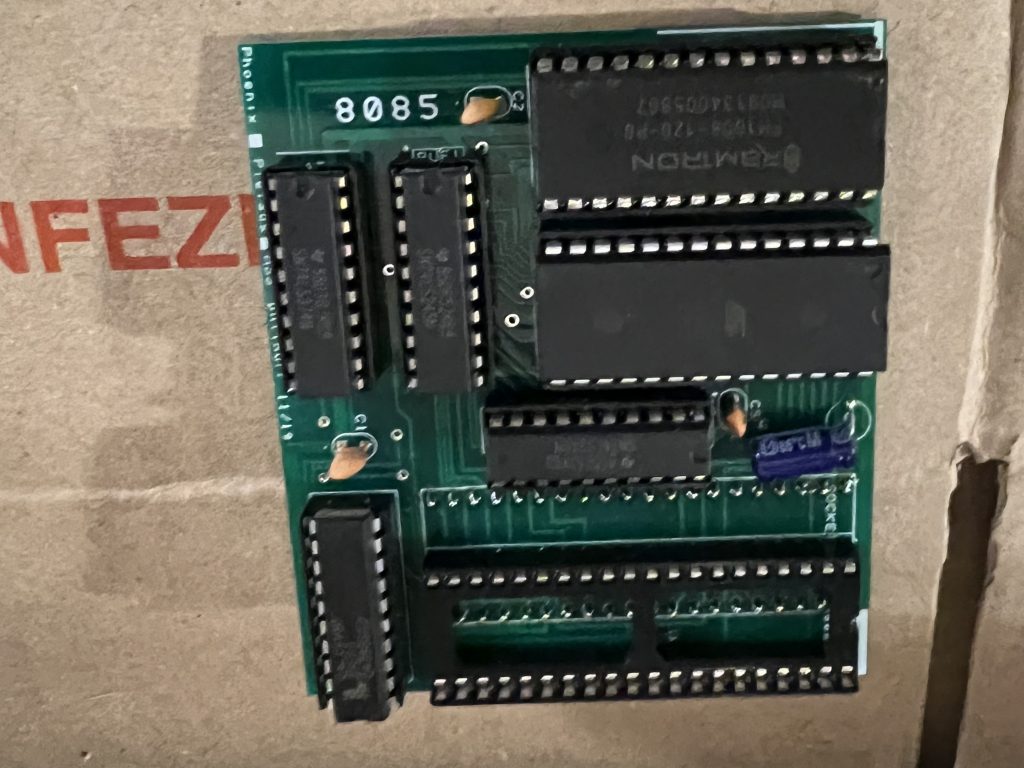
8085 daughter board chip set
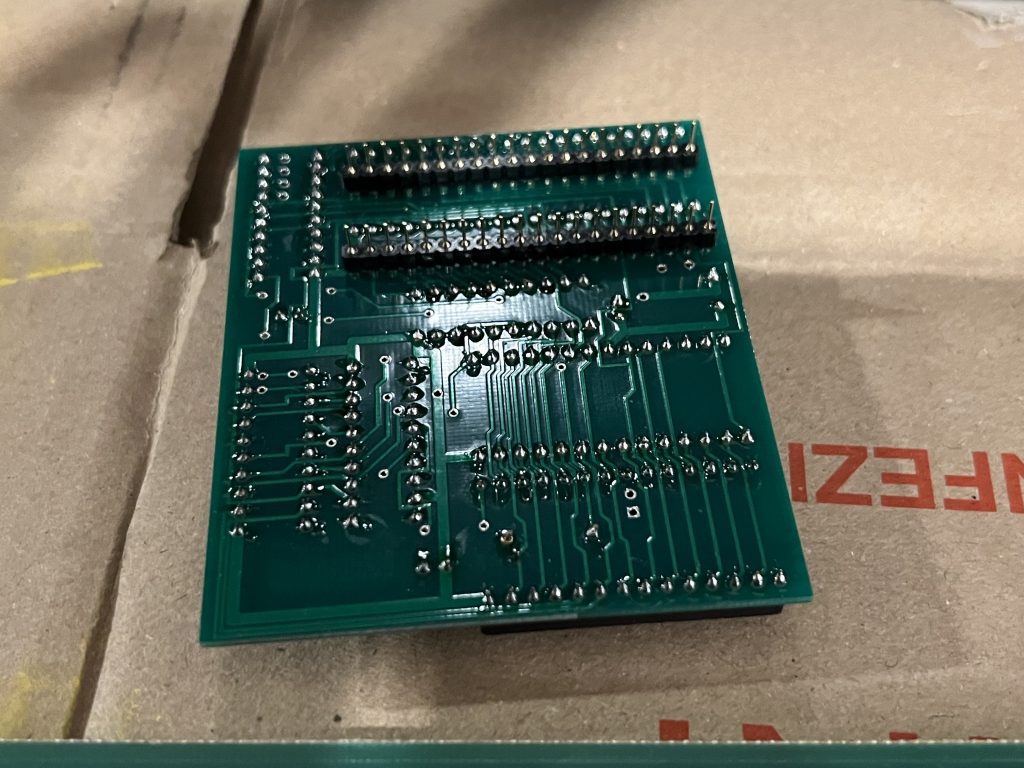
Underside of 8085 daughter board chip set
So, the daughter card would plug into the area where the 8085 processor is, and then the 8085 process would be plugged into the space provided for the 8-bit chip. The one issue was the 8085 processor was not socketed (so it was soldered right onto the board), meaning it would need to be removed by desoldering all 40 pins. After that it would be replaced with a 40-pin socket that would allow me to plug the daughter board in cleanly. I did this already for a Scramble high score save kit, so the process was not entirely new to me. Plus, I had watched Tim do the same thing for a Gyruss high score save kit for Reclaim Arcade, so I understood the drill.
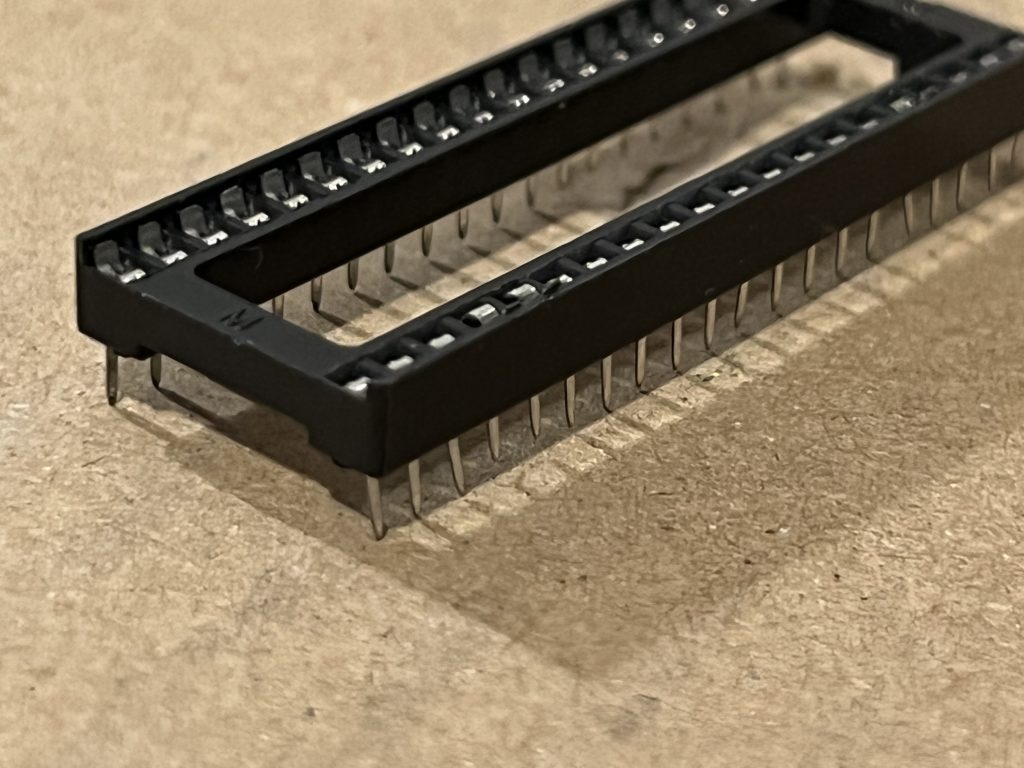
40-pin socket for circuit board
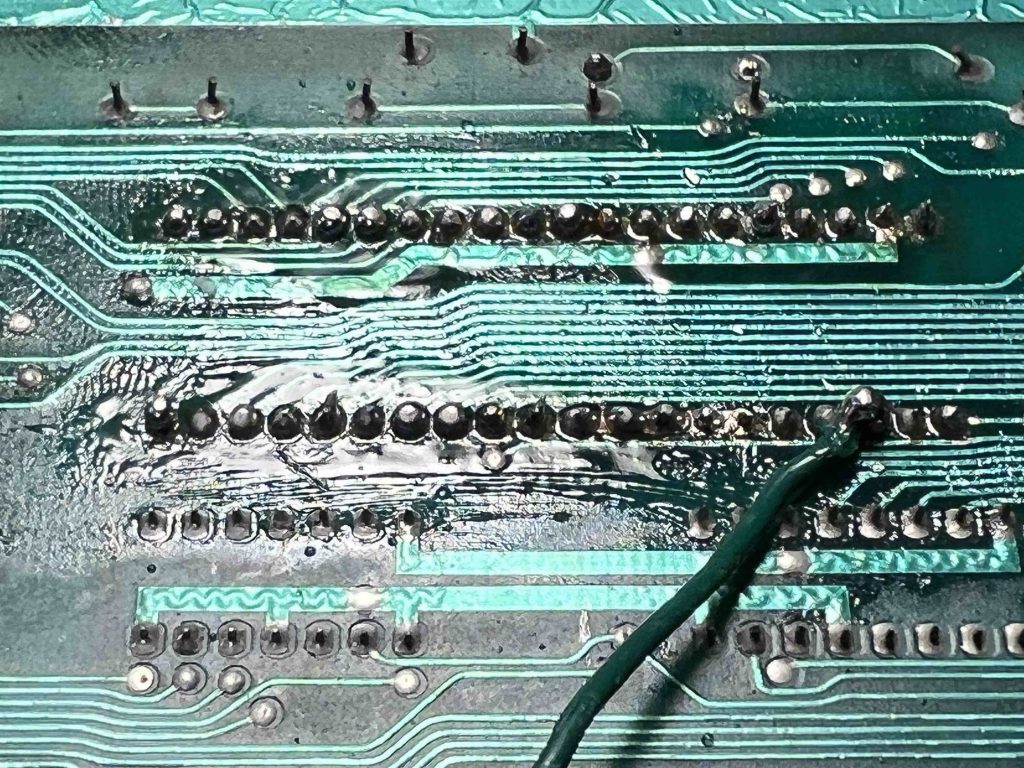
Ahhh, but confidence was not enough to remove this 8085 processor chip. It started simply enough, I fired up my desoldering gun and got to work desoldering each pin. It was hard going so I did a few passes, and then remembered that for really intractable pins you might have to re-solder and then desolder so the new solder combines with the old to aid with the removal. Nothing doing. The chip was not budging at all. So I thought I might help it along with a little wedge pressure from below to see if the solder just needed to be cracked a bit, and cracked the 8085 processor chip. The first casualty of this ordeal.
Cracked 8-bit processor chip
I then re-soldered everything to see if the chip still worked, and the game was throwing garbage and making a crazy muffled Phoenix sound, so I was pretty sure the broken 8085 processor was beyond repair. On top of that, the $6 soldering tool I bought from the States a while back broke, so I was not able to solder anything else. So, believing the chip was shot I decided to desolder the legs again to see if I can at least get it off the board, and while doing that my desoldering gun broke—it was a fiasco. I was not feeling all that accomplished by day’s end, so I packed up the project and re-watched Breaking Bad with Miles to see if cooking Meth was a viable option …

I feel Jesse’s pain…
…it wasn’t, but I did pick up a new soldering iron Sunday morning, along with a manual desoldering suction pump because hope springs eternal in the arcade hobby breast. I had one goal, get the 8085 chip off the board, I had already ordered a replacement from France and China, so it was going to be a week before I could test the board, but at least I could remove the broken chip and add the socket for the daughter board in the interim.
The broken and mangled 8085 chip
The desoldering pump was not working, but I had read about a nuclear option: cut the chip off the board with a pair of snips and then remove the leftover legs. After re-soldering and desoldering yet again to no effect, I cut the broken 8085 chip out. Only things left were the mangled legs on the side I had cut, whereas the other side broke off cleanly as I lifted the cut side up to be perpendicular to the board. So, after cutting out the chip I was left with a bunch of broken legs I needed to desolder and remove:
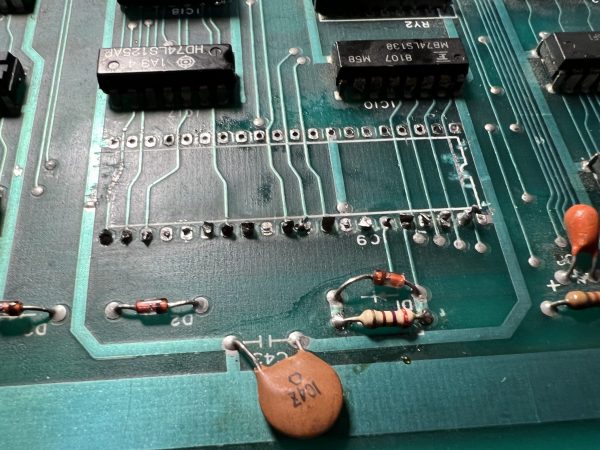
Game board with 8085 chip cut out and remaining broken legs
You can see from the top row above that the legs I did not cut were removed more cleanly, so I started on that row for getting them out with not a little trepidation. In fact, my first attempts at soldering and then desoldering them with the new tool were not working. It took me forever to get out just 3 pins, so I regrouped after lunch and asked Anto to give me a hand. We slowly worked through that row and I realized if I solder and then lift the board up on its edge and heat up the new solder, Anto could pull the solder and pin out the other side cleanly. The same thing was not working at all when the board was flat because by the time we tried to suck the solder it was already drying, it had to be almost instantaneous.

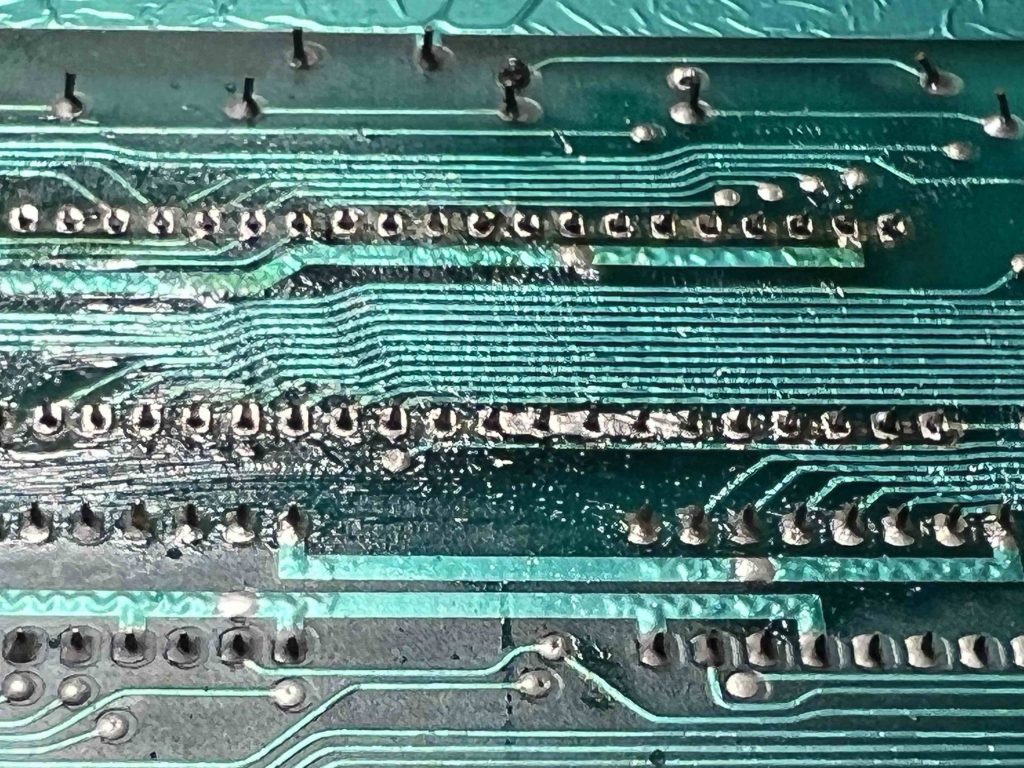
20 of 40 remaining pins removed–and next 20 soldered ahead of time
So after figuring this out on the first twenty, I soldered the next 20 all at once, lifted the board on its edge and we methodically went through each pin heating and sucking the solder with the pump and it went super fast. The chip and all its detritis were out entirely and I was finally ready to try and set the socket.

Socket placed on pins
Socket pins going in cleanly
Disco, the socket fit cleanly and all I needed to do now was re-solder everything and I had at least dug myself out of the hole I created the day before.
Soldered pins for socker
At this point could simply wait for the new 8085 chip and pray that it works, so there will be another update on this project in a week or so to see if there is redemption for this arcade repair boy. One more thing is you might see a wire soldered to the third pin on the bottom of the 8085 chip. That was a jumper that was already there, and you will find this on boards to route around issues.
Jumper from chip to chip
I simply re-soldered what was already there, and luckily I have the images of the original should I need to revisit, but I believe it is correct. Anyway, I hope documenting your failures is as valuable as your successes cause if this first mod project is any indicator, there may be a few more failures yet to come 🙂

Pingback: Multipede: 4-in-1 Cabinet fun! | bavatuesdays
Pingback: Exidy 440 Dev Kit on Cheyenne | bavatuesdays
Pingback: Phoenix High Score Save Kit and then some…Redemption! | bavatuesdays