
A year ago Antonio Vantaggiato invited Paul Bond and I into his Italian Cinema course to talk about Mario Bava’s The Girl Who Knew Too Much (1963). I was fairly new to Open Broadcaster Software (OBS) at the time, but I used the event as a chance to try it out. Everyone was quite patient with me, but it was rough. In fact, true to form I blogged about the class meeting soon after the event, and the video of the session makes me wonder how they stuck with us for an hour. It’s hard to re-watch and I wasn’t holding my breath for a callback anytime soon, despite how much I enjoyed failing.
Seems like faith springs eternal with my friend Antonio because he did reach out again this semester, and in the midst of the OERxDomains21 tsunami I had kind of forgotten about committing to talk about Danger: Diabolik. What’s more, I was delinquent in giving Paul much lead time to prepare accordingly, which was all my fault, but luckily he’s always game—not to mention damn good—so we were off and running. My idea for this one (born partly out of necessity) was to spend no more than a day on the OBS setup for this class which included ripping the DVD, grabbing clips, burning subtitles (which I failed at) and setting up the various scenes in OBS to view the media. Partly a result of procrastination, I also wanted to see how far I could get if I didn’t spent a week jerking around with OBS, my thinking being I’ve been playing pretty regularly since the train wreck that was the first attempt last April, so it was time to step up and own the means of production!
REDEMPTION! We came back, and while there were some issues, they were quickly and seamlessly resolved. The only thing I wish I would have done is spent more time checking the subtitle sync, given they were out-of-wack soon after the film started. But if we are going to start with what didn’t work, here are a few things I would re-visit (I already mentioned the subtitles syncing):
- capturing the Zoom audio of everyone outside OBS, this was too bad because there was good discussion before and after the session, but I did not capture the Zoom audio, so a missed opportunity that is all my fault
- getting my Mac mini setup so the plane is not taking off as it does when my laptop runs OBS and anything else, I will do this soon!
- allowing myself to mute the mic more seamlessly so it does not pop annoyingly when I hit the button on the mic. I think there may be a way to isolate my mic in OBS which would allow me to map it to a button on the Stream Deck–on my to-do list
So these are all things I plan to do for the next episode of talking Bava in Antonio’s Italian Cinema class (which could be as soon as Fall looking at the first body count film Blood and Black Lace), and I am fairly confident after this session that I can get the whole experience to be all but flawless, which is very promising for my future as a streamer that will be regularly asking you to “like and subscribe for more!”
Now for some of what worked and how I did it, this might get long-winded and full of victory laps, so reader be warned.
Let me start by saying I haven’t been this excited about open source software since WordPress. OBS is absolutely amazing, it gives you so much power and is fairly easy to wrap your head around. I would feel confident getting folks comfortable with a few basics scenes for their courses for sure. In fact, I think I am just scratching the surface here, and turns out you can go a long way with a few basics. If I were an edtech, I would be pushing the whole TV Network of One’s Own now 🙂
Not gonna go into too much detail about how I ripped the DVD and grabbed clips, but long story short I used Handbrake for the rip (another great open source app still going strong) and Quicktime Player to split and save various clips. In fact, I have come to love Quicktime for small, simple edits like this.
Setting up the Main Scene
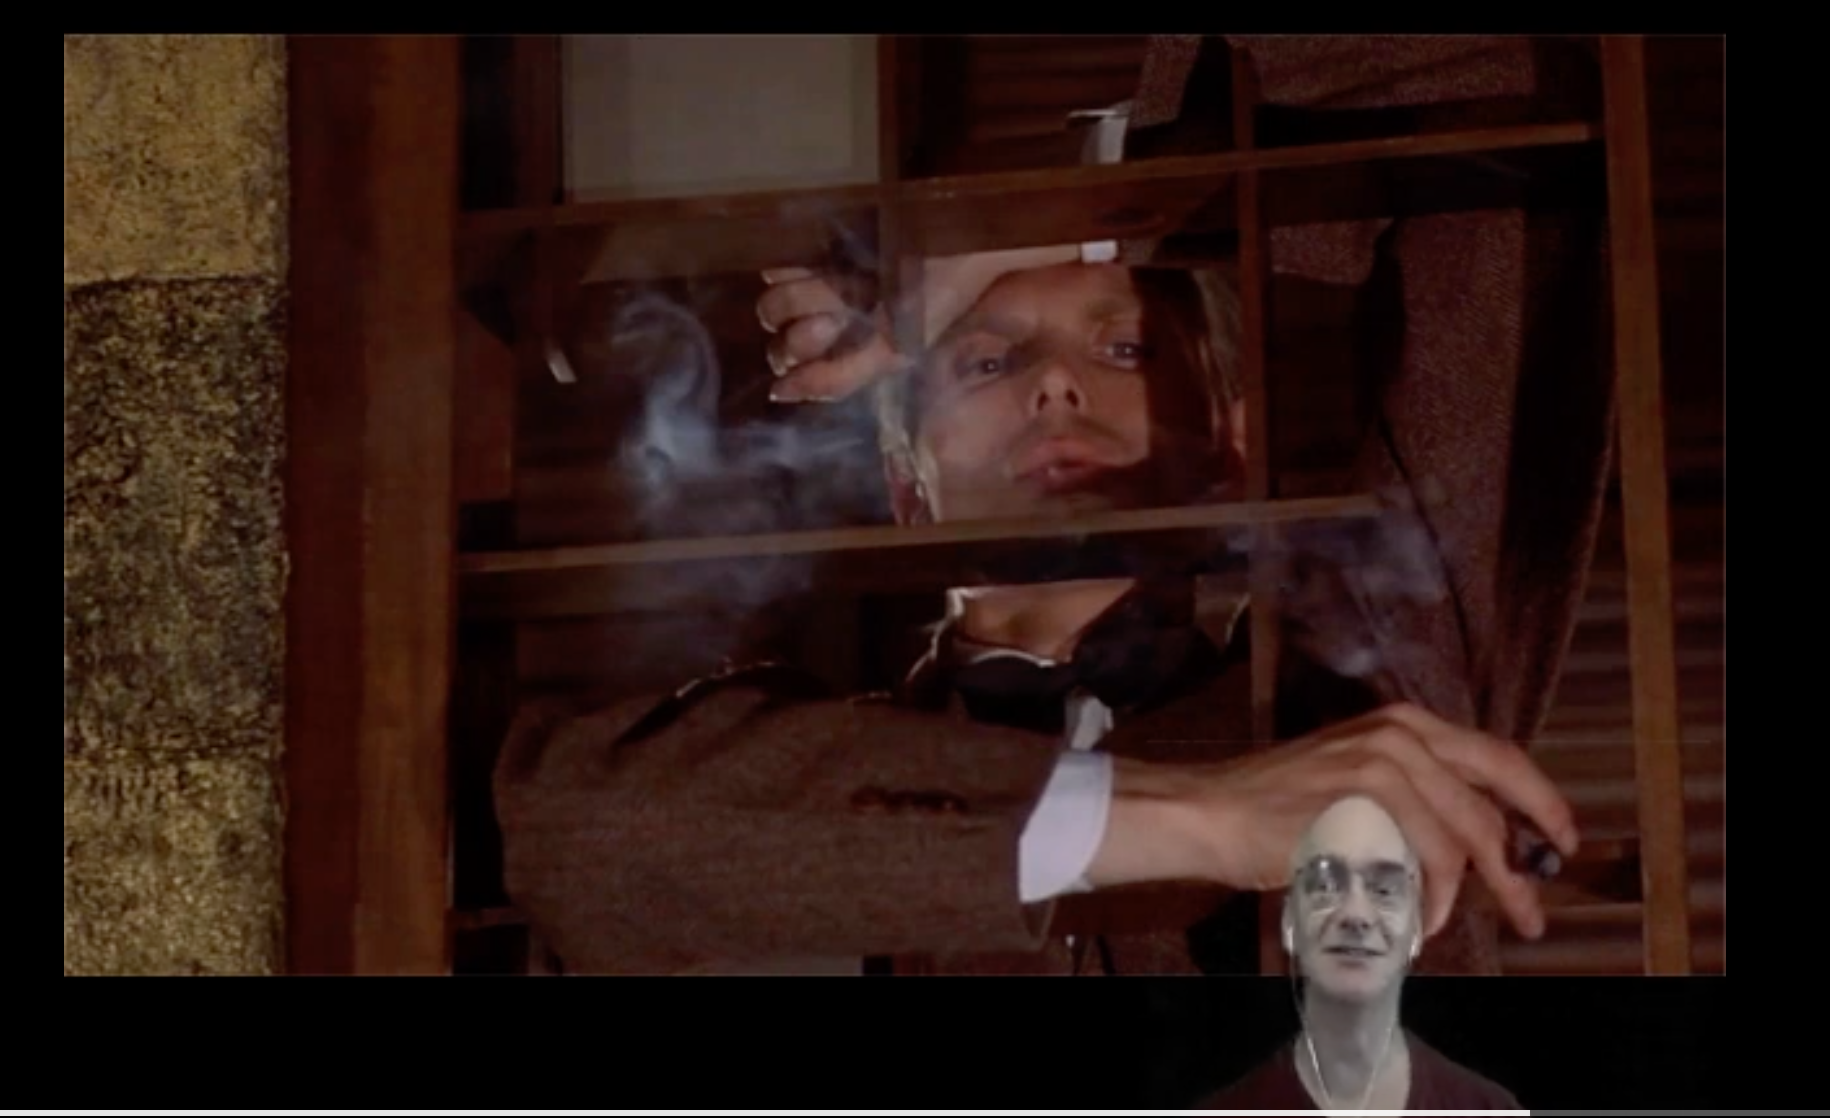
My main scene in OBS was “Danger Diabolik PIP,” and it looked something like this:
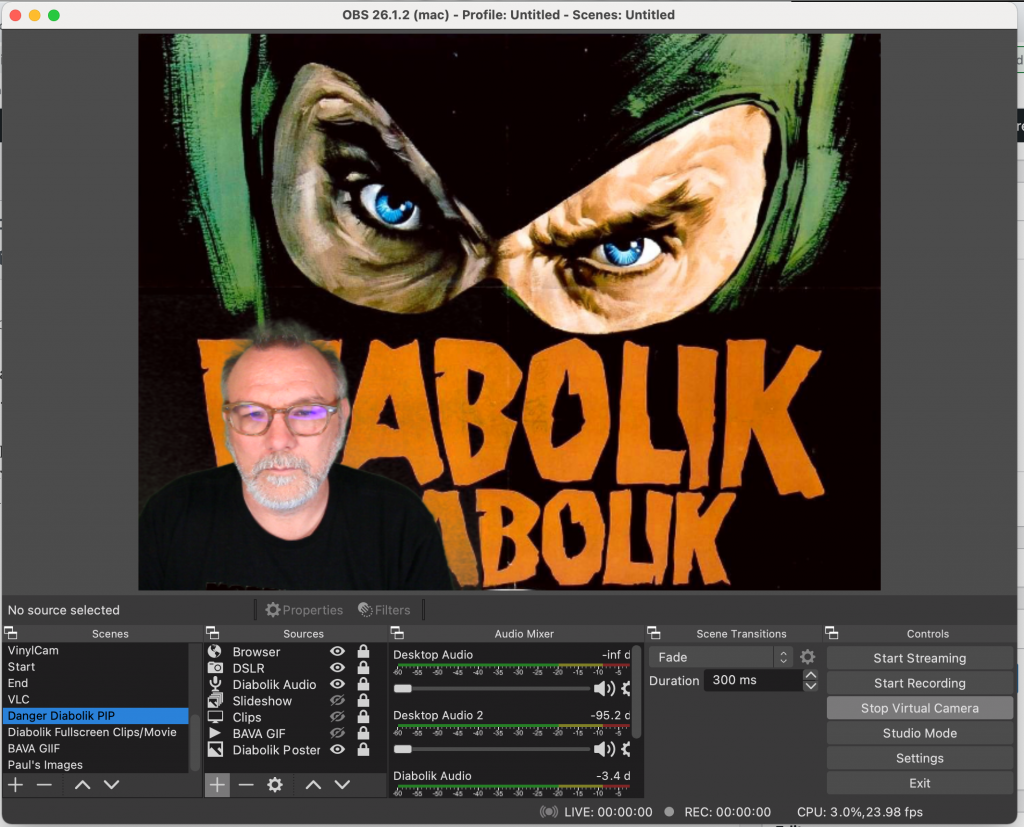
Main Scene Setup for Danger Diabolik Stream
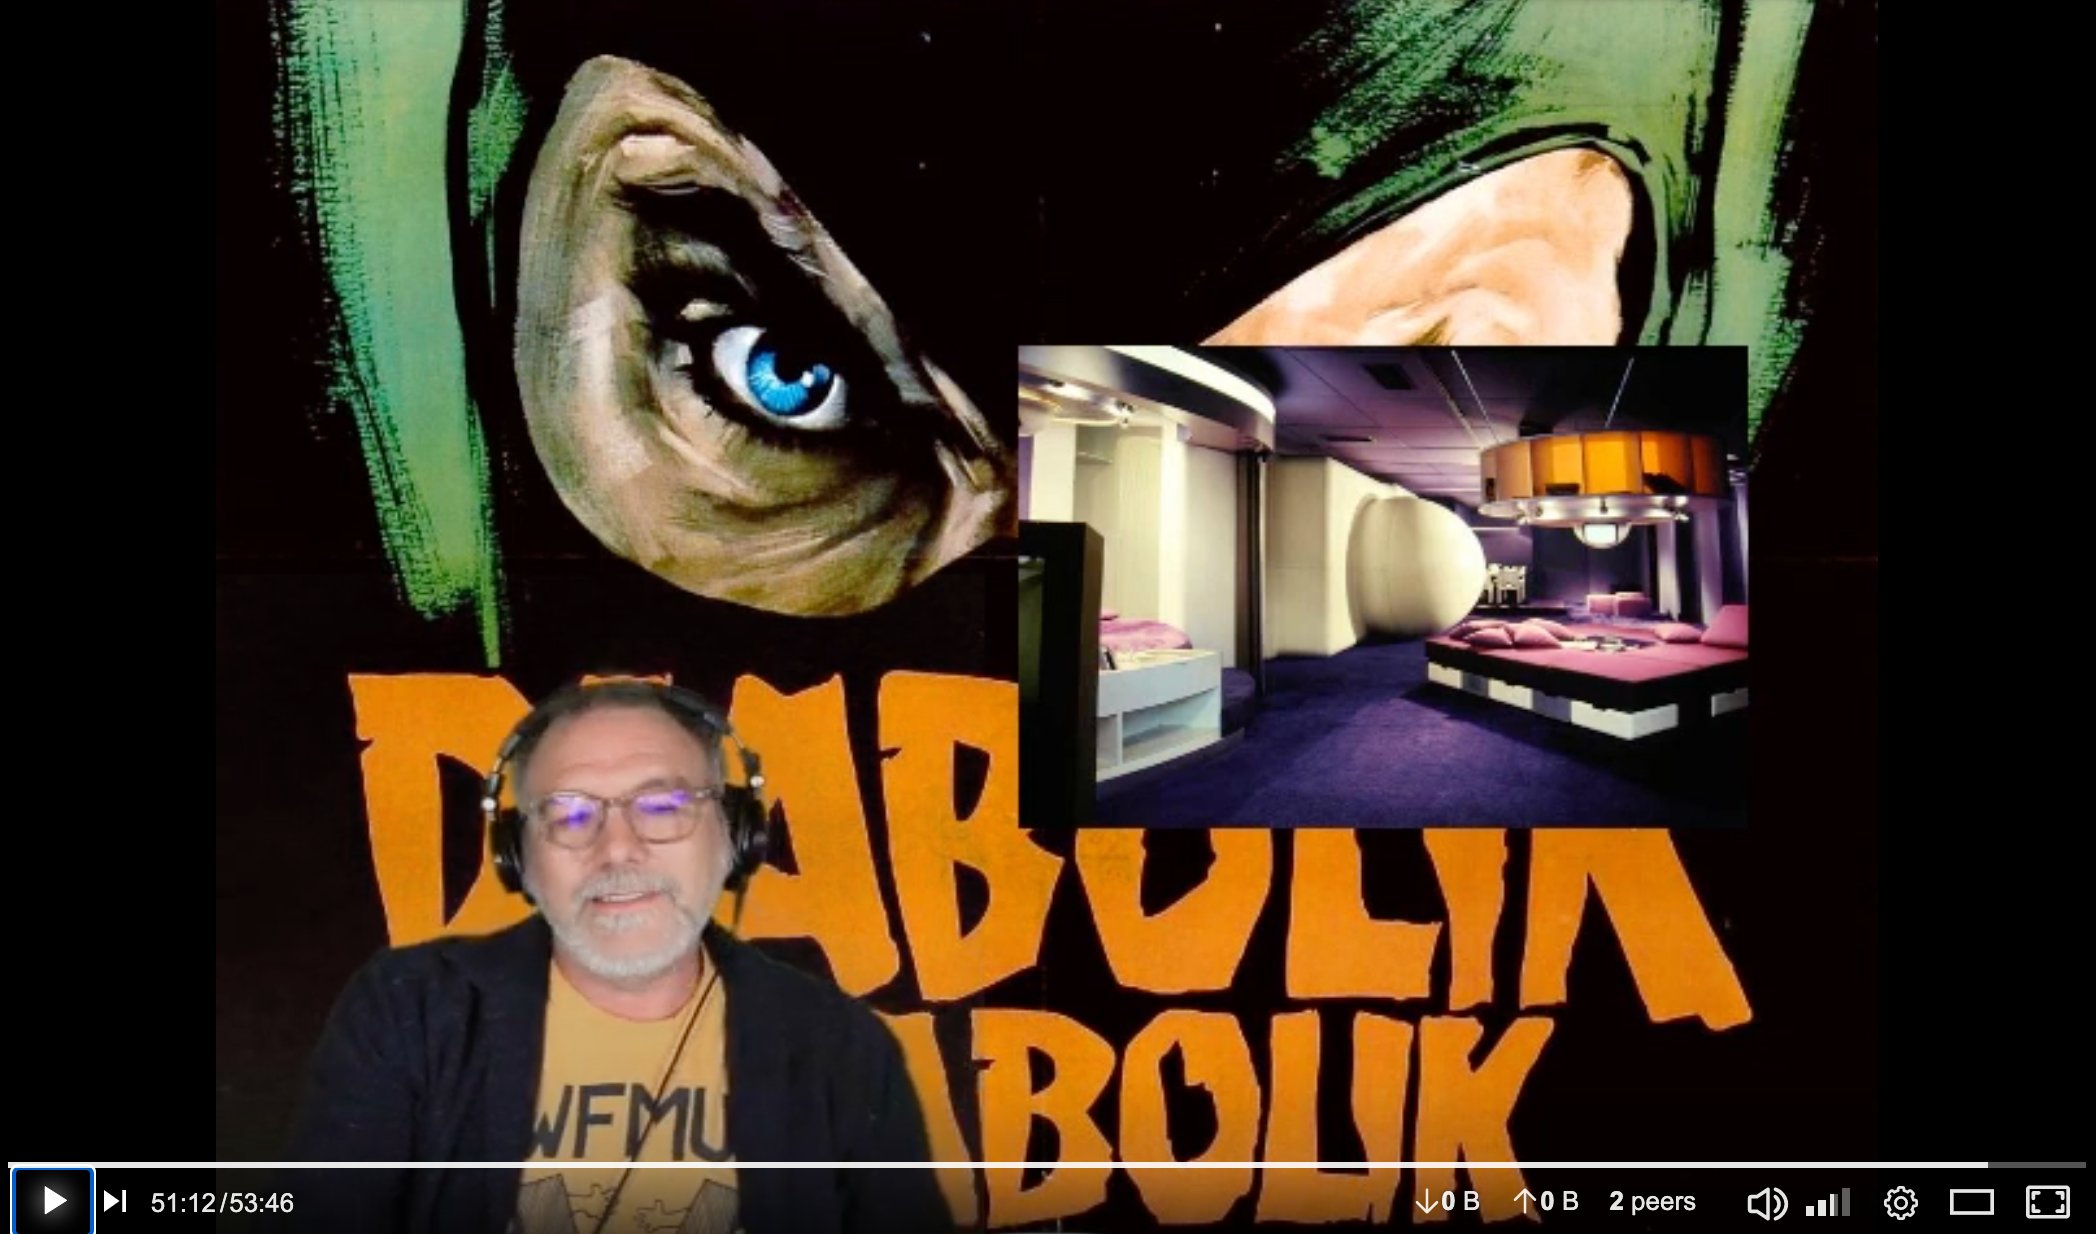
I call this the PIP or Picture-in-Picture frame because any video clips and most stills we discuss will be available here above us because I wanted to be able to move between a full screen of a clip or the actual movie to our talking heads/newsroom setup, it looked something like this in action:

And while the clip would start in the PIP mode, I would usually switch to the secondary scene which was a full screen of one of my monitors running the clips in VLC (more on how to do that soon):
It’s pretty simple, two basic scenes, but with that you can seamlessly switch between your being in the scene with the media above your head and a full screen of the clip/video in question.
Main PIP Scene sources
But before we get ahead of ourselves, let’s take another look at the main scene again, and this time focusing on the Sources. These are basically the media you will be pulling into a scene. I will go through what each of them for the main “Danger Diabolik PIP” scene below:
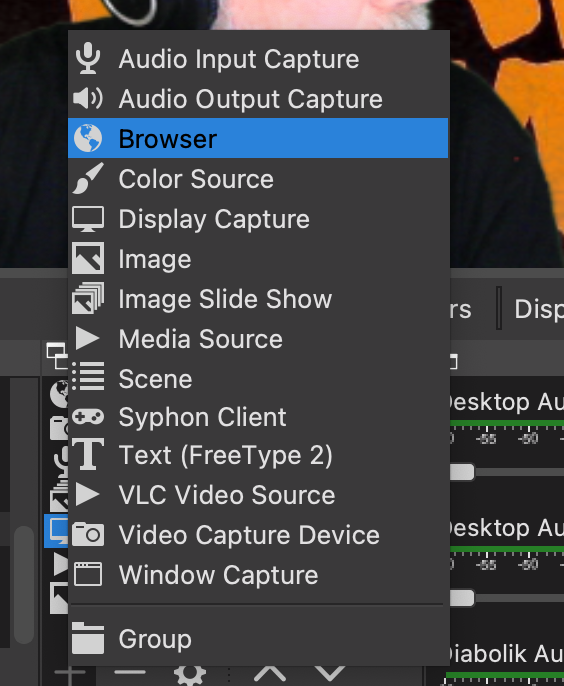
Browser: This source is basically pulling a browser page into your shot, but I was actually doing something even cooler with this input. In fact, using obs.ninja I was able to pull Paul’s video source in remotely and since he had a green screen I could adjust his background Chroma key accordingly to make it seem like he was right there next to me, even though he was actually in upstate New York while I was 6 hours ahead in Italy! This was the highlight of this setup for me, and it worked really well—just another thing I picked up by hanging around Tim Owens for long enough.
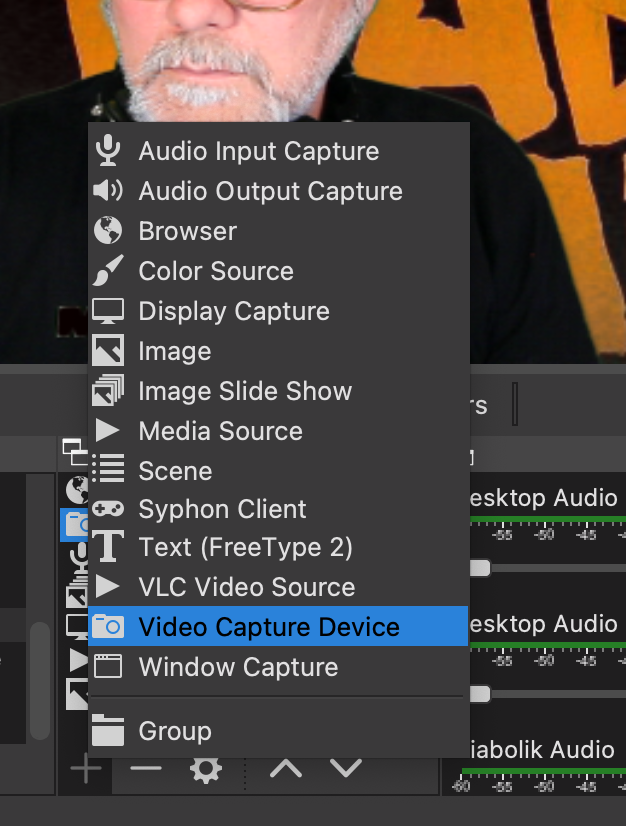
DSLR: This was my camera input, and I am basically using an old DSLR (which turns off randomly) with a Cam Link 4K convertor connection to pull in my video. That said, any webcam will do the trick—this is simply a Video Capture Device source. I still need to try out my ATEM Mini for this setup, but that was not in the mix this time around.
Diabolik Audio: Audio can be tough to figure out, but all my years on ds106radio have helped me tremendously here (that said, I still screw it up). So, this audio input is essentially pulling from a virtual mix of devices using an application called Loopback.
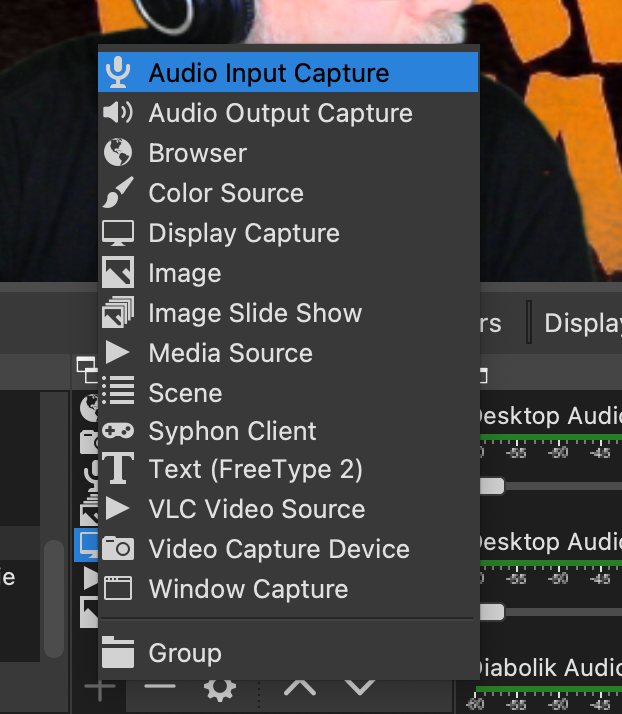
Here you can see my microphone (Elgato Wave), VLC for the video clips, Google Chrome (which is turned off), and Zoom (which I did not use effectively to capture the audio of Antonio and the students, so that is on me).
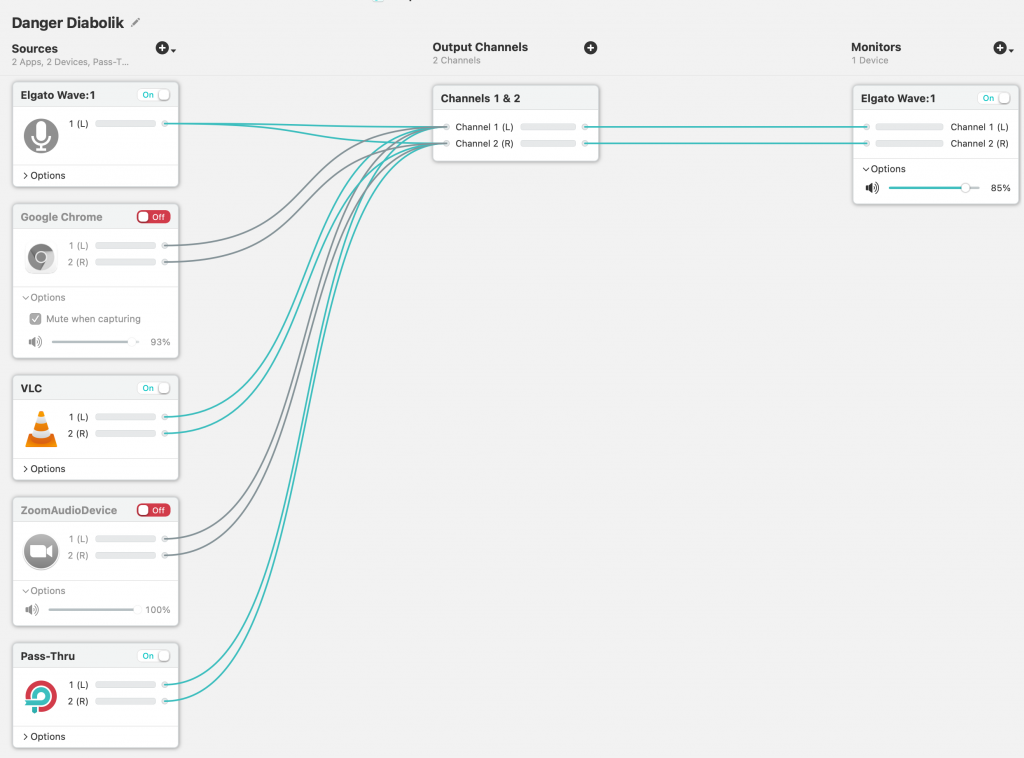 I thought Paul’s audio was coming in via Zoom, which concerned me for the recording, but looks like it was also being pulled in via the obs.ninja browser trick, which is awesome. I need to confirm that, but I do know it worked for the recording, and that the students could hear him fine. If you start playing with OBS, spend some time digging into audio because I have seen that is where a lot of folks go wrong, the virtual mixer is nice because you have all your audio in one source that you can add across your scenes easily.
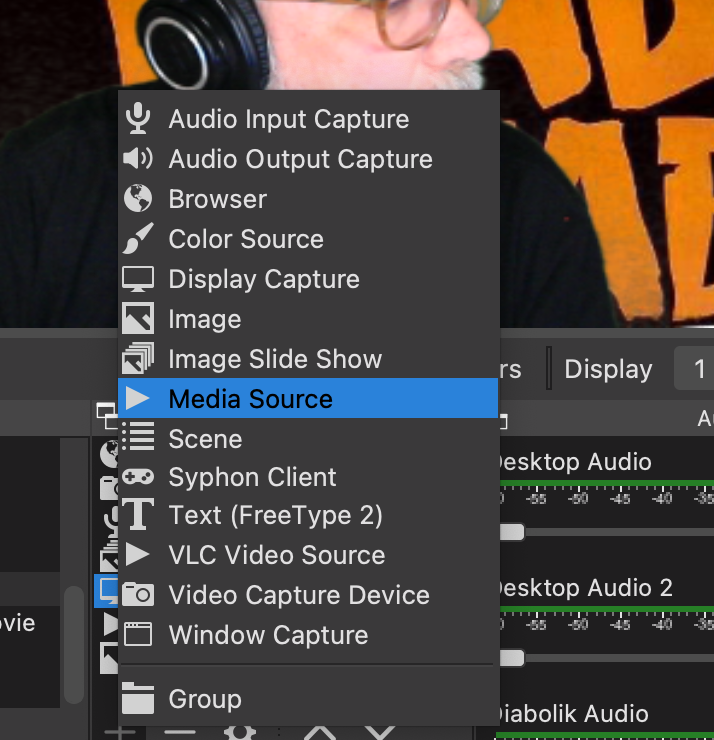
Slideshow: The slideshow is a cool feature of OBS and is a specific source called Image Slide Show that you can use to upload images and create a slideshow that can be controlled from within OBS.
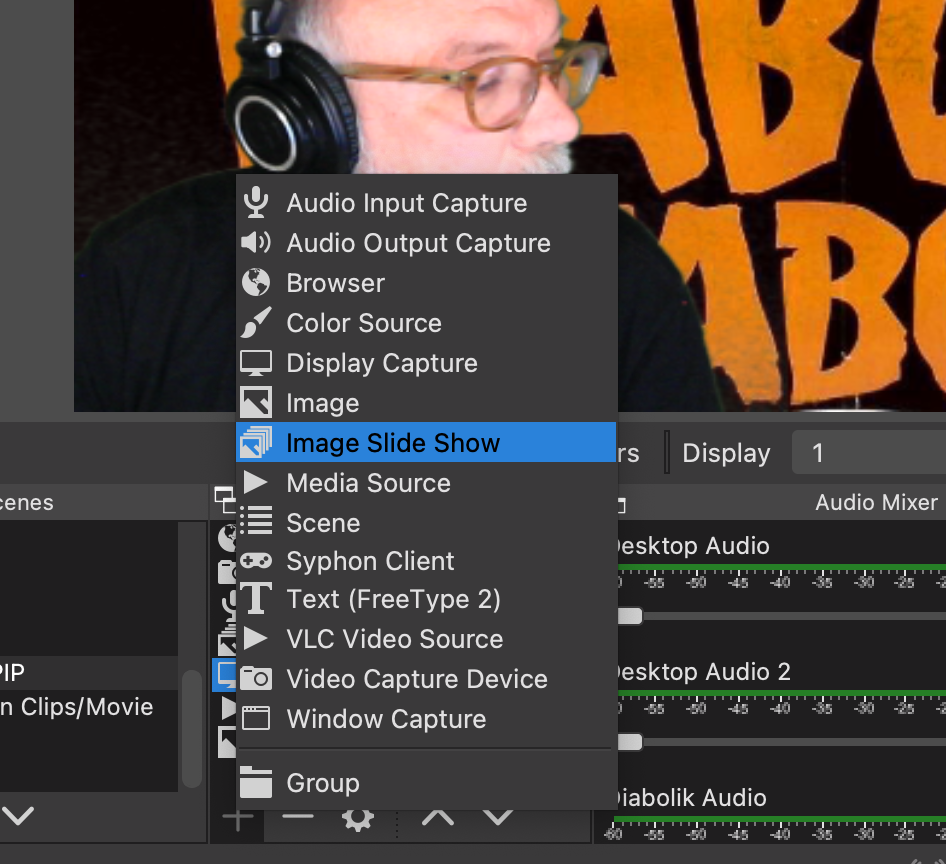
I dug this, and added a few images for the intro that I could use for stills and images that would remain a separate source from the video clips.
Using Image Source in OBS to add slideshow
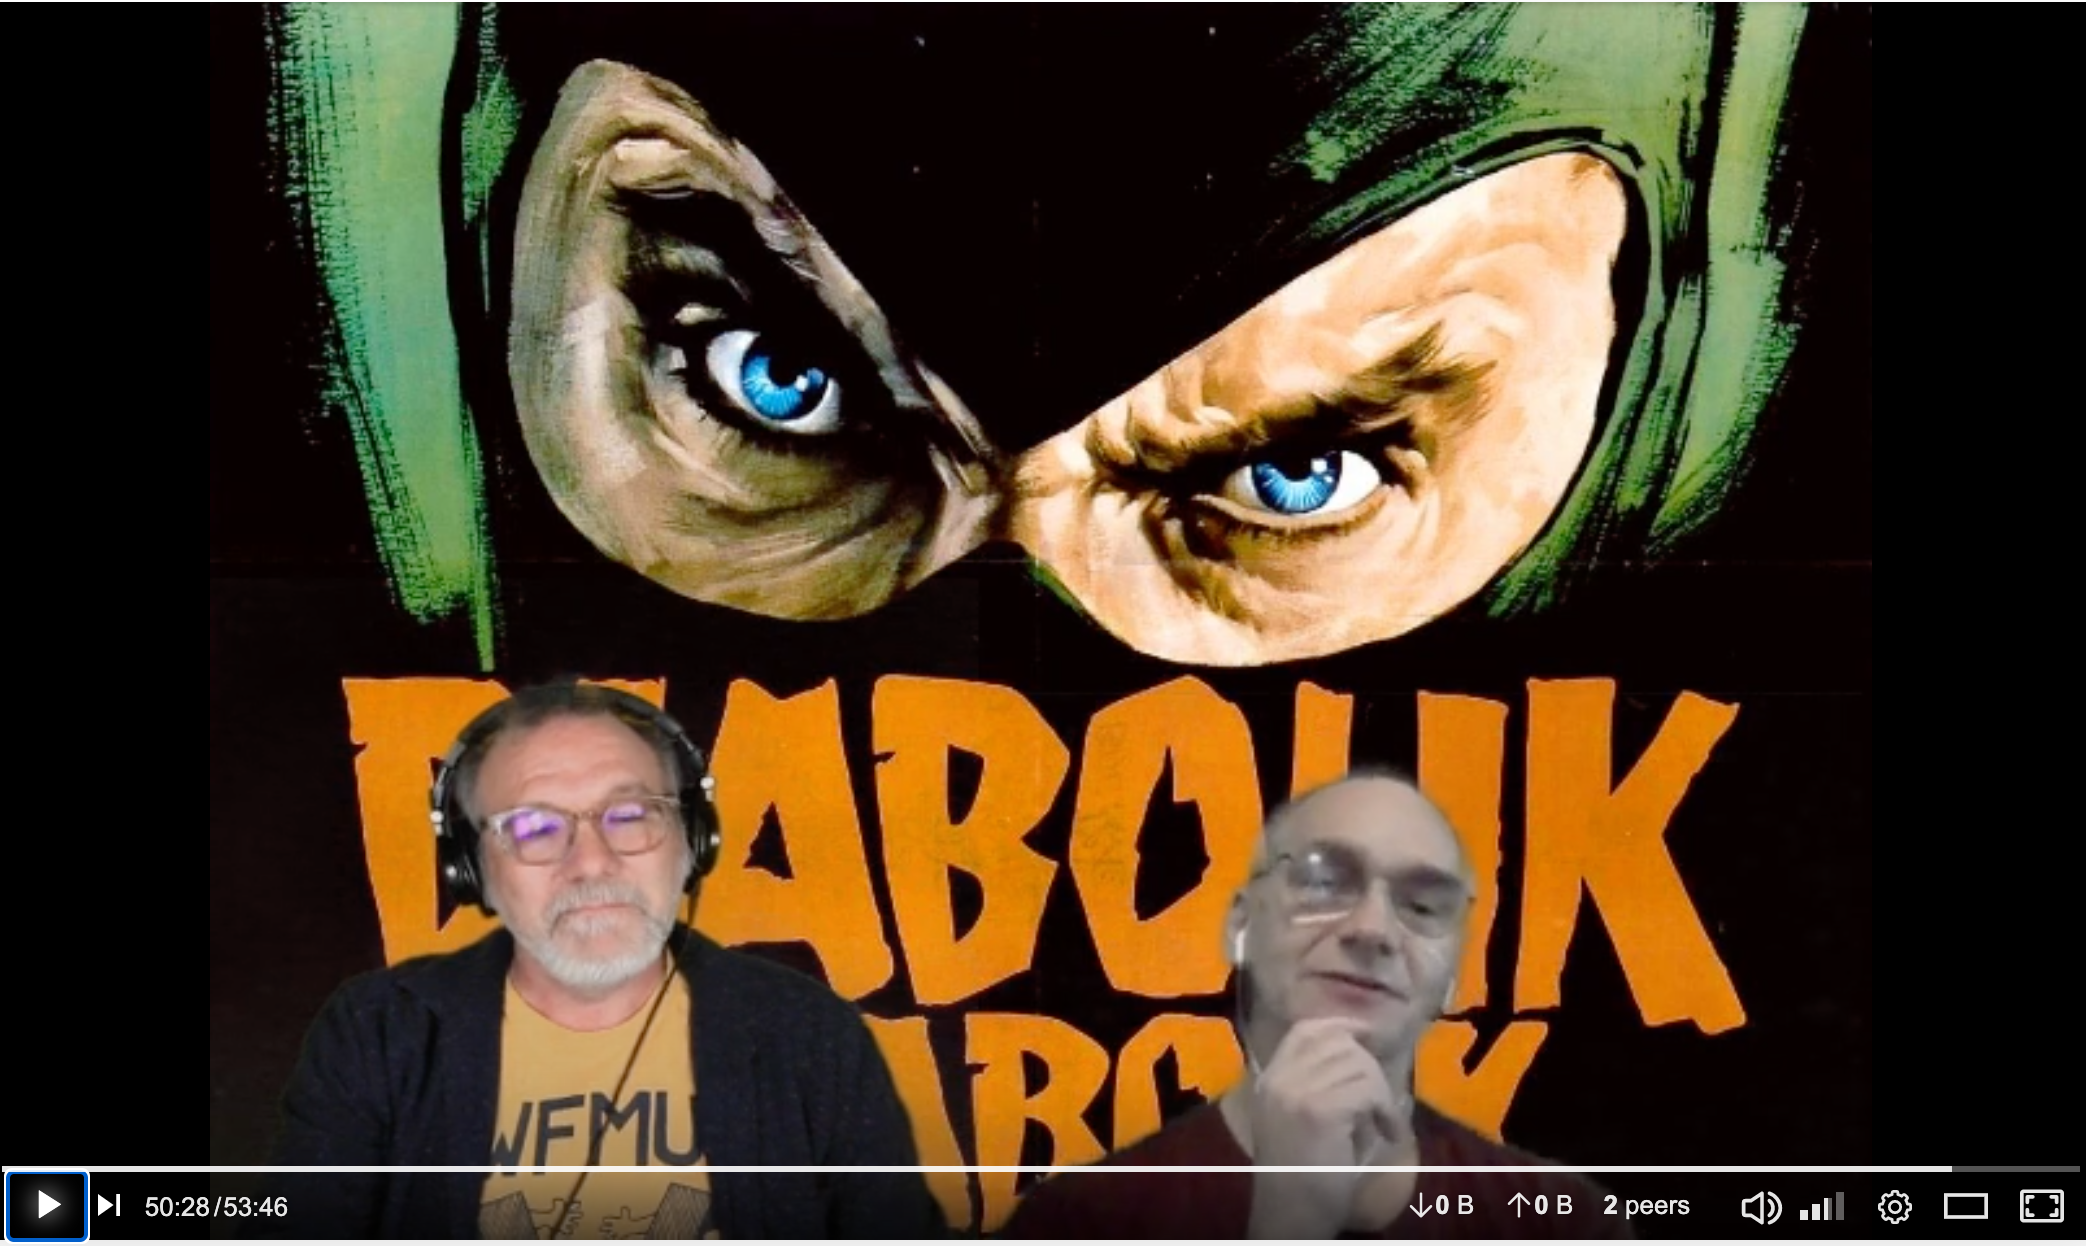
You’ll notice above I have the image up where Paul was during the class session, and this is another nice feature of OBS which let’s you hide each and every source by simply clicking the eye icon next to the source, so it was like magic to remove Paul and bring up an image in his place in real time. I love this stuff.
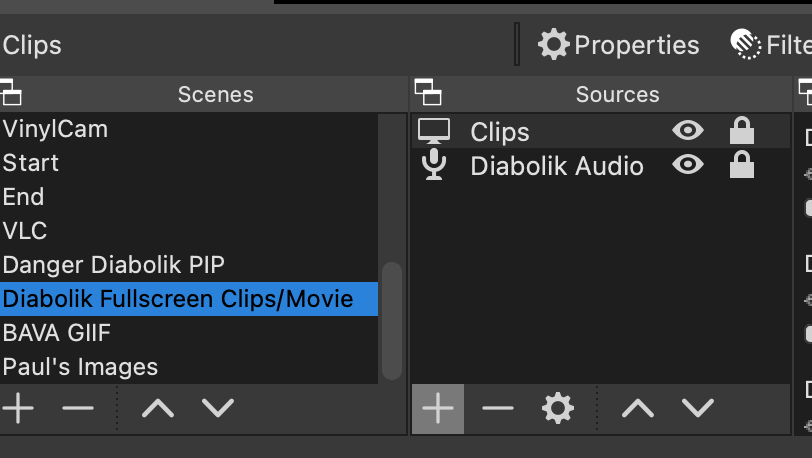
Clips: this source was using the Display Capture source, which essentially allows you to broadcast one of your displays (which kind of assumes multiple I’m guessing). A good question to ask here is “why use this when OBS has built-in support for VLC that will pull in those playlist?”* This is a good question, and I tried it, but when I was streaming within Zoom my virtual audio input in OBS would not get the audio from VLC, so it was a bust. I would really like to use the VLC source in OBS cause it is cleaner and would avoid showing the Mac Dock of applications popping up and other things you get when using the Display Capture as a source, but the audio worked so I took the path of least resistance given I intentionally limited my time to futz. That said, this was the one piece of the setup that was not as clean as it could have been, but I will keep at it.

BAVA GIF: This was kind of a throwaway test, but I was really happy with it. OBS also let’s you upload media files like mp4s (similar to how you would use VLC) and I had a 1 second clip of the titles of the film I added as a Media file and looped it, and it worked pretty well imitating a GIF special effect:
Diabolik Poster: The final source for the main shot was the Diabolik film poster that sat behind us the whole time, and added some ambience. That was using the Image source, making it dead simple to add images to each scene, and you’ll notice the eye icon is always active, where as the eye icon for the Clips, Slideshow, and BAVA GIF are only used when we are showing that media.
Notice which “eye” icons are on and off in this scene
So, those are the seven sources that make up the main shot. There may be better ways to do this, and granted a couple are unnecessary (like the BAVA GIF), but it was fun to do nonetheless.
Moving, Resizing, and Cropping Sources
In addition to figuring out how to add a source, the next trick is how to resize, crop and move it around. This is where each source becomes the equivalent of a visual layer in Photoshop. Once again layers undergird so much of how we manipulate media. By unlocking the source you can move it around, resize, and also crop it. I have found the option key crucial on my Mac for cropping down sources to get exactly the size and effect I wanted. This takes some time to play with, but once a source is unlocked it can be manipulated freely. Read more specifics on this here.
So, that is the anatomy of one scene, which is the most complex of the three I created for this stream. The other Scene was essentially a full screen (so the Display Capture source) with the virtual audio input source Diabolik Audio:
This scene looked like this, and you could hear Paul and I talking over the clip, the other nice thing is given the same audio input is in all three scenes the audience never loses our audio, which again is a common issue folks run into when playing with OBS for streaming:
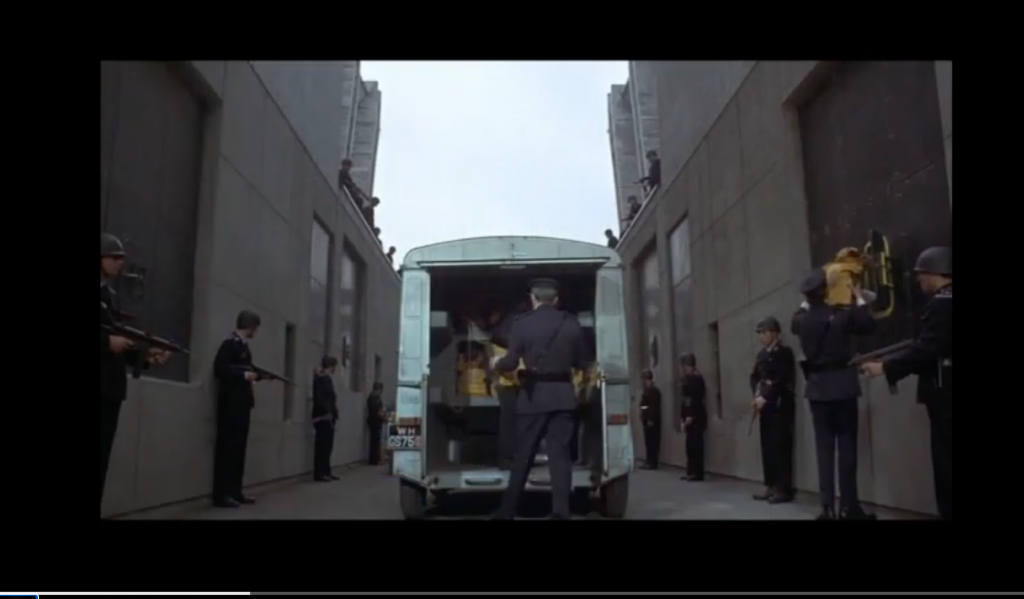
full screen scene in OBS
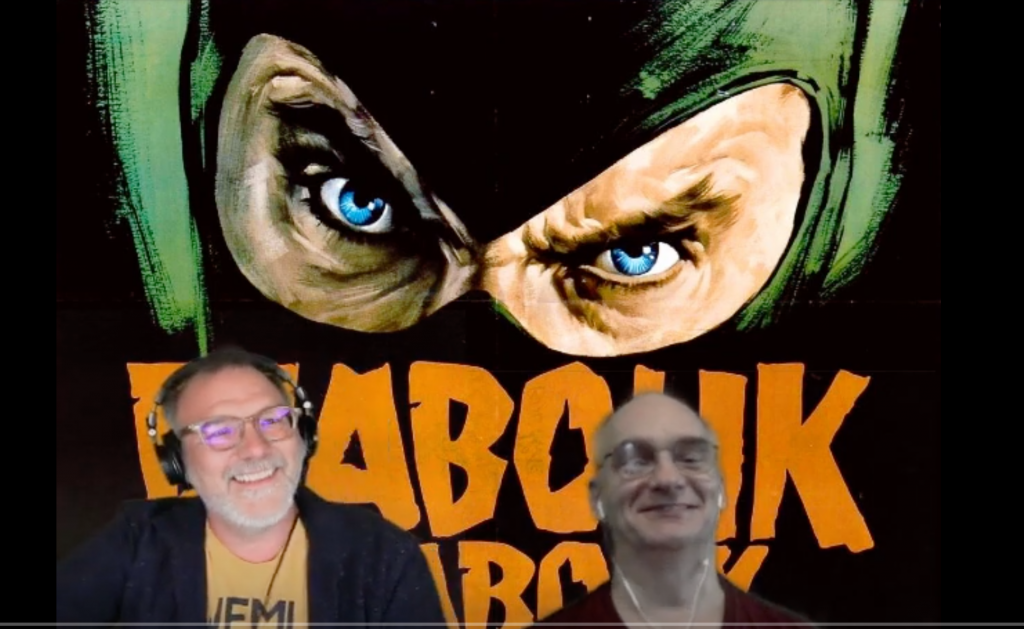
The last scene was having Paul (Browser source) and his images/stills (Image Slide Show source) along with the virtual audio input source (Diabolik Audio).
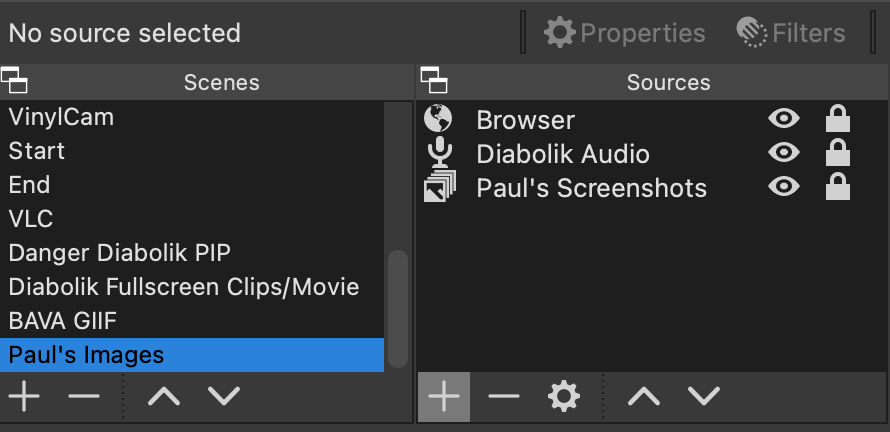
This scene looked like the following, but once again thanks to the Diabolik Audio input source you could still hear me even if I was offscreen:
The scene featuring Paul and his screenshots talking about Bava’s translating comics to film
I am sure there are smarter and more creative ways to do this, so if you are reading and have suggestions, I’m all ears. I do enjoy playing with this tremendously, there is almost a certain amount of giddiness I felt while doing this session because it felt like such a cool way to feature and discuss the visual magic of Mario Bava. I think my favorite part was watching Paul and I bop our heads to the opening music Antonio played as we entered the Zoom room. There was joy in the telling of this introduction.
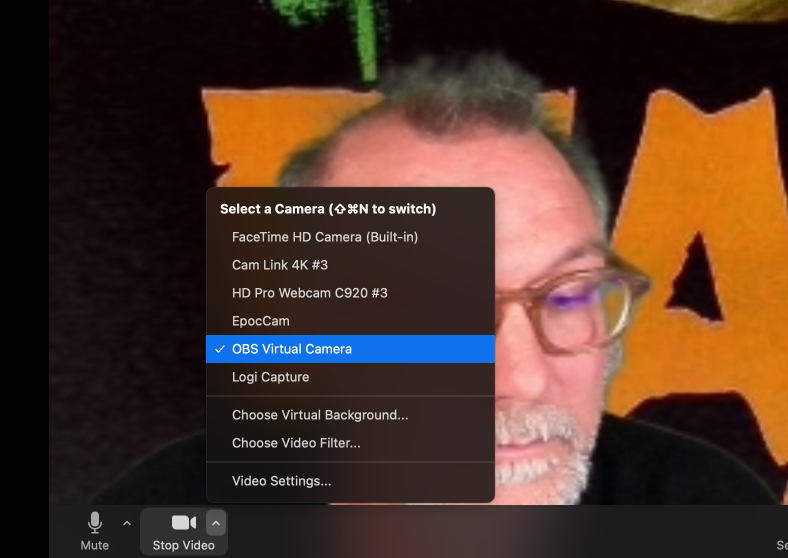
It is also worth mentioning that bringing this multi-scene production setup into Zoom is pretty easy. You just need to make sure you have the Virtual Camera in OBS setup, and after that it should be an option when you go to select a camera in Zoom.
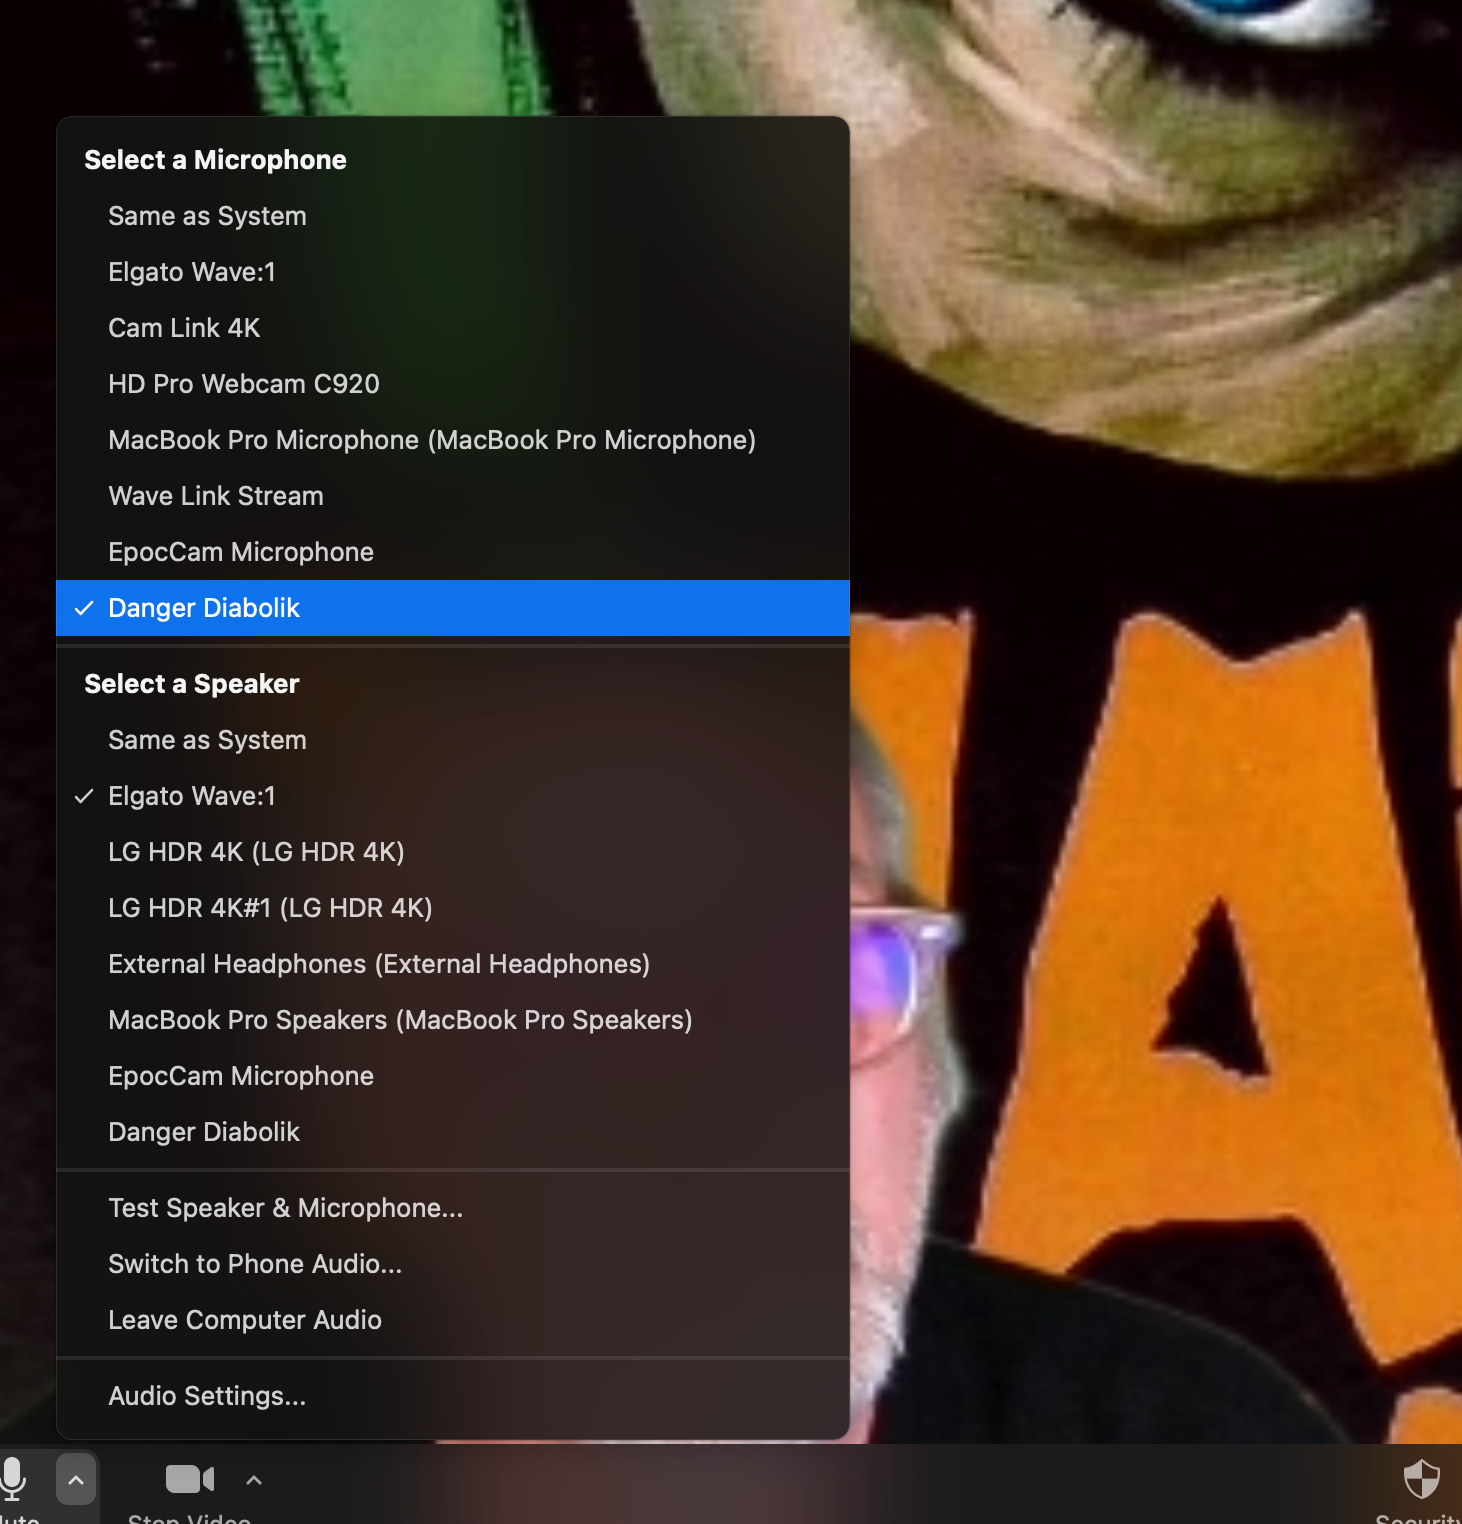
The other key piece here is if OBS is virtualizing your camera to add layered visual effects, then Loopback is virtualizing your audio to mix together various sources, so you should choose Diabolik Audio as your microphone in Zoom, this way the class can here the audio from my mic, the film clips, as well as Paul.
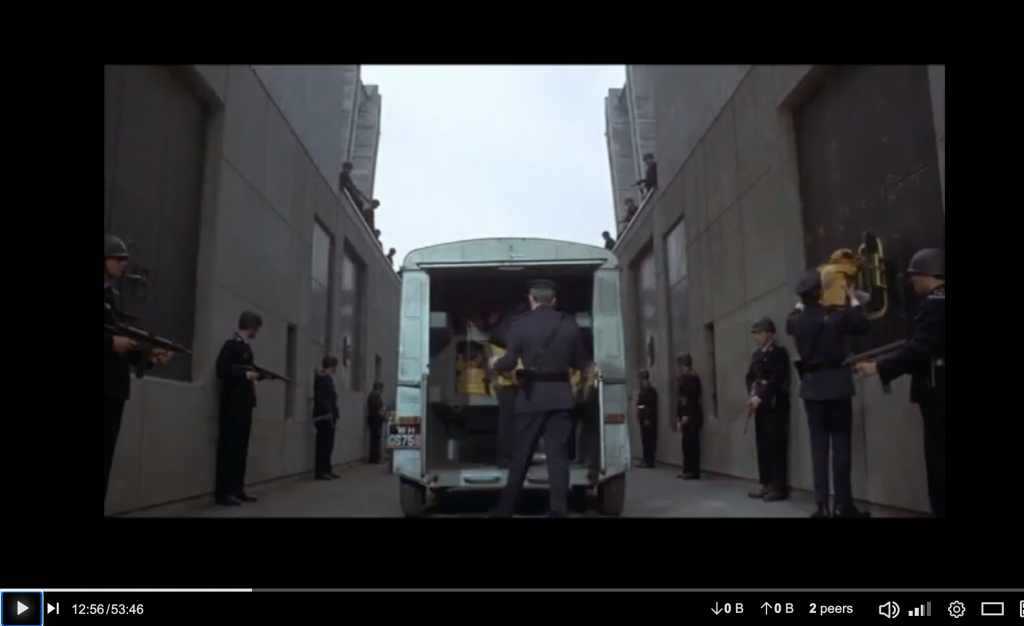
Another piece of this working cleanly in Zoom is that the final movie in the Clips playlist was the actual film which we watched together and used the chat in zoom to discuss it. Another real benefit of using the OBS virtual camera is you are not screen sharing so the video quality is consistent and can be HD, so you can have a really solid stream using your OBS virtual camera, and that’s what we did and it worked quite well, save for my terribly synced subtitles.
I could continue and talk about the other part of this setup, basically copying and storing all the clips and YouTube videos referenced to my bava.tv instance of PeerTube, but I think that deserves its own post along with how Paul and I tried to frame this film thematically for the class (the content besides the tech). That said, you can grab a sneak peek at the Diabolik playlist in bava.tv (linked above) to get a sense of what I mean.
________________________________
*I love how these two open source tools integrate.

Pingback: OBS Ninja | bavatuesdays
Pingback: Moving Mac House: What Applications are Must-Install Furniture? | bavatuesdays
Pingback: Diabolik: a Cultural Revolution Comic on Film | bavatuesdays