
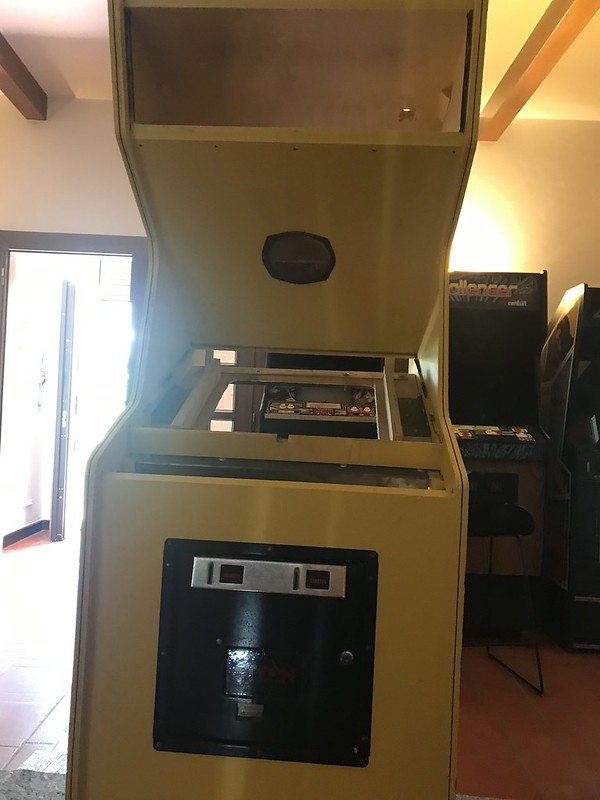
After getting the water damage from the cabinet cleaned up, the entire cabinet stripped (which was inspired by the K4600 chassis needing a cap kit), an extra board fixed with the added bonus of a high score save kit, the painting and stenciling done, it was finally time to reassemble the cabinet. I had a friend coming to visit this past weekend, so I made Saturday the goal for having everything back together and the game working. This only gave me a day to reassemble everything. To be quite honest, I had no expectations I would be able to do it. Regardless, I got to work around 9 AM in the morning to see how it would go, and I was pleasantly surprised how well things were moving along. In fact, with Adam Croom arriving close to 9 PM that night I thought I might have a chance to pull it off.

To be fair, I already had the monitor chassis reassembled after I returned from the US at the end of May. So most of that work was done already, I had just been waiting on a missing mounting plate to attach it to the frame. I did get one shipped from America, but realized this weekend that even after getting it and cleaning up the plate, I still needed a few fasteners to keep it secured. I ended up cannibalizing another K4600 monitor from a different game in order to secure it to the frame. I may need to get my hands on a few more bits and bobs for the K4600 chassis to ensure it’s fully secure. As with reassembling the cabinet, re-assembling the monitor chassis was possible because I took pictures of everything in order to see what goes where.

In fact, I spent much of the re-assembly process looking at the most recent disassembly pictures on my phone and working backwards. The power and value of digital photography for DIY work like this cannot be overstated. I started with the speaker grill, coin door and marquee light.

I then worked through the power supply harness down to the power supply on the floor of the cabinet.


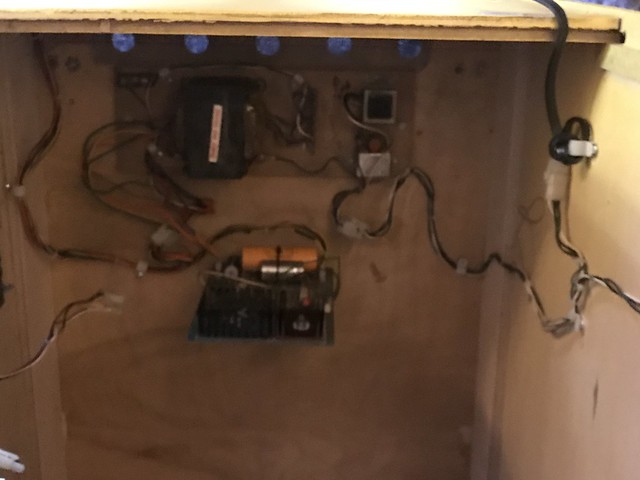
After that I moved over to the PCB side and worked on the wiring harness to the coin door, PCB, and connecting the audio.


With everything wired up and the PCB installed, I then turned to the monitor, which was a pain on two fronts. First, as already mentioned, I didn’t have all the pieces to secure the chassis to the monitor frame so I had to take apart another K4600 monitor to get the required bits. But even worse, re-mounting the monitor was no small feat. I recruited my children (they do not like me when I am working like a maniac), and we finally figured out we could lay the cabinet down face down to resist the pull of gravity and mount the monitor with the spacers. It wasn’t easy to secure the monitor to the frame given how hard the lower monitor mounts were to access when the cabinet was laying down, but eventually we got it to work and I only freaked out a little bit. Once it was secured we stood it back up.
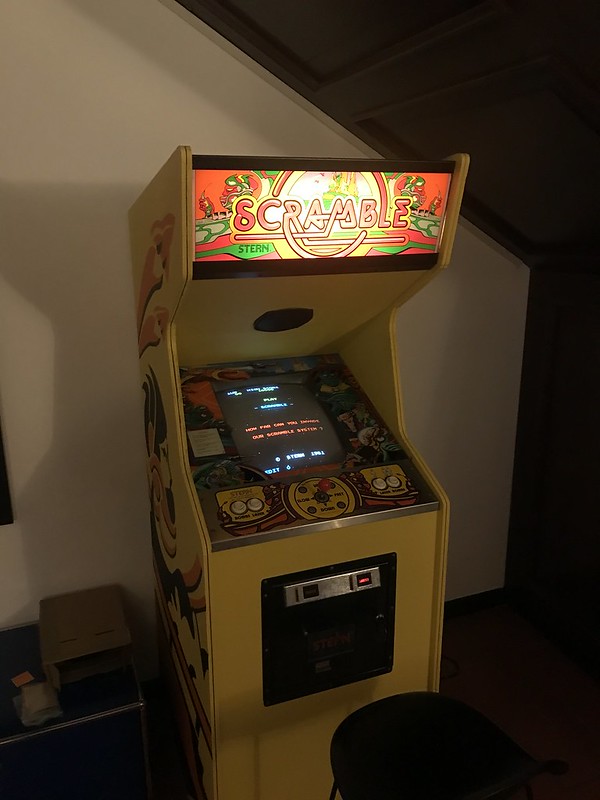
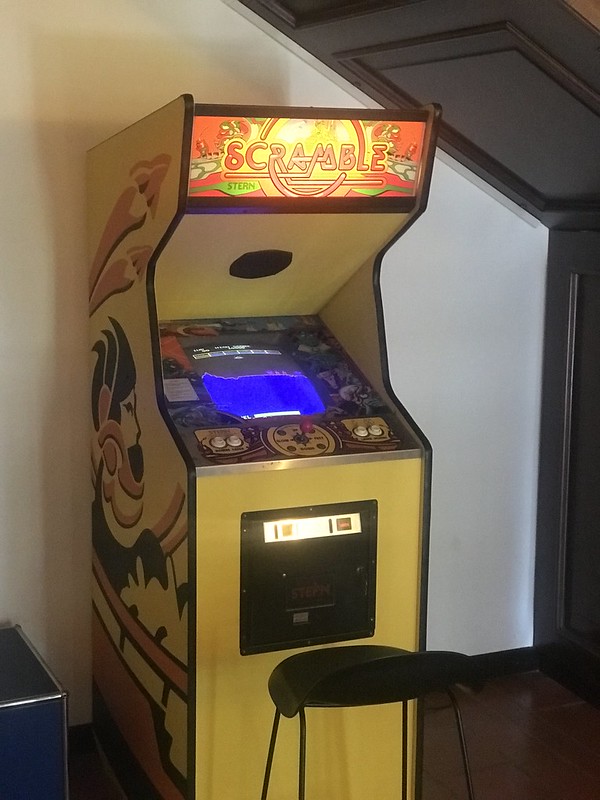
Now that the monitor was in I quickly installed the marquee, bezel and the control panel. All quite straight forward. And finally it was time to power the machine on for the moment of truth. It seemed impossible to me that it was going to work, but when I turned it on everything was working as it should be. The marquee lit up, the monitor came on, I could add credits through the coin door, and the game played cleanly from the joystick and buttons. The one issue was there was no sound, which seemed odd. The only difference from the original setup was the new PCB board with the high score save kit. So I swapped in the old board and the sound worked, so it was a board issue not a Jim issue—which was amazing to me 🙂 I quickly swapped boards and was only 10 minutes late to pick up Adam from the train station at 9:30 PM. Even better, he was able to come back to the bavamanse and play some Scramble as it was meant to be played!

So good! And to be fair I was not totally finished with the game. I still needed to fix the free play option and deactivate the interlocking switch in the coin door, not to mention affix the new t-molding I bought (which I did do yesterday). But now I can say it is officially done and working like new!
This has got to be one of the coolest projects I have ever done, and I am now itching for another one.

Pingback: Building bavacade: Double Digits! | bavatuesdays
Pingback: Helping to Save a Donkey Kong Junior | bavatuesdays