It’s been busy in the bavacade the last several weeks as I prepared for a trip
back to the US of A. I’ve been racing against the clock to figure out what I need to bring back for the various games, which means a lot of testing to try and get things working, or establish they’re beyond my repair capabilities, which means shipping them out.

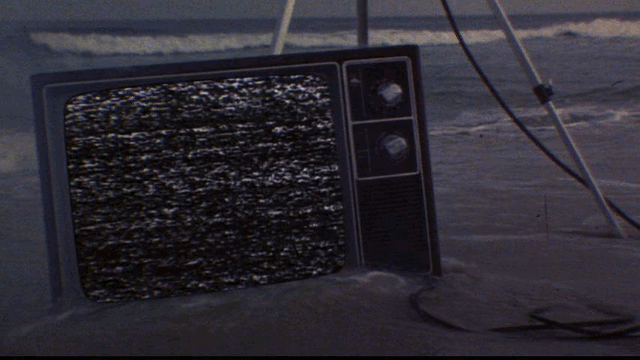
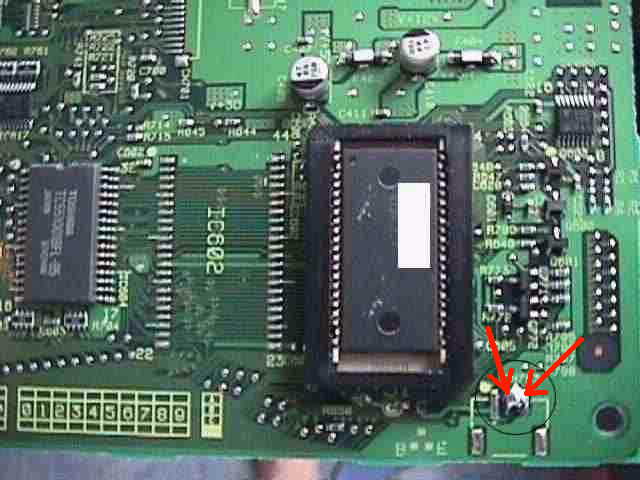
Troubleshooting Cheyenne Monitor
The process of trying to diagnose has become more and more fun for me as I gain a modicum of insight. I have finally found a hobby I can really sink my teeth into, which is quite rewarding. I’m still in the process of re-organizing the bavacrypt so that my old, open area office space is transformed into a full blown workspace for the games, which also means a lot of storage for parts, chassis, and other sundries. I also got some shelving to start storing my toys, VHS tapes, parts, and much more.
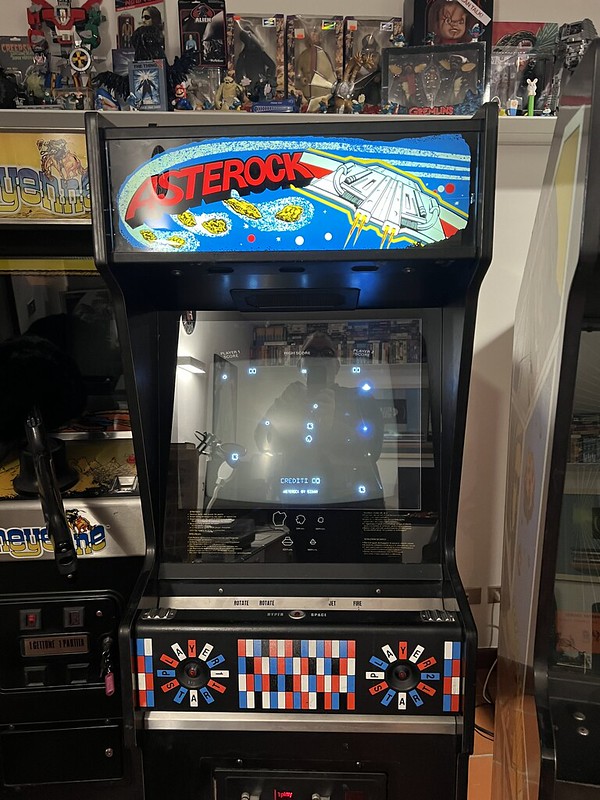
Glimpse of shelving behind Asterock
What’s more, I’ve moved my Reclaim Hosting office into what was the basement guest room, and it’s working much better for calls, video recording, streaming, etc., thanks to better acoustics—not to mention much less doorbell interference. Once I get back from America I should be able to put the final touches on the office transition. I’ll also be sure to document that in more detail, because I really have built a dream space that is an all-in-one office/workshop/80s arcade. Have I mentioned on this blog already that creating spaces might be my other hobby passion these days? — it’s what I might miss most about Reclaim Arcade, imagining that space with Tim was an absolute joy.
Anyway, on to the repair log, and there is a lot to mention here.

Dig Dug on wheels!
Broken corner in Dig Dug cabinet
There was a big gouge in the bottom rear corner of the Dig Dug cabinet that was bothering me to no end. The cabinet was otherwise quite solid, and I have to say the seller ensured everything in it was original, which is always nice. One thing that struck me when taking this apart was how well designed the Atari cabinets are. This was the first one I disassembled, and it was the easiest yet by far. I love the way the light and speaker are combined onto one piece of plywood for easy remove.

Light and speaker mounted unit for Dig Dug cabinet
The coin door setup is also super easy to remove with a genius design that allows you to attach and detach the coin box easily and tighten the door with all bolts seated using attached, movable nuts. When you disassemble enough of these machines you begin to appreciate good design choices.

Bolt system for coin doors of Dig Dug cabinet
The cabinet work was a bit more straightforward. Epoxy for the gouged lower corner and for the various imperfections along the trim. I have new t-molding on order, so this should be golden.

Some taping of Dig Dug for touch-up paint
There were a few places the cracks in the sides meant I needed to do some touch-up paint work, and the base color of his cabinet is closer to off-white than pure white, so I found myself adding yellow to pure white paint to get a closer match, and that was fun. It’s not perfect, but you would need to know what you are looking for in just a few spots to see the difference. It is near perfect, so more than passable. Also, none of the original artwork was touched, so this was already a pretty impressive cabinet, we just made it awesomer!
Dig Dug After touch-up paint and before light sanding
There are a couple of things I still need to attend to, including fixing the marquee light that blows every florescent tube I put in there—I believe it’s the ballast, but need to test this. Also, the power brick is pretty noisy, and I think that might be a big blue cap that needs to be replaced, so ordering that. Finally, the smooth, black t-molding is on order, and should be ready once I get back. But apart from that, this is another mint cabinet that sits alongside Donkey Kong Jr, Galaxian, and Pac-man in the bavamanse foyer!

Dig Dug is re-assembled and looking groovy
Venture is up and running!

I was beginning to think I would never see this game running. When we bought it for $400 over two years ago, I knew it was going to be a project. It’s a game that doesn’t really come available all that often, and a good condition working cabinet is not only hard to find, but also relatively expensive. The only one I ever saw since my childhood was at the Terminal in Nashville, and it was in pretty rough shape and played terribly.
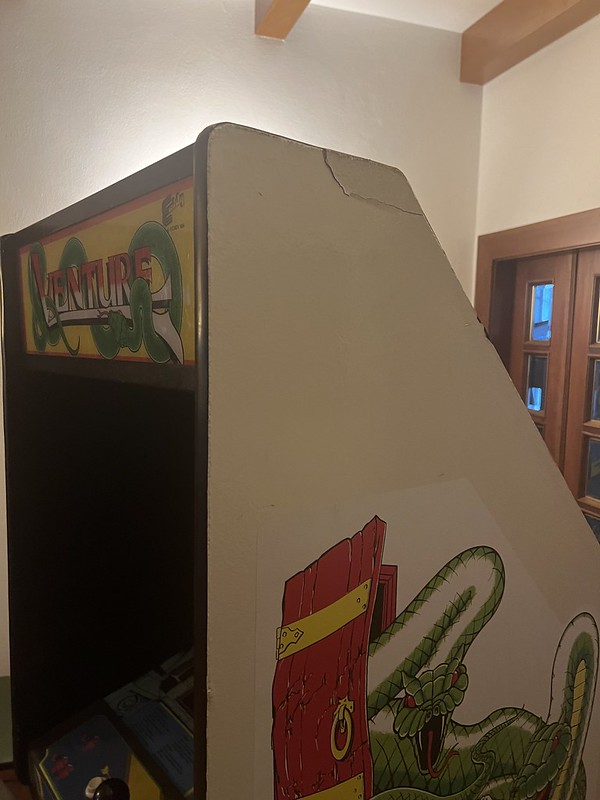
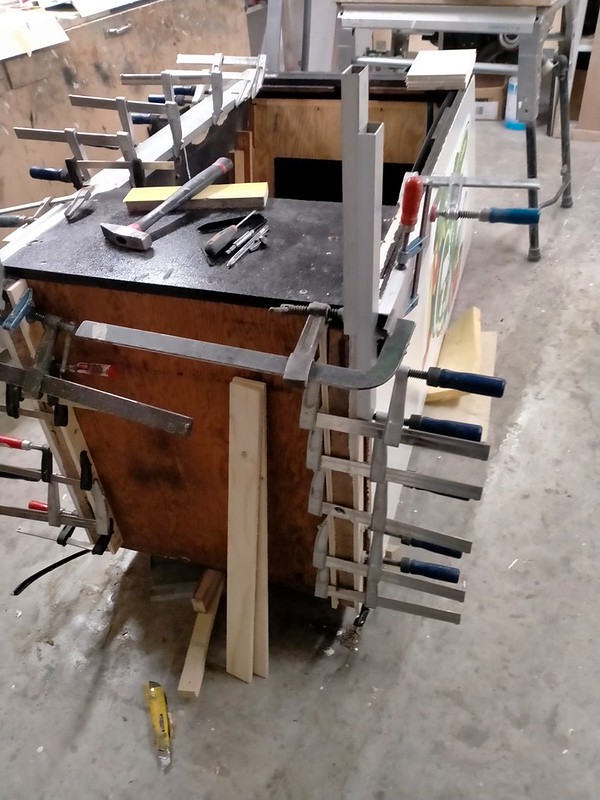
The first thing we needed to do was get the cabinet in good condition. The top-back corner of the cabinet was broken, and the back door and lower portion were falling apart—old, deteriorating wood glue was holding this thing together. It was in pretty rough shape; it had been neglected for probably 30+ years, and it showed. Alberto took this one and worked his magic, he sent me a bunch of images of the work, and I really love to see the process visually….


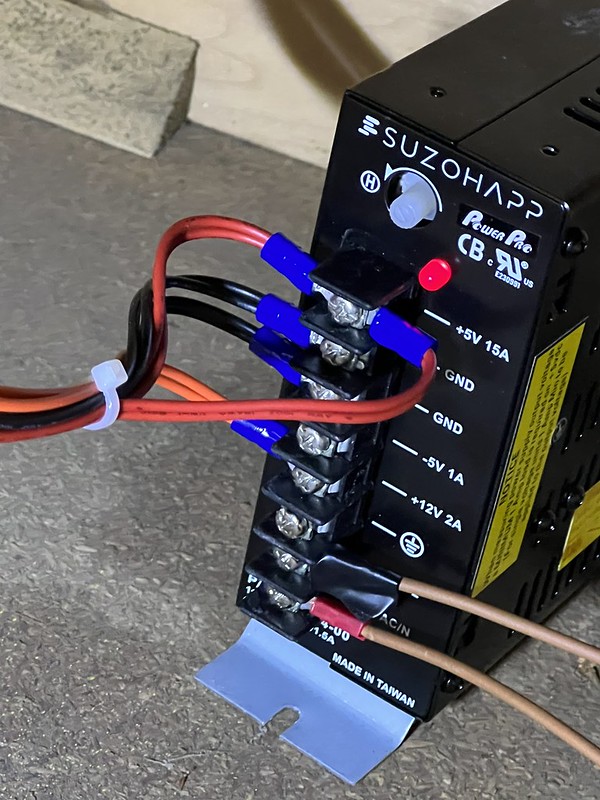
Once I had it back from Alberto I had to paint the cabinet white. I did the first couple of coats with a matte white, and I still want to do a final coat with glossy, but before I did that I needed to re-assemble the cabinet because the power supply guru Roberto was coming by to bring the re-built (for the second time) original power supply that can’t be simply replaced by a switching power supply given it uses hi and lo +12V and -12V for the sound board, which also helps power the video. This power supply has been a beast, so given Roberto was coming with a fixed unit I was thrilled, but when he arrived he noted that the -5V was not working, so we (royal) added a rectifier bridge for -5V that was pretty cool:
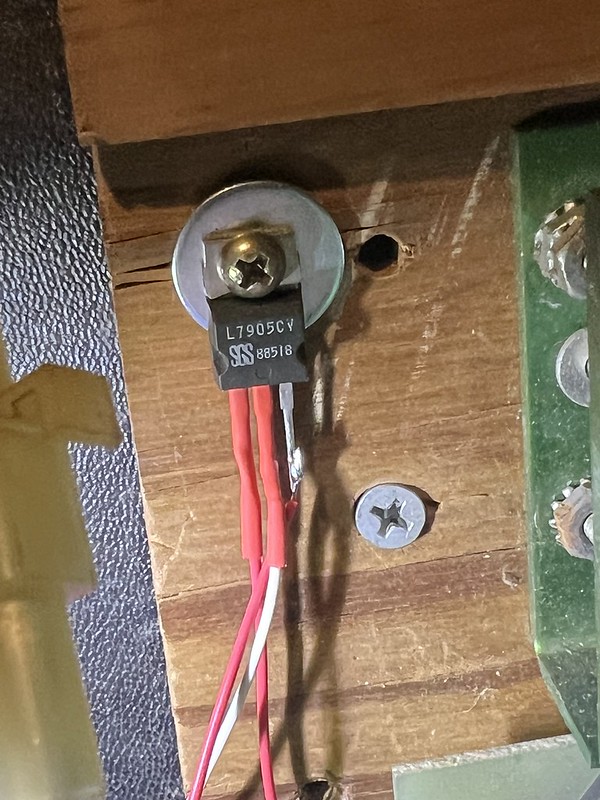
-5V Rectifier for Venture
-5V Rectifier for Venture connected to Ground and -5V from power supply
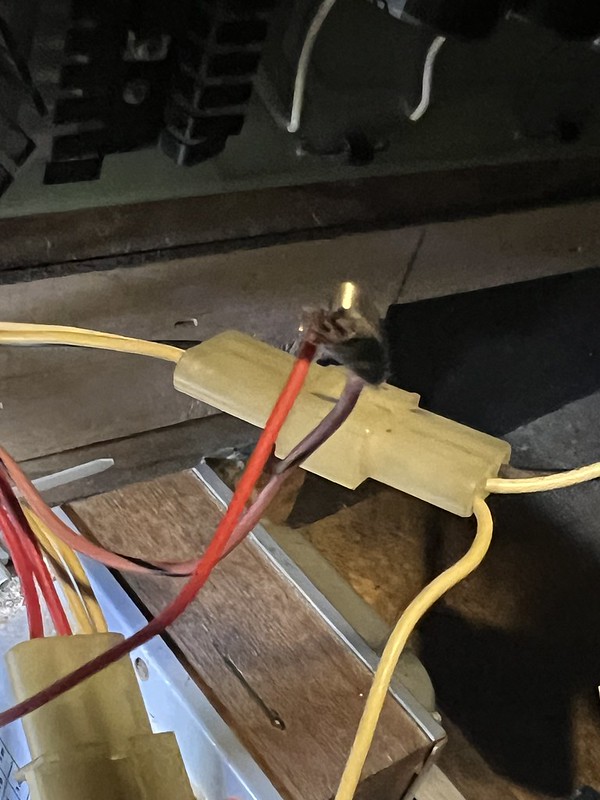
-5v from rectifier to board
We tried that and the board was now getting -5V, which was a win. But, but, but for some reason the +5V was not getting to the board cleanly. I was depressed, I really thought we were going to finally cut through this Gordian knot of a game. But despair is not an option, so we re-grouped and re-traced everything again, ensuring the edge connectors were attached correctly (they were), and still no dice for the +5V, although every other voltage was arriving to the boards as expected, so it was at least isolated to +5V.
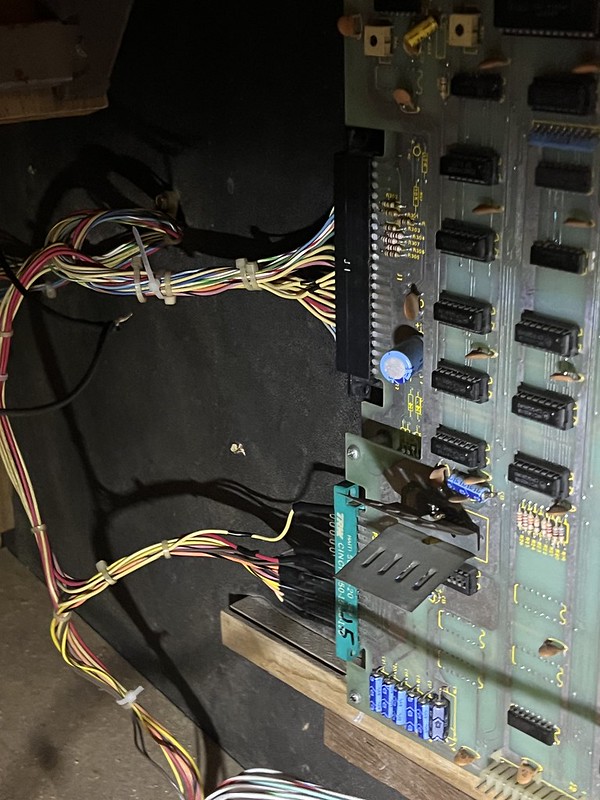
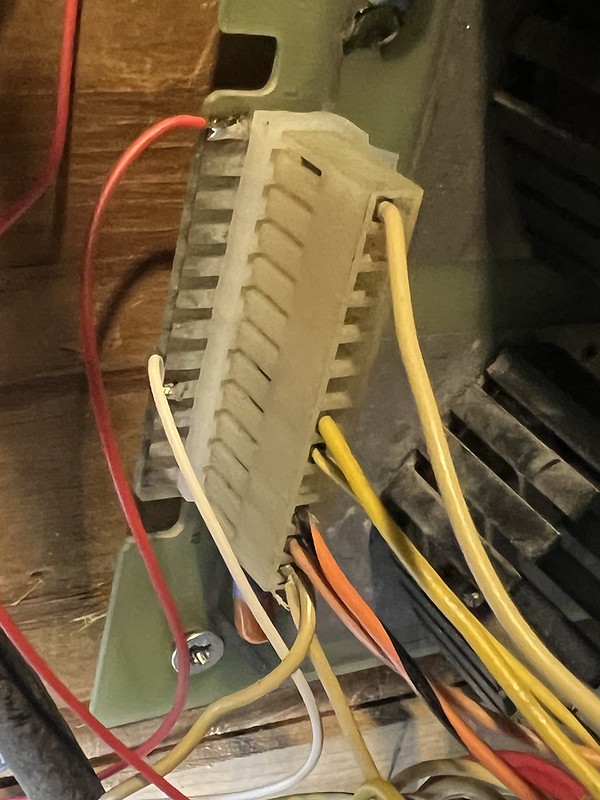
Venture‘s edge connectors connected correctly
As a last ditch effort we decided to install a switching power supply to get the +5V to the board to see if that will work….and it did, dear reader! It was a moment that had been a long time coming, but bringing a game back from the dead that I’d not seen working since we got it was amazing.

Venture Switching Power Supply for +5V
I can now take the -5V rectifier and use the switching power supply for that, but it is pretty cool to see how the rectifier works, that is yet another thing that enthralls me about electricity, all these gadgets to control and temper the flow of energy is truly amazing, and I am reminded once again it is always power with these games.
The Venture board I bought worked perfectly, and the monitor is gorgeous, I do need to try a cap kit on the K4600 monitor chassis for Venture given it’s not working, so the current chassis is on loan from Galaxian. The other bit is I need to clean-up and possibly re-build the the 8-way joystick. It is a bit of a rat’s nest right now, and it could use some new leafs and general TLC. But, the good news is Venture is on wheels, cleaned-up beautifully, and working a treat!
Bello Yellow Pac-man

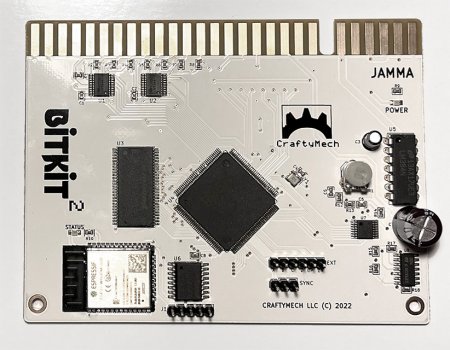
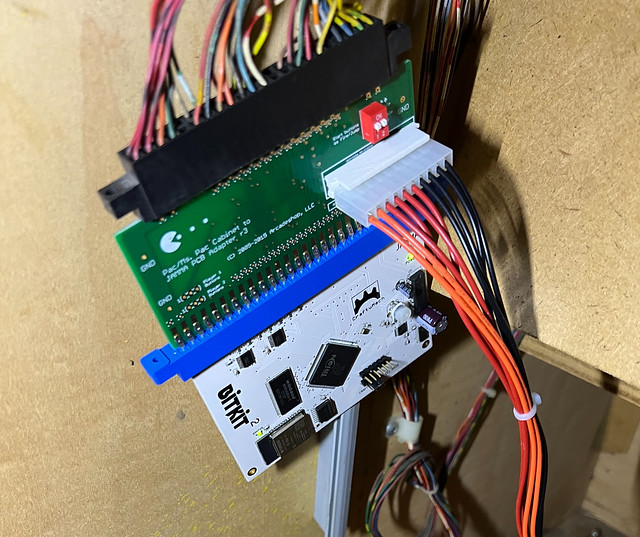
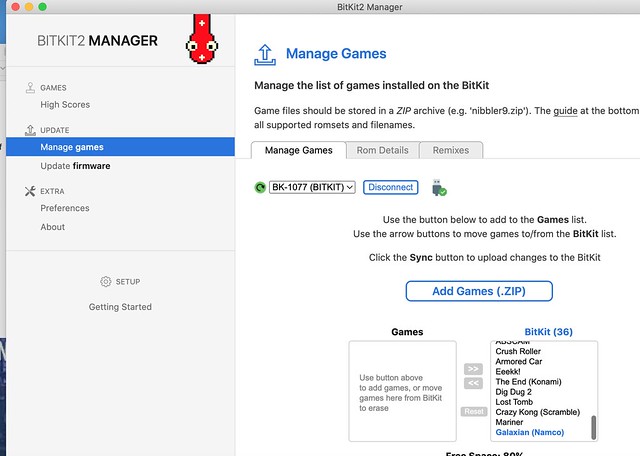
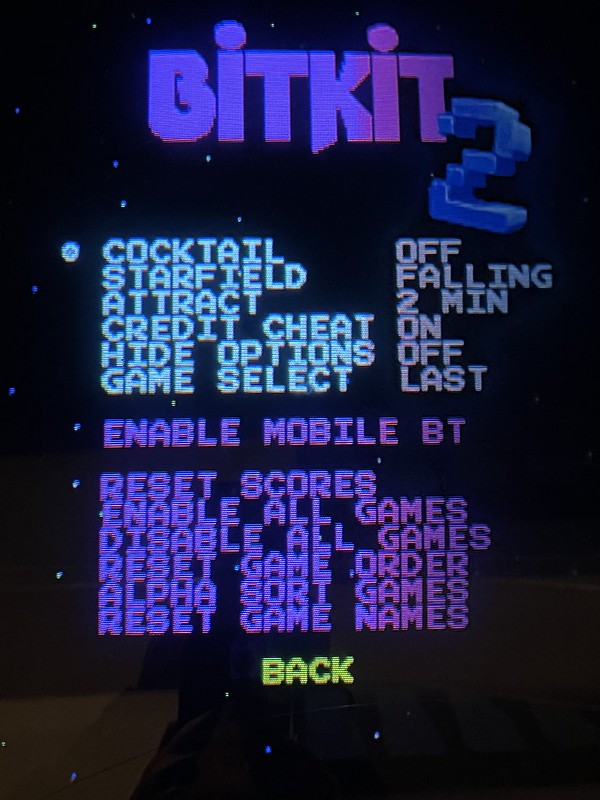
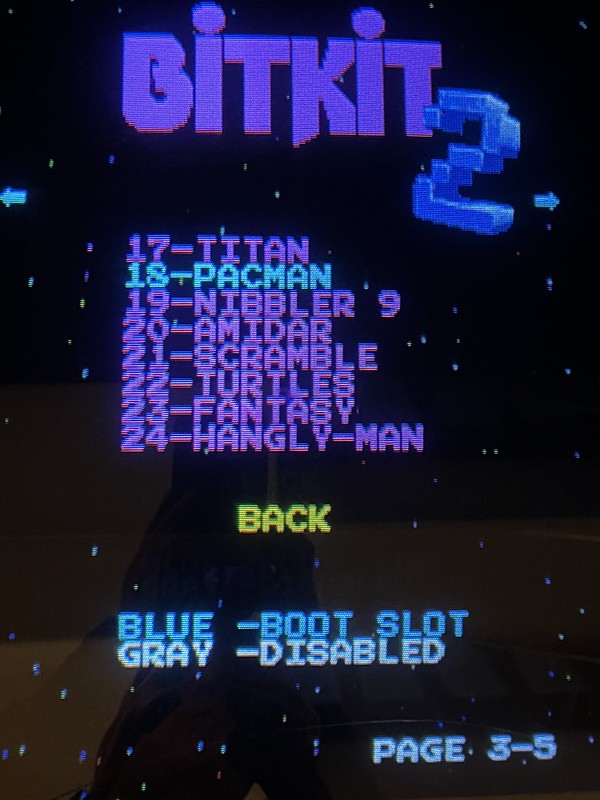
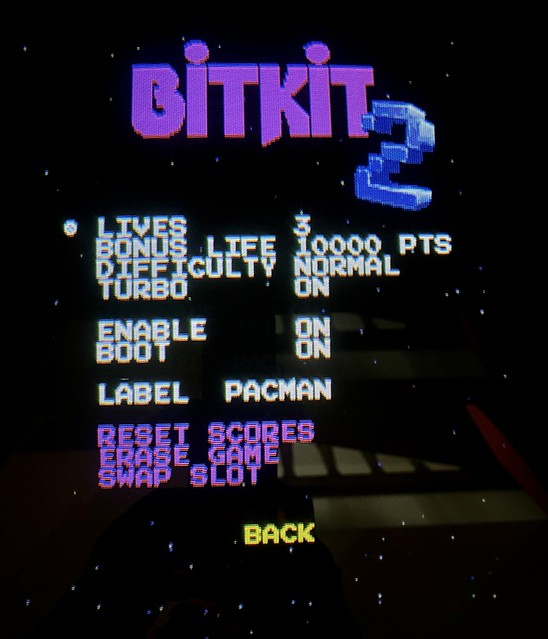
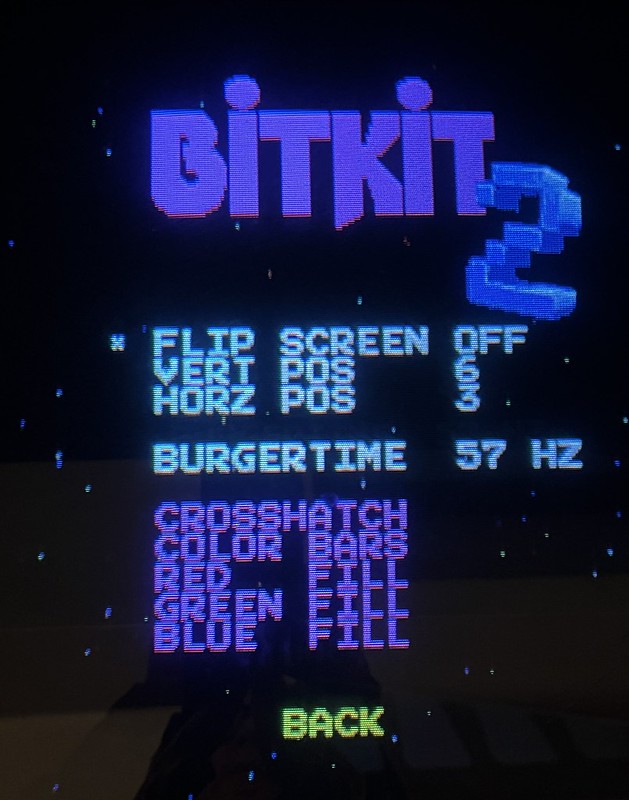
After fitting Pac-man with the BitKit2, I decided that cabinet needs to be on wheels and the bottom needs to be looked over closely given the floor was feeling tenuous under any kind of pressure. There were early signs of wood rot that may have been a result of water damage, although it was definitely not extensive.
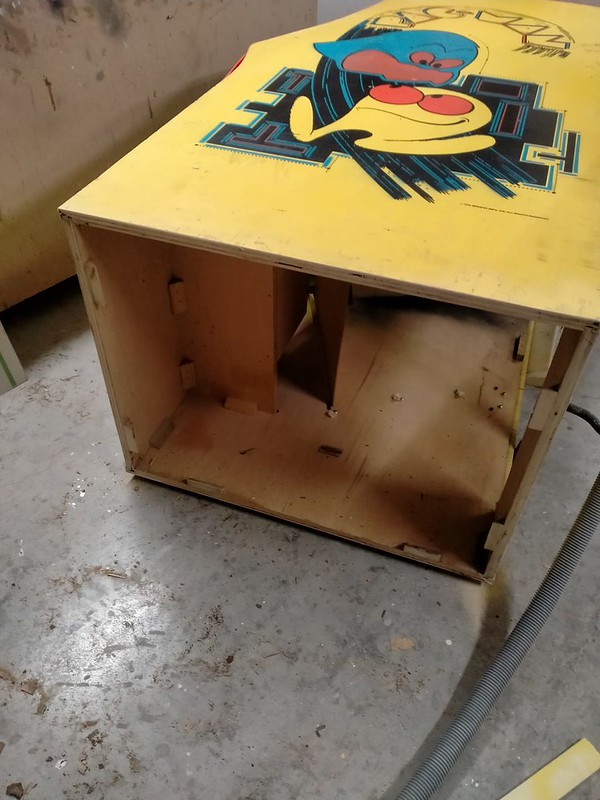
Pac-man without underpants

Pac-man‘s old floor was feeling its age
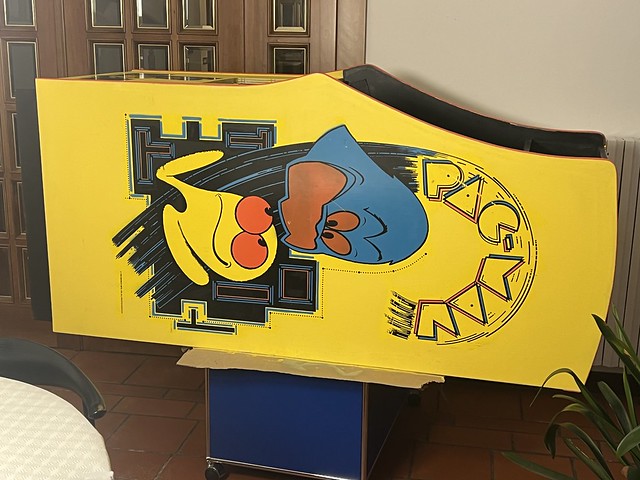
I stripped it down and sent it out to Alberto and he is a genius. He replaced the floor entirely, while leaving everything else in tact, and added base pedestal to hide the new wheels. Once I got it back I taped around the original artwork and painted the cabinet with the Scramble yellow I had left-over from that project, and did some touch-up on the black paint, but otherwise left the original artwork untouched. The yellow from Scramble is a tad more subdued then the original Pac-man yellow, but you would really need to be in-the-know to realize the subtle difference. That said, I may re-paint it at some point 🙂

This was probably the fastest I ever completed a strip down, re-build, and re-paint. It was all done in less than a week, including Alberto’s work—which was crazy fast. I took a ton of photos, and you can find them in this Flickr album.
It’s looking good! I still need to paint the back of this cabinet, which was also yellow. I’ll take care of that once I return. This dot gobbler is the crown of my collection, so it needs to be beautiful!
YUNOWORKCHEYENNE
Above are the major notes, but there continues to be ongoing weirdness with Williams’ transformers. I got back the “blown” Joust transformer that turns out was not blown after all, the surge of 220V was not detrimental to the actual transformer because the varistor prevented it from doing any harm. Once the blown varistor was removed the transformer started working again, I just need a new varistor now.

Image of a varistor
Anyway, When I put the Joust transformer into Stargate it was having issues with the Williams JROK board, it kept randomly resetting the board whenever I would touch the smart bomb button. After realizing the JROK board worked fine in another cabinet (Defender), I figured it most be a power issue. After seeing the switching power supply values were all reading fine, I decided to put all of transformers back in their original games (I had them labeled).* That seems to have solved the issue, but we will see.

Hanterex Polo 20″ chassis are my bane, and Cheyenne is now the only game not working. I am sending that chassis out for repair given I do not have a capkit, and hopefully that will be up and running soon.
Still To do:
I have the chassis removed and ready, just haven’t had time to try the K4600 CapKit. This chassis was originally in Venture, but if all goes well will be in Galaxian.
Condor G07 Capkit -not sure whenIi will do it, but on the list.
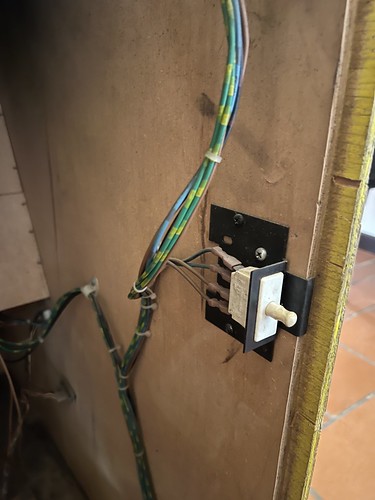
Cable for monitor and coin door light in Asterock acting up, this has been an odd issue, and it just seems like cables in Asterock power supply are lose, and the monitor loses power, but will need to dig deeper.
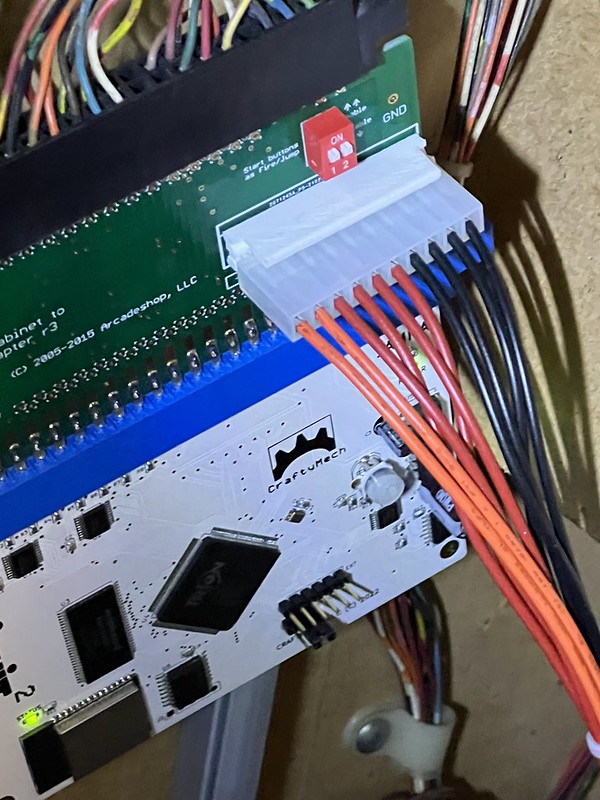
Need to install high score save kits for Venture and Pac-man.
Whew, that as a lot, but I am happy cause the Reclaim retreat is about to start and now I can start my West Coast tour diary on the venerable bava.blog 🙂
_____________________________________
*I had put the Stargate transformer in Moon Patrol, the Moon Patrol transformer in Joust, and left Stargate empty until the Joust transformer one was fixed.