When sending out the April installment of Reclaim Roundup we ran into a glitch wherein the instance was faltering sending an email to all subscribers once that number topped 500. I assumed it was an issue with our third party email tool Mailgun at first, but after investigating it was apparent Ghost was not communicating with Mailgun at all. Turns out this was a database issue with the official community Docker image for Ghost that others have reported over a year ago. Seems SQLite balks at sending out emails once the number tops 500+, and without seeing a fix in the Github repo on the horizon Taylor Jadin took matters into his own hands 🙂
I’ll let Taylor share all the details on the new Ghost installer he built for Reclaim Cloud’s marketplace—how awesome is that?—but being excited I figured I would spend part of this week trying to install Taylor’s new flavor of a Docker image running Ghost with MariaDB to help battle those pesky email issues. So, a couple of things to frame the differences between the existing Docker image we were using and the new image might help set a bit of the context. Since January I was playing with installing the community image of Ghost directly from Docker Hub and putting an Nginx load balancer in front of it to deal with mapping a domain, SSL certificates, etc. You can see that process documented on this here mighty bava. This worked pretty well, to be fair, and the first real issue we have had was this SQLite email bug, but given we are using this as a newsletter, that is kind of a big bug.
That’s when Taylor took the initiative and flexed some of his Docker muscles to look for a viable alternative for the broader Reclaim Cloud community. I can’t speak to all the details here, but from what I have heard and experienced he abstracted Docker out from a single container into several that are running within a Docker Engine instance. So, four containers within a containerized, stripped down Alpine operating system. So kinda like a container barge carrying other container ships 🙂

So, in Taylors recipe he has Docker Engine that is then scripted to spin up four containers that communicate with each other as an enclosed stack. One manages the application, that is an Alpine container running the ghost files, one is a MariaDB database (or maybe MySQL), a third container deals with the reverse proxy web server through Nginx, and finally a Let’s Encrypt container to manage the SSL certificate. I like this because it highlights the fact that containers can represent all these things in on single image or, as demonstrated here, they can be independent containers that communicate within an abstract enclosure of a containerized Linux server a la Docker Engine. As you can see I am trying to explain this in an attempt to understand it, but I am sure there are limits—so tread carefully.
Anyway, this represents some interesting challenges for my own Docker understanding because when everything is within a single container I know I can SSH into the container and access various .env or docker-compose files, but with this setup you SSH into Docker Engine, and then have to independently login to each container separately, should you need to. This helped me understand the utility of two Docker commands, the first is docker ps which lists all active containers:

After that, you can use container IDs listed in the above command to access each individual container with the following command:
docker exec -it <container ID> bash
This will allow you to login to each individual container, which made me feel awesome because I thought I needed this to edit the environment file for the Ghost instance I was setting up for migration, but turns out I didn’t—so Taylor made it even easier for newbs like me. Turns out I could access the .env file directly from the ghost directory in the root of Docker Engine, and add the Mailgun variables as well as the URL for the instance. It’s worth noting that adding the variables for the single community Docker image for Ghost we are moving away from did not require SSH access at all. You could change those variables within the Reclaim Cloud Variables section, making that access easier.
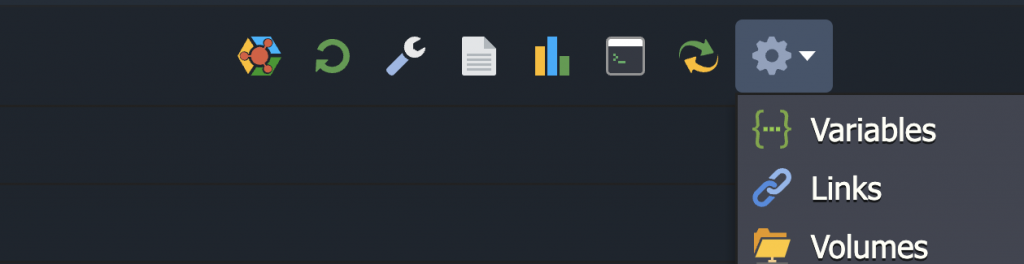
Variables editing in Reclaim Cloud settings
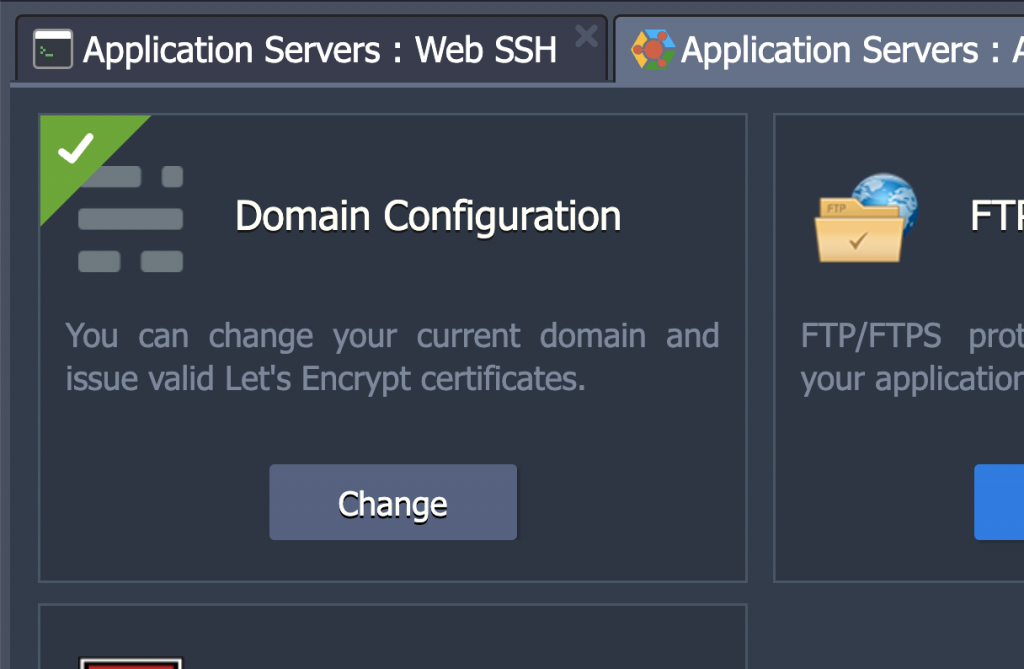
Taylor has been thinking through making his installer instance even easier, and has already figured out a way in his environment to allow folks to assign a mapped URL that automatically assigns a SSL certificate, removing the need for using the Nginx load balancer in our previous setup, which is very slick.
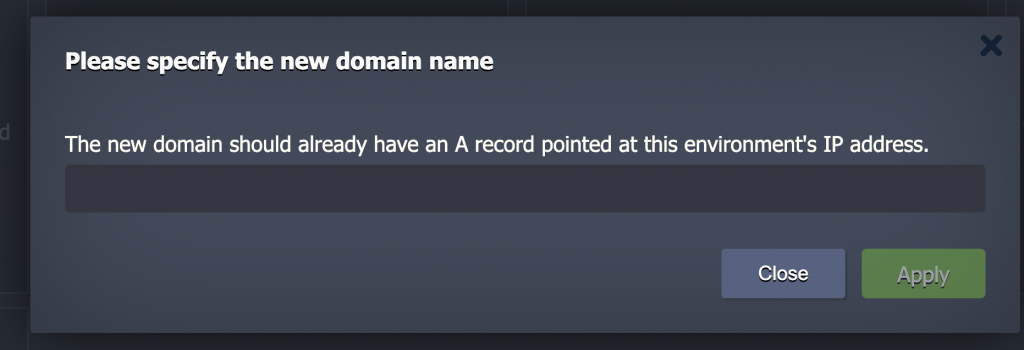
It even provides some contextual support telling folks to point their domain A record to the appropriate IP:
He also believes that he can do something similar for Mailgun’s variables to integrate that mail service with Ghost for sending newsletters, which would be amazeballs!
Anyway, I am getting far afield, but documenting this stuff for future reference has never disappointed, so I’ll go on. The point here is that I installed Taylor’s Ghost instance, did an import/export of all posts and pages using Ghost’s built-in import/export tool. After that, I figured out how he was running various container of Docker Engine, and figured out the .env file and docker-compose were in the ~/ghost/ folder and I could edit the .env file to plugin in the Mailgun settings that we were using for Reclaim Roundup, as well as the URL while I was there, but Taylor’s Addons for the URL, SSL cert, and maybe even Mailgun settings directly from within the Reclaim Cloud GUI settings area would remove that need for anyone to access the .env file via SSH at all.
Once I updated the URL and Mailgun settings I needed to spin down all the containers and then spin them back up so the new environment settings would be implemented, that is done with these two commands:
docker-compose down
docker-compose up -d
Another command that might be useful that Taylor turned me onto was the following to track error logs across all running containers, which would have helped when I was troubleshooting one of my docker-compose typos.
docker-compose logs -f
And with that the final piece was syncing all the files and settings in ghost/content from the original Reclaim Roundup to the new and improved Ghost running Roundup. I should have done this using rsync, but that is harder than it should be in Reclaim Cloud, so I resorted to zipping up the original /content directory, downloading it, and uploading it to the new environment (renaming it ghostdata to match Taylor’s conventions). I did need to fix permissions on that directory after the fact, and I needed Taylor’s help to figure out what he called ghostdata was essentially the same thing as content. Additionally, he informed me that uploaded objects such as images, media, themes, etc. live outside of any of the existing containers running the stack. The Docker Engine is essentially acting as a volume for storing any uploads, themes, media, settings, etc. and they live outside the four running containers listed above. Which means if containers are destroyed you can simply re-create them and all content would still be there, and that is also the case with the database.
So, as of yesterday morning we had Reclaim Roundup migrated to a new Docker image and my learning around Docker— thanks to playing with Ghost—continues. I am ever so thrilled to remain somewhat focused on the bigger prize of Reclaim getting comfortable with Docker and containers so that we can continue to support this quite cool stuff for our broader hosting community.


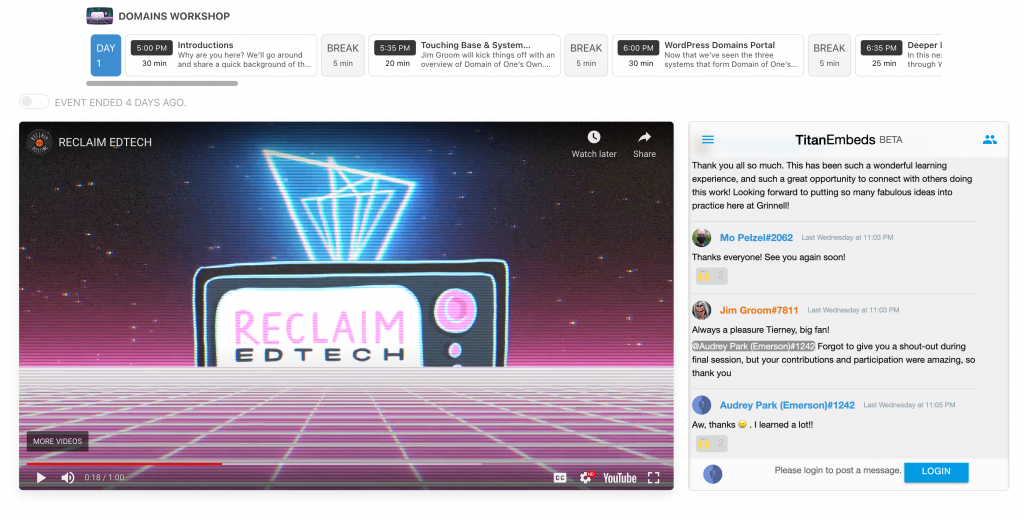
 I’m glad we had the foresight to record a reflection of our recent Domains 101 & 201 workshop the day after running it because it’s already fading into memory. We set aside a couple of hours on Thursday afternoon to